Page 1 of 5
Here is my 03 Hybrid build.
Posted: 10:58 am Feb 09 2008
by ebeck
I'll create a complete walkthrough when I am done.
Big ass box of goodies from Krazinski!

Couple of sihny new goodies hanging on the wall as Kawasaki. $175 foot foot pegs is a bit much if you ask me....

Here is how the motor lies up out fo the box


Tracing out new front mounts

te rear mouts cut off. Actually you can reuse these, the mount point moves higher to the outside on the frame tube is all. Just shorten them from here.

Here is the swingarm to sprocket line up. Not horrible, although motor will be a bit lower in th final assembly

Look at the shiny new swingarm. Not the right frame...

I bought fot pegs, frame guards and bark busters and it cost $350. It adds up fast. Getting new parts like brake pads, chain, new tires, rims, spokes, clamps, bars, levers, pipe, pipe guard, plastic, graphics, coupled with labor cost and motor and suspensio rebuild it can cost alot quick. My last FULL motor rbuild cost $900 alone.
Of course you can just put the parts on as is and ride and save a ton. My objective is to have a bike factory new and fresh when done. There are no short cuts when startig off with used parts. Starting off with a new 125 would probably be better and cheaper actually.
Cutting the front mounts


The boys KX65

Here are the new motor mounts. A bit rough and unfinished to be sure, but the hard work is done. I removed 1/4 off the rear mounts and will reuse them.

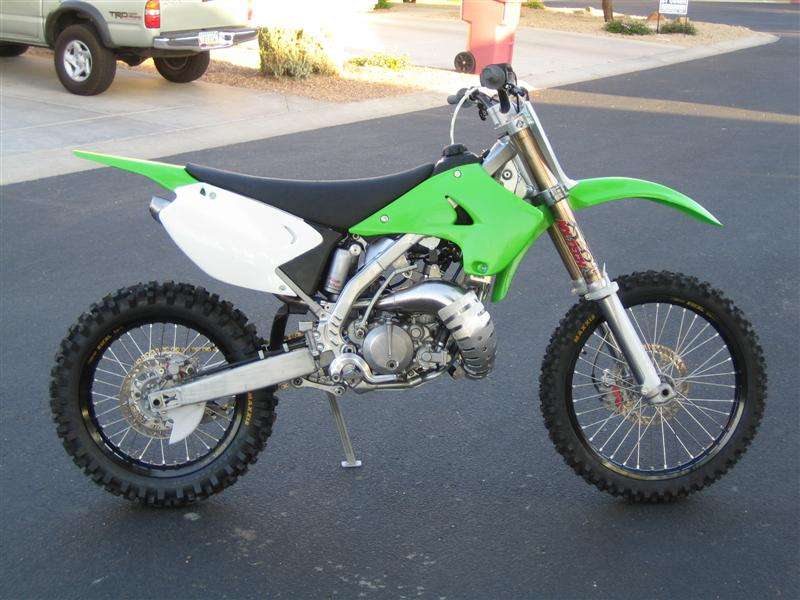


All done. Bike is dirty and camera sucks but you get the idea.


Posted: 11:49 am Feb 09 2008
by jc7622
Thank you sir may we have another.
Posted: 01:48 pm Feb 09 2008
by ebeck
Motor mounts fitted, pipe fits great with no mods btw.

Posted: 01:49 pm Feb 09 2008
by ebeck
I think I need to narrow the rear lower motor mount 3/16 an inch or so to get the mounts on the frame in the right place.
Rear lower motor mounts can be narrowed with a dremmel and a cutting wheel. Many manuals say when bolting a motor in "shim as necessary". I use copper washers to get a tight fit. The mounts prevent up and down movment not side to side, so it does not have to be shoe horn tight. It does have to be pretty close though. 1 mm or 2 mm gap is OK and can be shimmed (washers or what not) as long as the surface is dead flat.
You can get precise enough with a Dremmel a small square and patience. I have done it twice already. Proably the easiest part actually.
Posted: 09:29 pm Feb 10 2008
by THill
What year motor are you using in this build ?
Posted: 10:28 pm Feb 10 2008
by ebeck
2005 motor. THill, your Canadiann Dave account doees not allow email to you. You emailed me but it got marked as spam and put in my bulk mail box. It got deleted. I saw it right as I hit the delete button. Could not get ahold of you.
My email is
scottsdalebecks@yahoo.com.
Posted: 12:11 am Feb 14 2008
by ebeck
Here is the rear stay. Not completly groud and cleaned up yet.

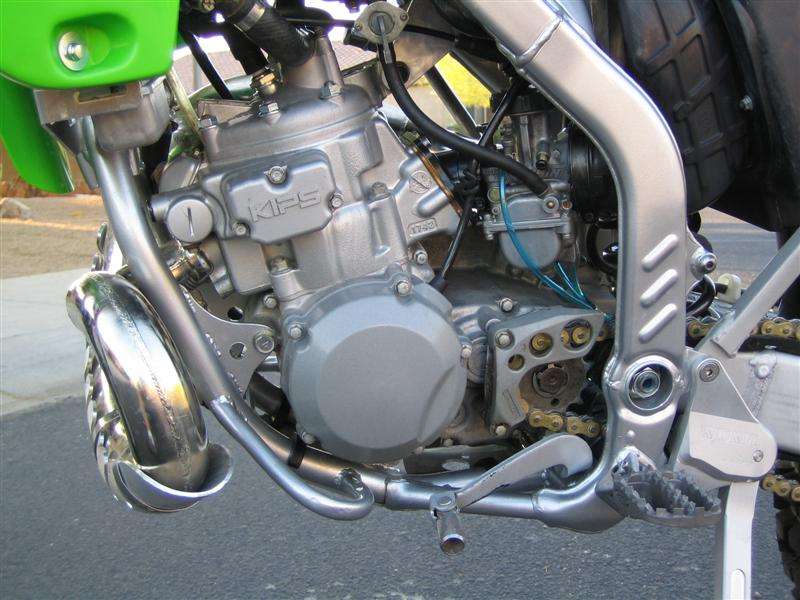
Problem with the bottom rear mounts is that the mount sleeve on the case is pretty wide. Either you have to make tiny mounts and get the mounts welded on top of the frame (the least optinal of all places to weld) and even then there may not be enough room for the bolt head or grig the case sleeve down a tad with adremmel and a cutting whee. Pretty easy actually. You can see the problem clearly in the below photos. Oh, you have the same problem othe 2000-2002. The 99 frame the KDX motor actualy lines up with the bottom rear mounts.

Another look

See where ther mount is, pipe mount has to be moved to the arrow, or there abouts depending on what and how you do things.

Here is the top mout, I am going to create a bracket as shown below.

That is all for now.
Posted: 07:39 am Feb 14 2008
by krazyinski
nice work easy step by step instructions , at least thats the way you make it look.
Posted: 04:50 pm Feb 14 2008
by Ondatrail
Is this your third hybrid ebeck?
Posted: 11:05 pm Feb 14 2008
by ebeck
Uhhhhh second KX based. the first was a Honda Projet. I REALLY prefer Kawasaki. And the people.
Posted: 11:45 pm Feb 14 2008
by ebeck
Rear bottom mounts. Plenty of room with the new slightly taller motor mounts. That's it, time to get it welded!


Posted: 05:36 pm Feb 17 2008
by Wilky
Based on your lower motor mount pics you may have your engine tilted a little to far forward. I would put your right rad on with the engine in place and look at the clearance between the rad outlet (with the hose on) and the KIPS before you wield every thing up. [/img]
Posted: 09:57 pm Feb 17 2008
by ebeck
here are the clearances


The process is the same for any mount, exhaust o motor.
Use one of thse to measure curves

Xfer to paper

Cut and line up, grind as needed

Here is the bottom one lined up too

Here it is all ready for welding

Posted: 07:12 am Feb 18 2008
by krazyinski
Outstanding I'm all excited to get to the end of this book! I should a !!
is what I think now but you make it look so easy.
the end result will be sweet.
Im still trying to tame the beast I have , my regular riding bud just got a recluse auto clutch.
I guess I am next?
Posted: 11:44 am Feb 18 2008
by ebeck
Do you like the throttle cam? That replaces the entire stock throttle assy right? Looks like the cam in not covered.
Posted: 09:11 pm Feb 18 2008
by 2weelz
Looking good, mang. Still waiting on my swingarm...should be done tomorrow. BTW, where did you get the pipe guard and what is the make?
Posted: 09:22 pm Feb 18 2008
by scheckaet


2weelz wrote:Looking good, mang. Still waiting on my swingarm...should be done tomorrow. BTW, where did you get the pipe guard and what is the make?
Looks like maier from rockymountain
Posted: 09:24 pm Feb 18 2008
by krazyinski
I am still testing the throttle cam, I changed between the 200 to the 400 and will report back on it late wed.
I just made a lot of changes all at once now I need to back track a little. the JD kit made a big change and I changed from the works pipe to fmf gnarly.
At the moment the 200 wiich is the middle cam has the bike hitting hard off the bottom I am trying to mellow the first 1/8 to 1/4 throttle out just a tad to keep her from shooting up a tree in the technical sections.
Posted: 09:30 pm Feb 18 2008
by ebeck
Guard is aluminum and is from Moose Racing
Posted: 11:18 am Feb 19 2008
by 2weelz
Found them for $39.95. Thanks