Page 1 of 3
Fumbling my way through a hybrid build
Posted: 10:33 pm May 07 2012
by Faint333
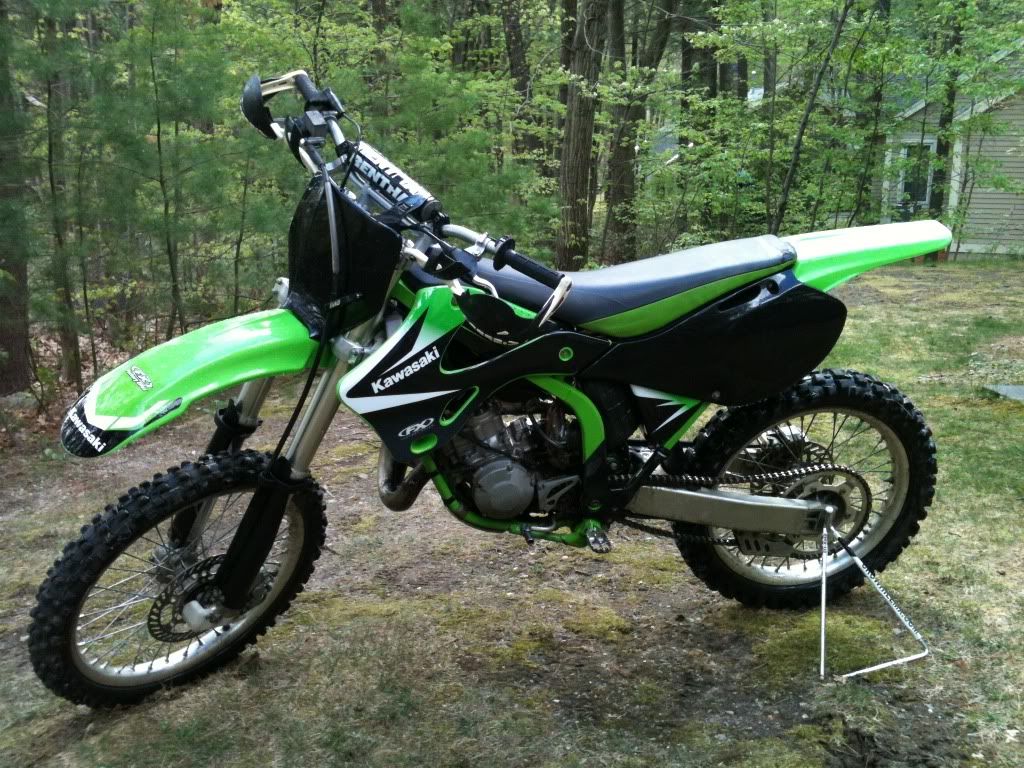
I might as well post my progress (and lack of at times) of this hybrid build project. I started with my 2002 KX 125 which I was riding up until the day I sold the motor. I then bought a 2003 KDX 220R that needed a little TLC and maintenance.
Poor KX doesn't know it's about to be torn apart and will never be the same.
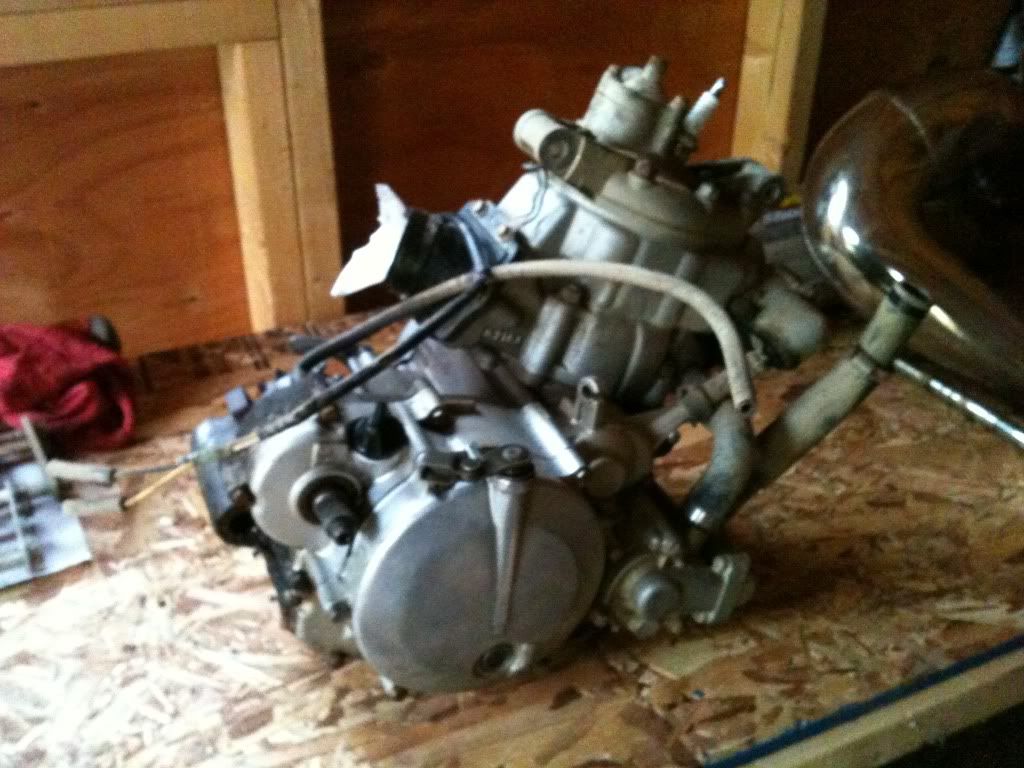
The KDX after washing it up getting ready to be torn down.

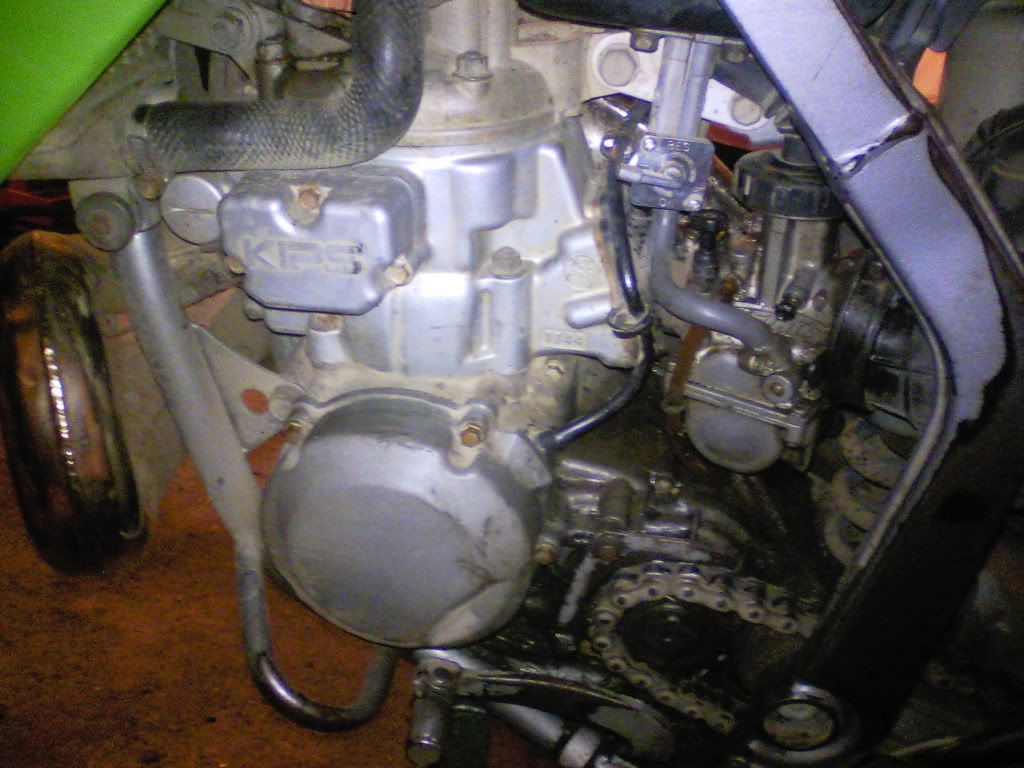
Closeup of the KDX motor, lots of oil under the case.
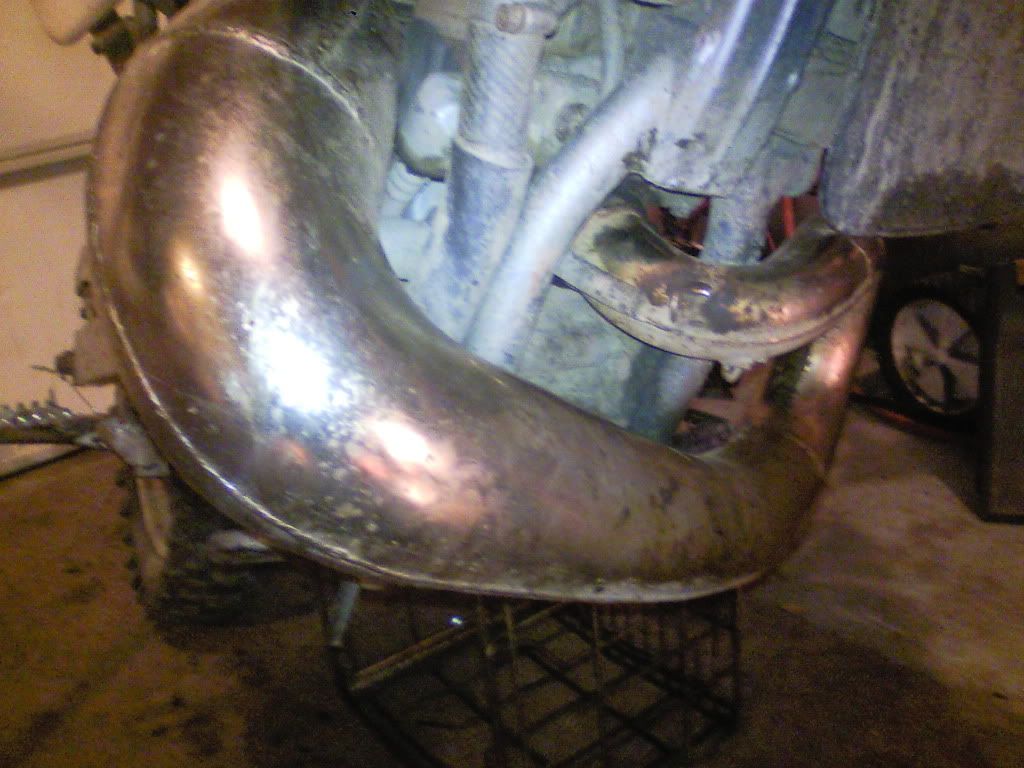
Woods pipe is in great shape, just dirty.
How to fumble your way through a hybrid build
Posted: 10:40 pm May 07 2012
by Faint333
Tearing down the KDX, quick and painless
Cleaned up the motor a little bit and took a shot with it out of the bike.
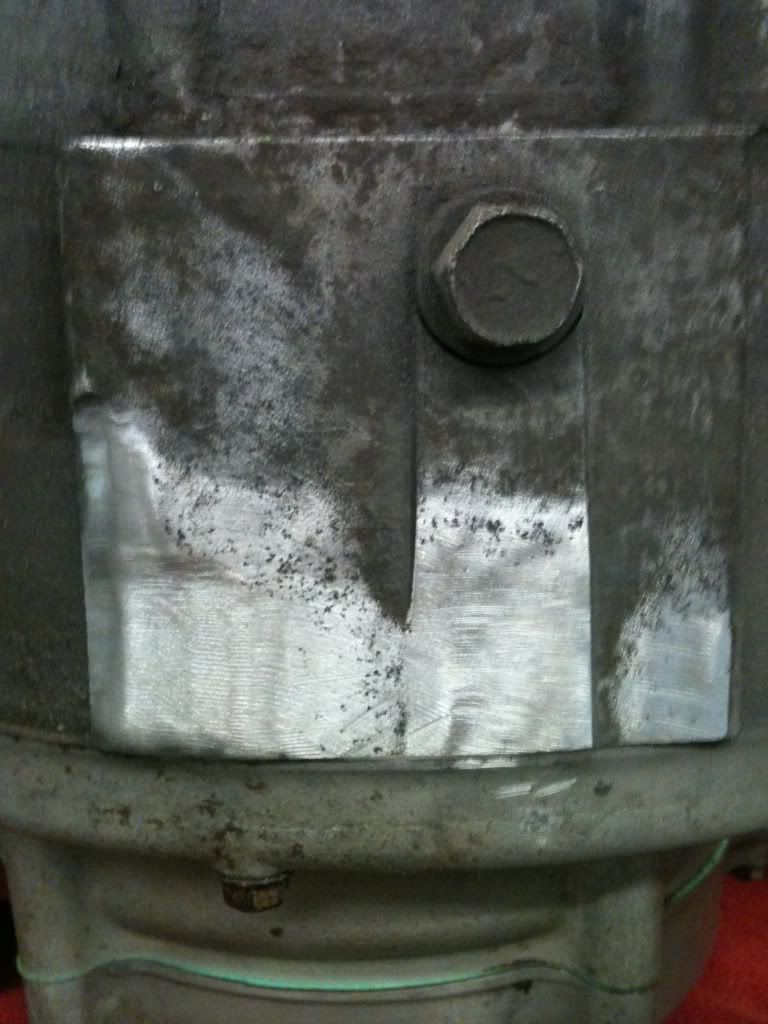
Found a nice JB weld spot on the clutch cover... somehow I didn't notice this earlier. Haha
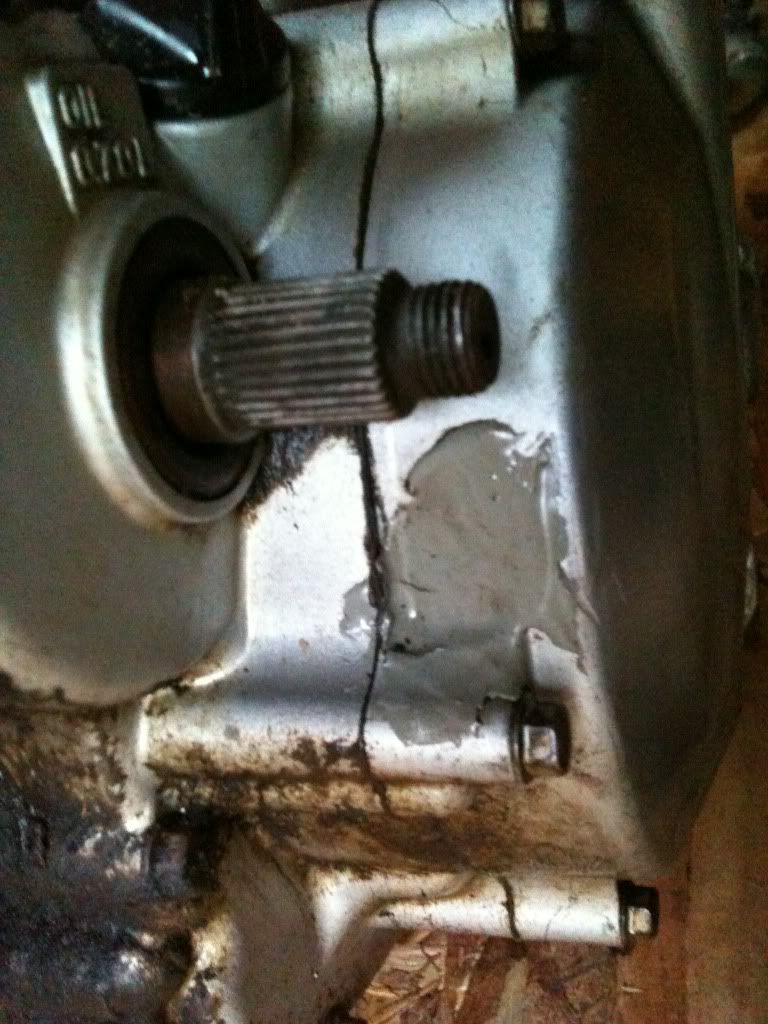
Culprit of much leakage!
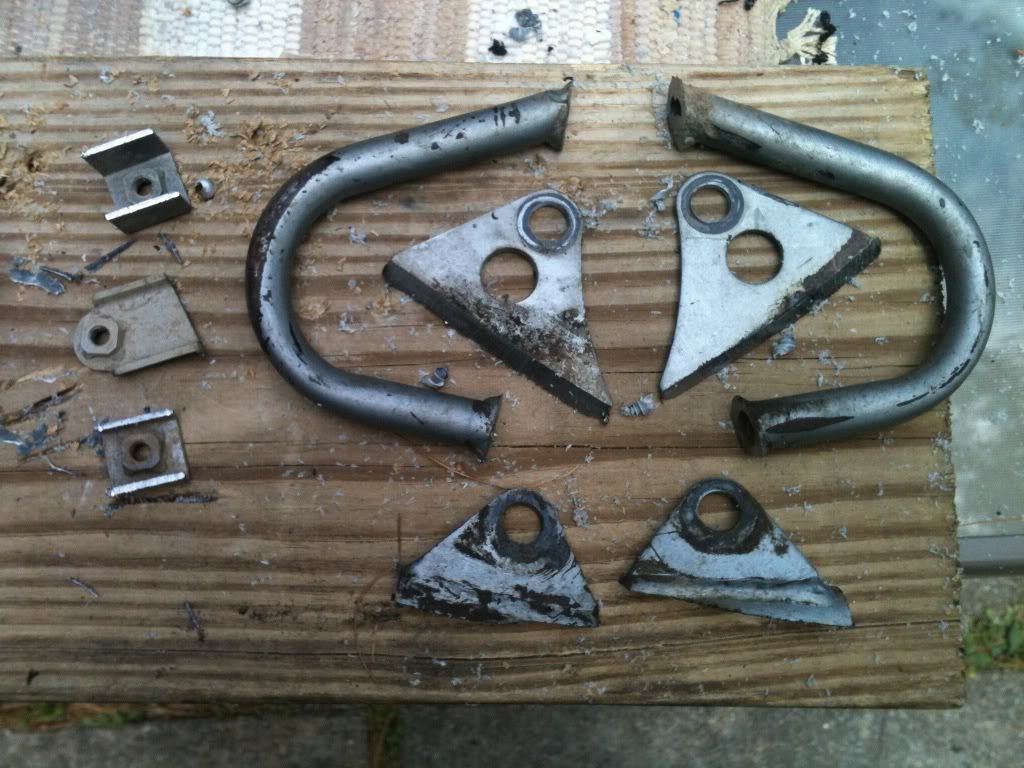
I hacksawed the rear headstay off..
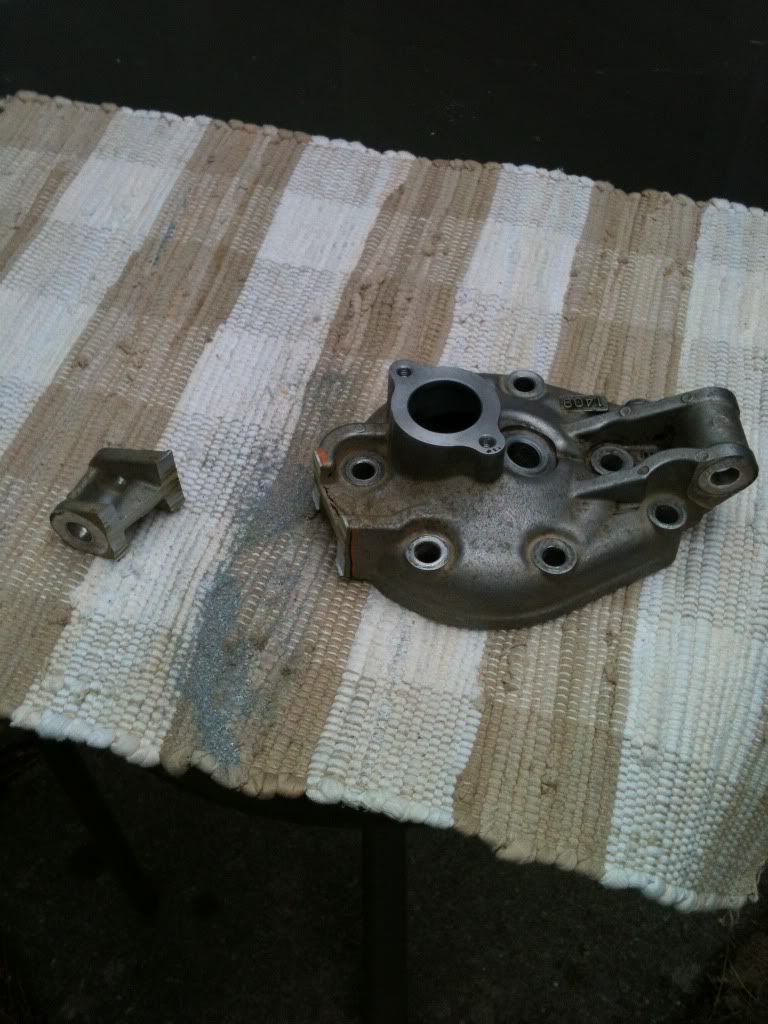
and then grinded the rest down to this result.
Now the carb and head are on their way to RB Designs!

Fumbling my way through a hybrid build
Posted: 10:45 pm May 07 2012
by Faint333
Here is a side by side comparison of my kdx and kx air boots.
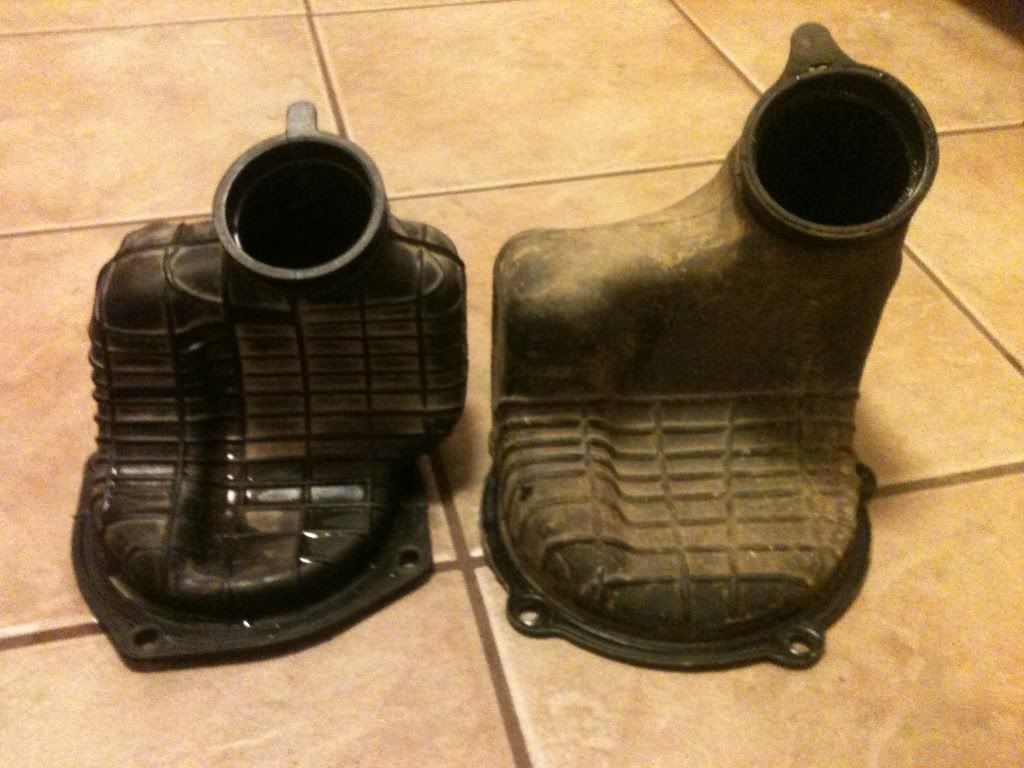
I can see why people say the KX boot basically eats the KDX carb!
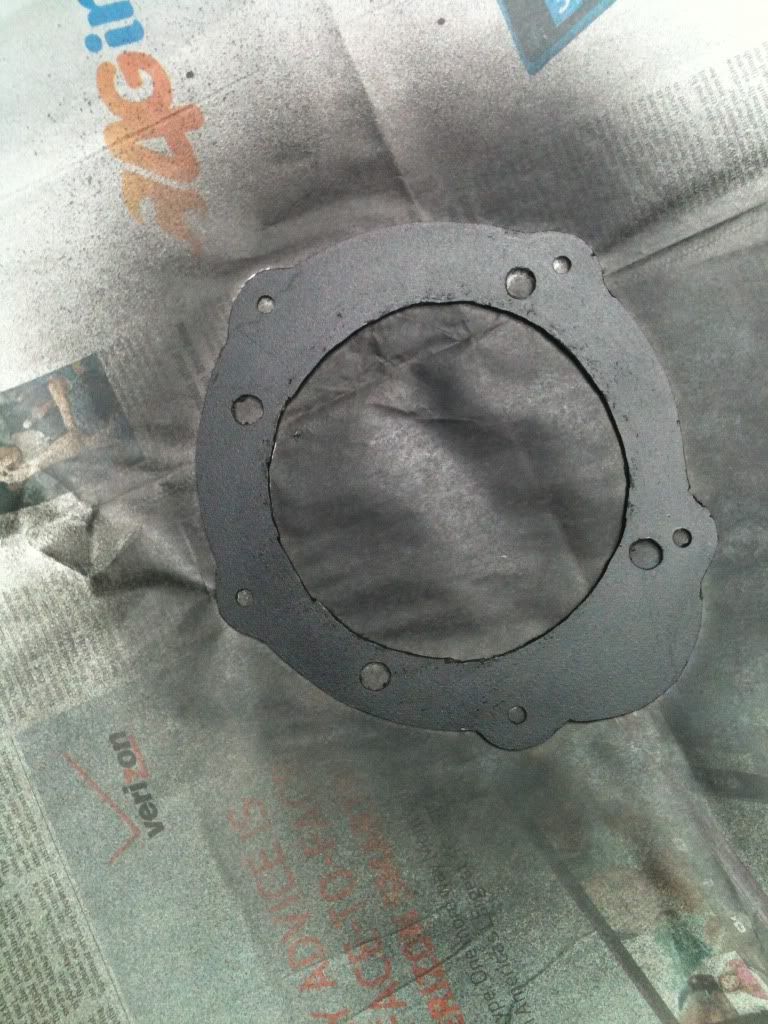
I made some stencils and cut out a test piece of plastic, if it works well when all is together I will probably go with aluminum.
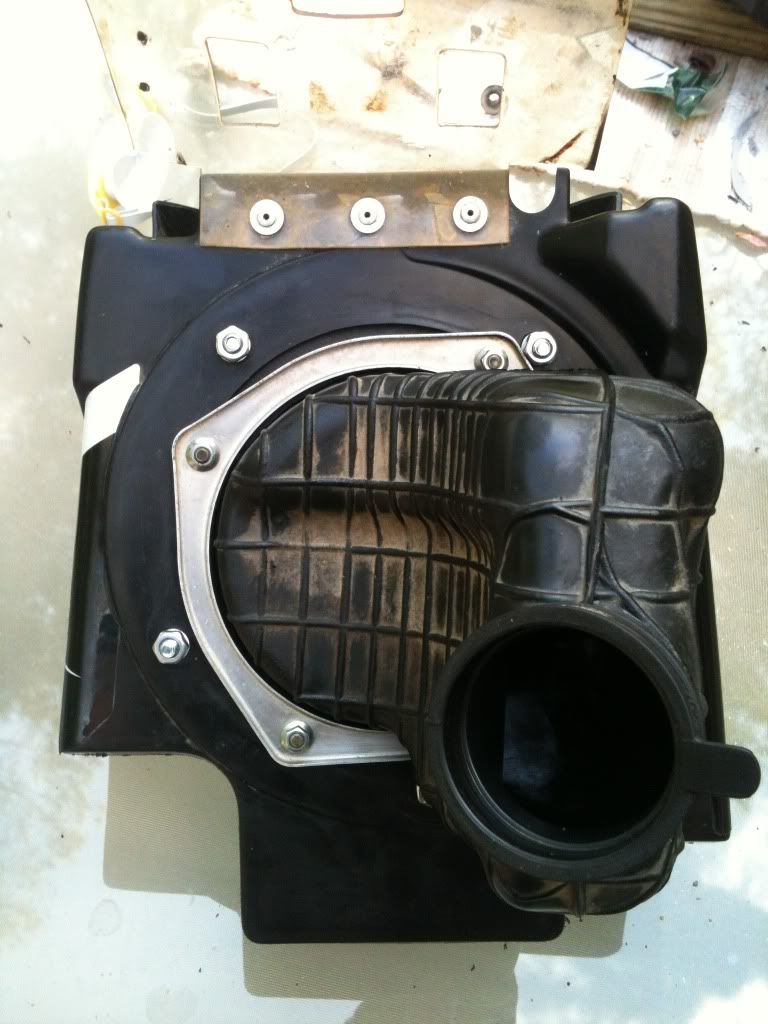
KDX air boot mated to KX air box with the plastic bracket. I just hope it clears the rear shock...
Fumbling my way through a hybrid build
Posted: 05:39 am May 08 2012
by Tedh98
The air box/boot is looking good. Do you have the KDX engine in the KX frame to get the boot positioned?
The air box is the single item I spent the most time messing around with. I know it didn't really work out this way, but it felt like I spent 1/2 my time on the air box and the other 1/2 doing everything else.
Fumbling my way through a hybrid build
Posted: 09:43 am May 08 2012
by Faint333
The motor isn't in yet, hopefully this weekend or soon after. I'll probably have to make adjustments to the air box bracket but that's fine. I cut a bunch of mounts and the frame loops off the kdx frame with my sawzall. If I can re use them that's one less thing to do.
Also cut the swing arm. I was originally going to match it to the size of the KDX swing arm but figured I'd go with the 9mm each side (to match KDX it would be more than 9mm.)
Fumbling my way through a hybrid build
Posted: 10:13 am May 08 2012
by Faint333
Right now I'm wishing I got the measurement of the KX rear mount to find the difference of the KDX rear mount, and divide by two to get the rough bushing size. Did most of you guys just take off small increments at a time and test fit to get the bushing size?
Fumbling my way through a hybrid build
Posted: 10:16 am May 08 2012
by doctord23
Nice job on the airbox boot mount. I may have to try that myself. Be sure and show us a picture when you get it mounted.
I personally just used the KX boot on mine. Here's how:
I had an old airbox off of an 87 KDX. I cut the end off where is slides over the carb. I cut it just long enough that the stop was left so it only slides onto the carb so far.
I could do the same thing with the KDX boot, but why ruin it.
The piece I cut fits tight on the KDX carb and and is just the right thickness to allow the KX boot to slide over it.
It is a bit of a pain to get the KX boot on as you have to pull the subframe off and get the boot in position and clamped down before you tighten down the subframe, but it works.
The KX boot is a little compressed, but still has plenty of airflow. A lot more than the KDX airbox anyway.
Fumbling my way through a hybrid build
Posted: 10:24 am May 08 2012
by scheckaet
Faint333 wrote:Right now I'm wishing I got the measurement of the KX rear mount to find the difference of the KDX rear mount, and divide by two to get the rough bushing size. Did most of you guys just take off small increments at a time and test fit to get the bushing size?
yup and then slowly filled away the excess till it was a perfect fit.
Fumbling my way through a hybrid build
Posted: 10:35 am May 08 2012
by doctord23
Faint333 wrote:Right now I'm wishing I got the measurement of the KX rear mount to find the difference of the KDX rear mount, and divide by two to get the rough bushing size. Did most of you guys just take off small increments at a time and test fit to get the bushing size?
I did one a couple of weeks ago and it is almost exactly 18mm of difference by taking the difference between the two engine case widths; 9mm each side.
I then used a piece of masking tape on the sleeves and got them close with a grinder, then used a flat stone to get them level. It was a snug fit when I was done.
The good news is that you can always buy new sleeves if something goes wrong as they are the critical part.
Fumbling my way through a hybrid build
Posted: 11:11 am May 08 2012
by scheckaet
mine was a bit offet so I transferred it to the new swingarm. measure twice, cut once

Fumbling my way through a hybrid build
Posted: 11:19 am May 08 2012
by Tedh98
Before you start cutting and assume you should take off equal amounts from each bushing, take some measurements or set-up the swingarm so it is in line with the sprocket. You can tell where the chain ran on the slider before, so make sure that lines up with the sprocket. Then see how much you need to take off on each side.
While many have been able to split the difference, mine wasn't exactly 1/2 on each side.
I started cutting down one bushing until the swingarm was in the proper position. Then I started taking off very small amounts on the other bushing until I got the right fit.
As was mentioned before, the swingarm isn't the critical part, the bushings are. Good news is that if you make a mistake, replacement bushings aren't that expensive.
Fumbling my way through a hybrid build
Posted: 07:26 pm May 14 2012
by Faint333
I got my RB carb and head today!
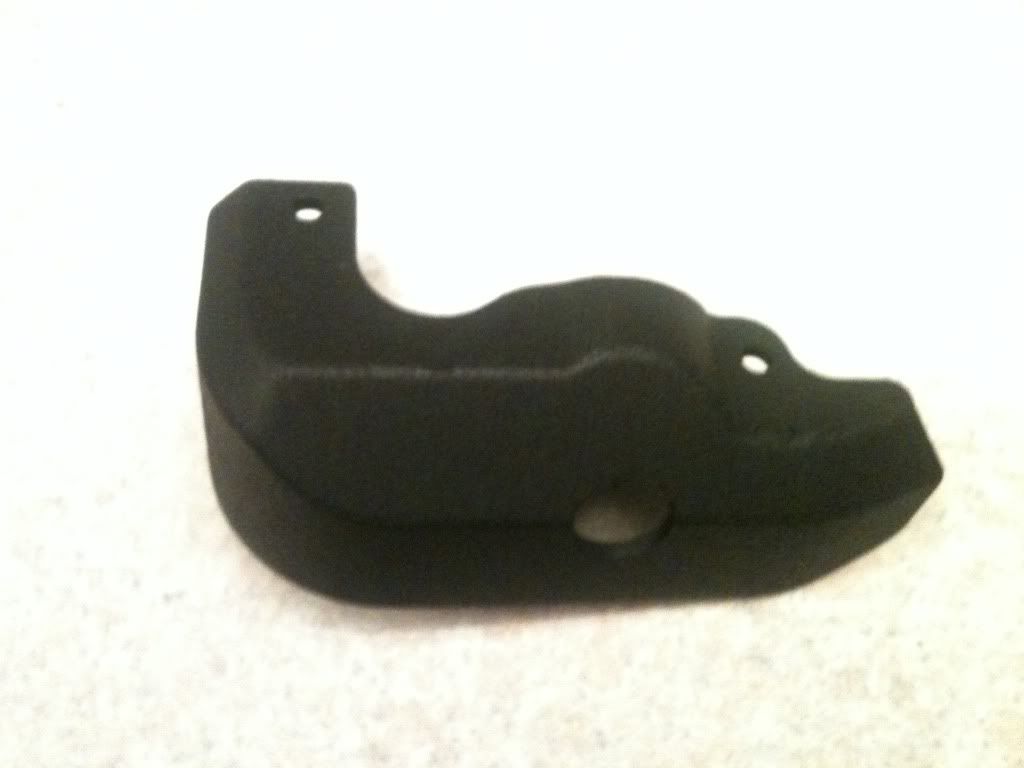
Tomorrow I'll be getting the motor in the frame. I'm just going to do a cheapie spray can job after the mounts are good. I'm thinking of doing a textured blackrustoleum truck bed liner. Any thoughts on that on if it seems like a decent idea or not?
Only downside I can think of is if my riding pants get caught on the texture.
Fumbling my way through a hybrid build
Posted: 06:38 am May 15 2012
by Faint333
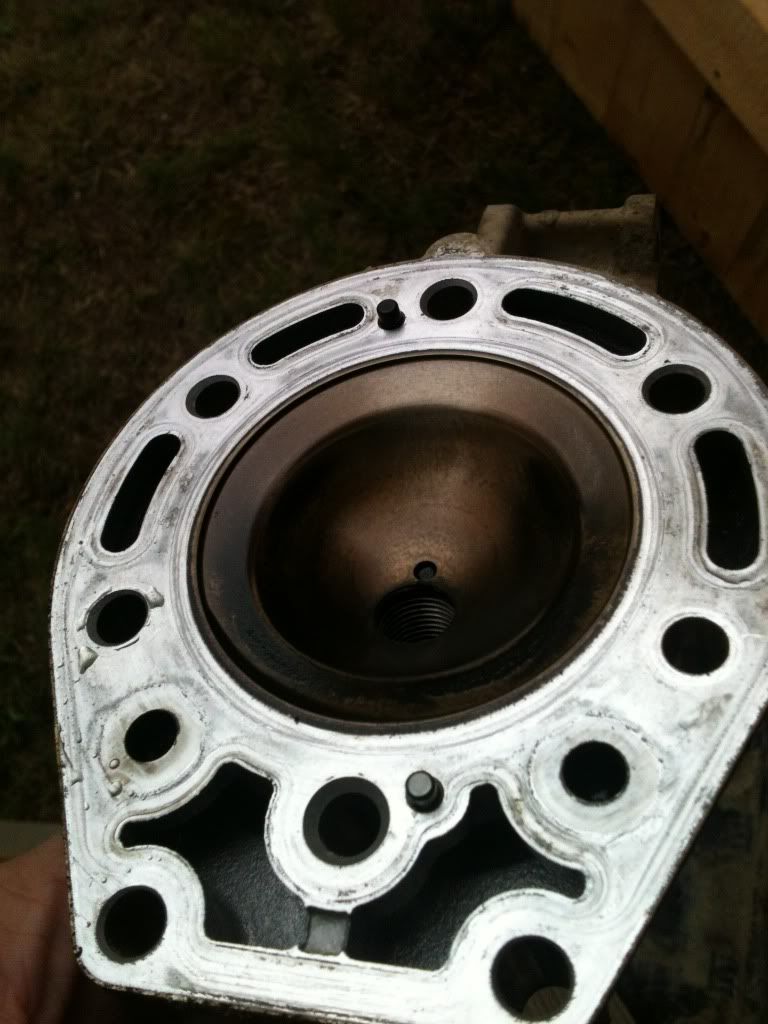
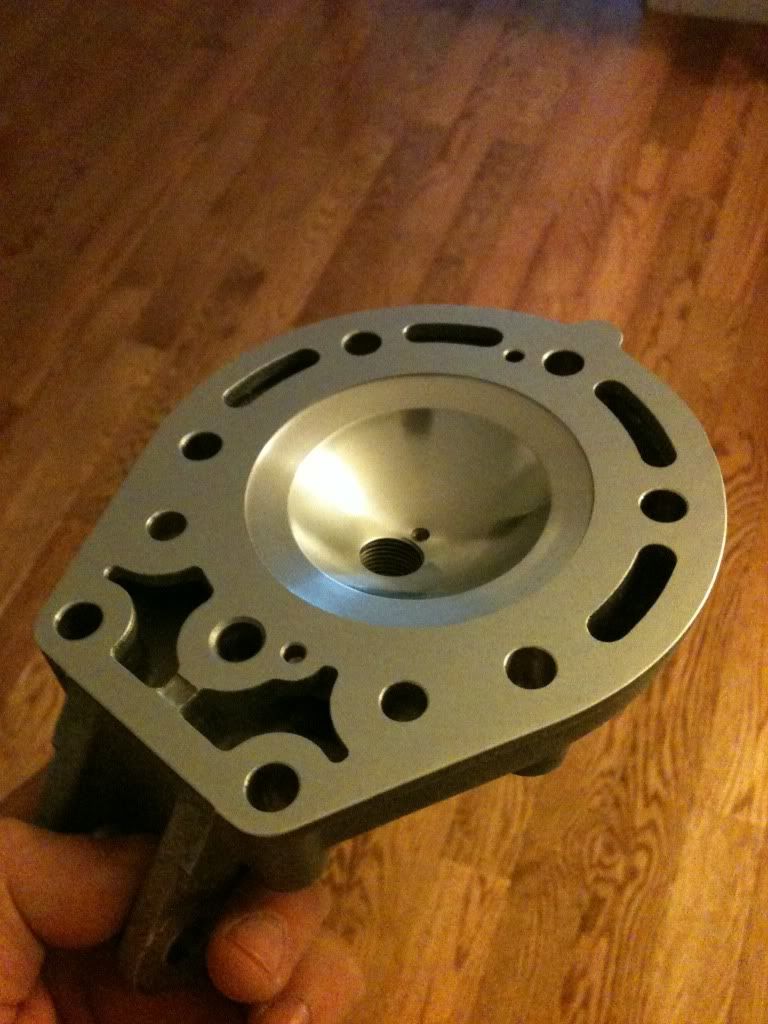
For those of you who want to see a side by side of a stock head vs RB head.
Stock freshly taken off the KDX.
And here is the head back from RB!
Fumbling my way through a hybrid build
Posted: 11:21 pm May 17 2012
by Faint333
I'm in dire need for good tips on bending : denting fmf woods pipe. Everything is tacked in, similar to hrdrokn but he has way more skills.
Part of my solution was to double up gaskets for exhaust for added clearance but with that only one rubber gasket is set in cyl.
Fumbling my way through a hybrid build
Posted: 10:44 pm May 20 2012
by Faint333
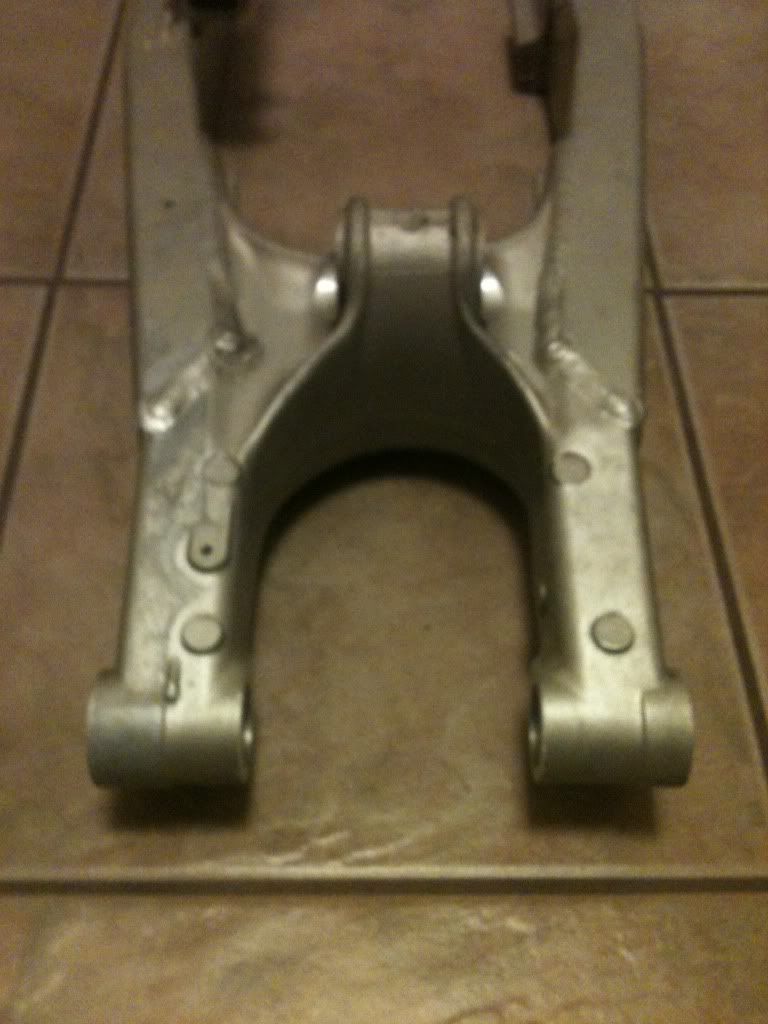
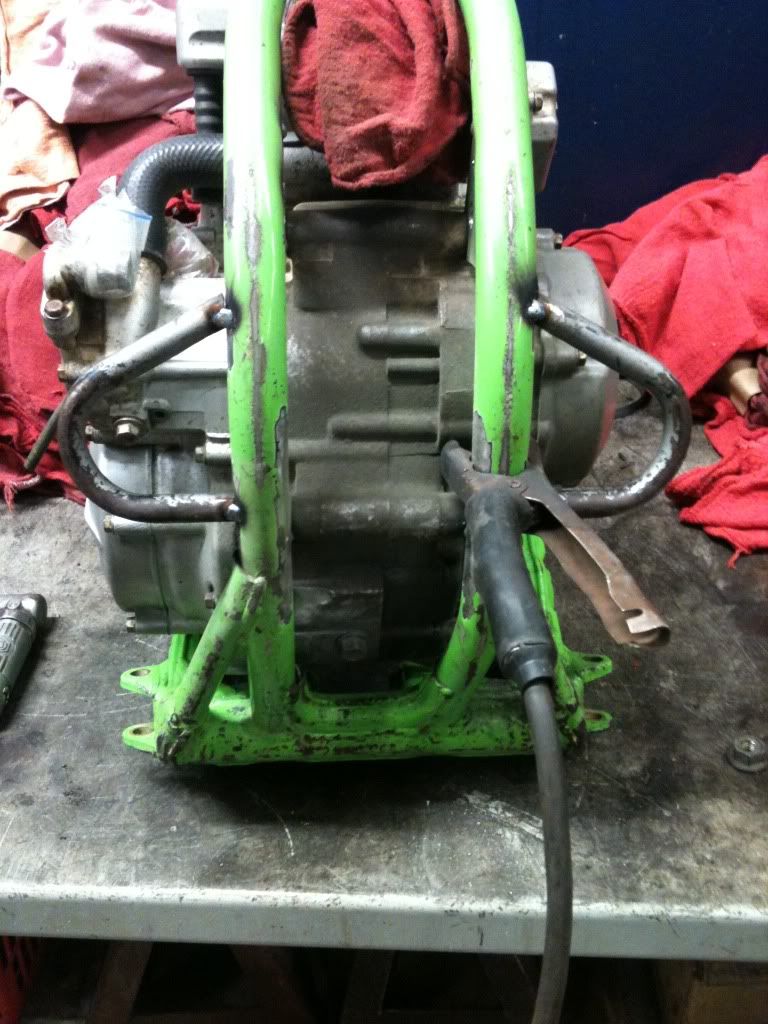
Got the swing arm mounted and test fit the air boot to carb. I didn't have the shock with me to see the clearance but it looks like it should be fine.
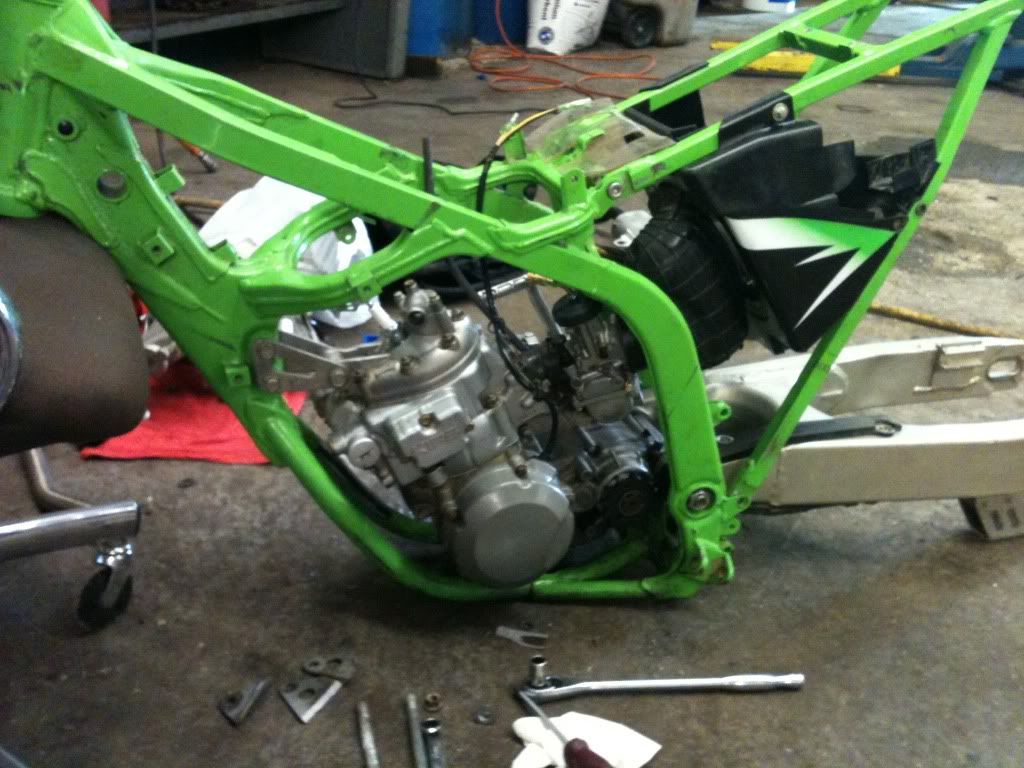
Picture of the motor "floating" between headstay and swing arm.
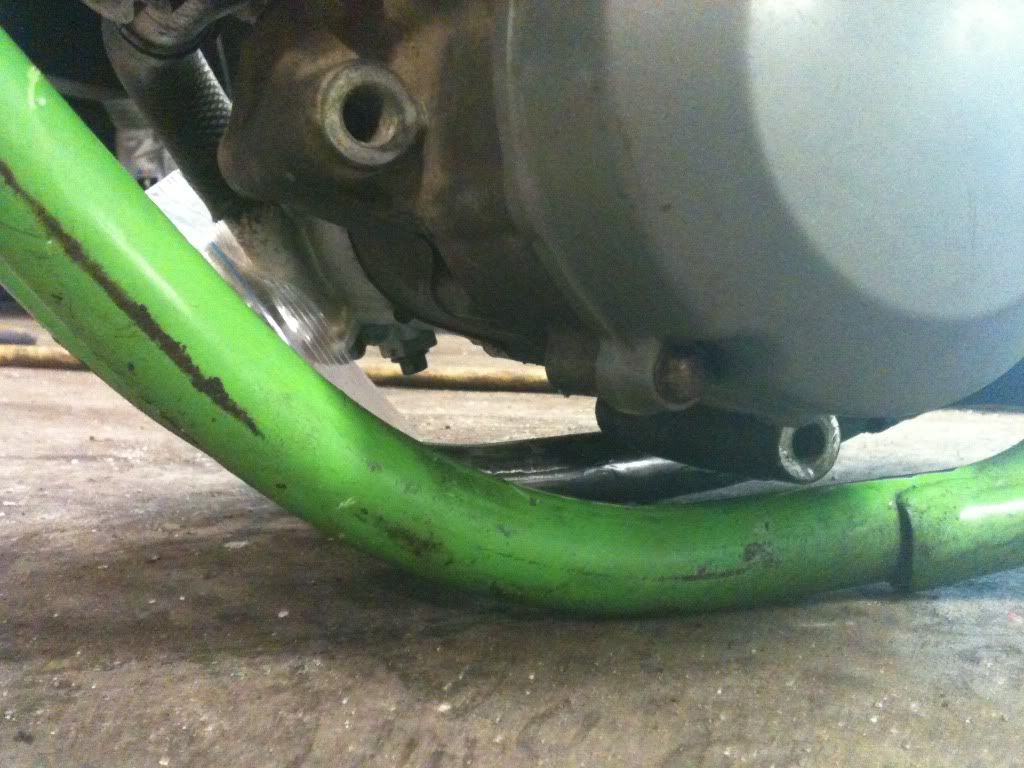
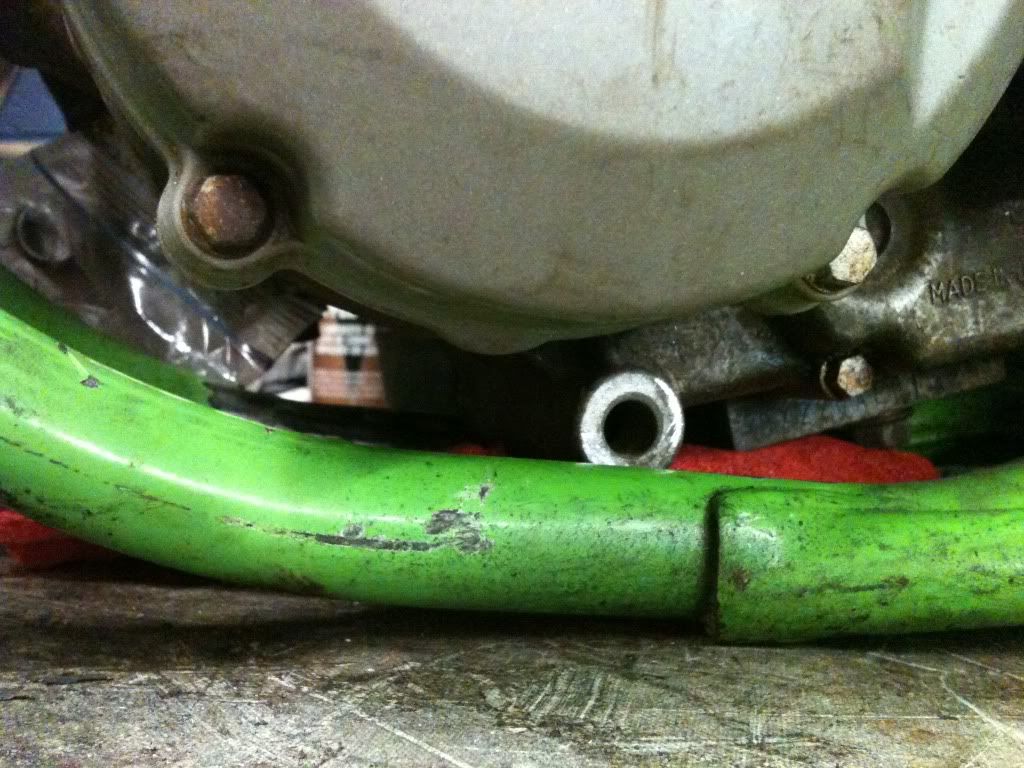
This is why the motor won't move forward farther, a small part on the bottom of the case hits the frame rail
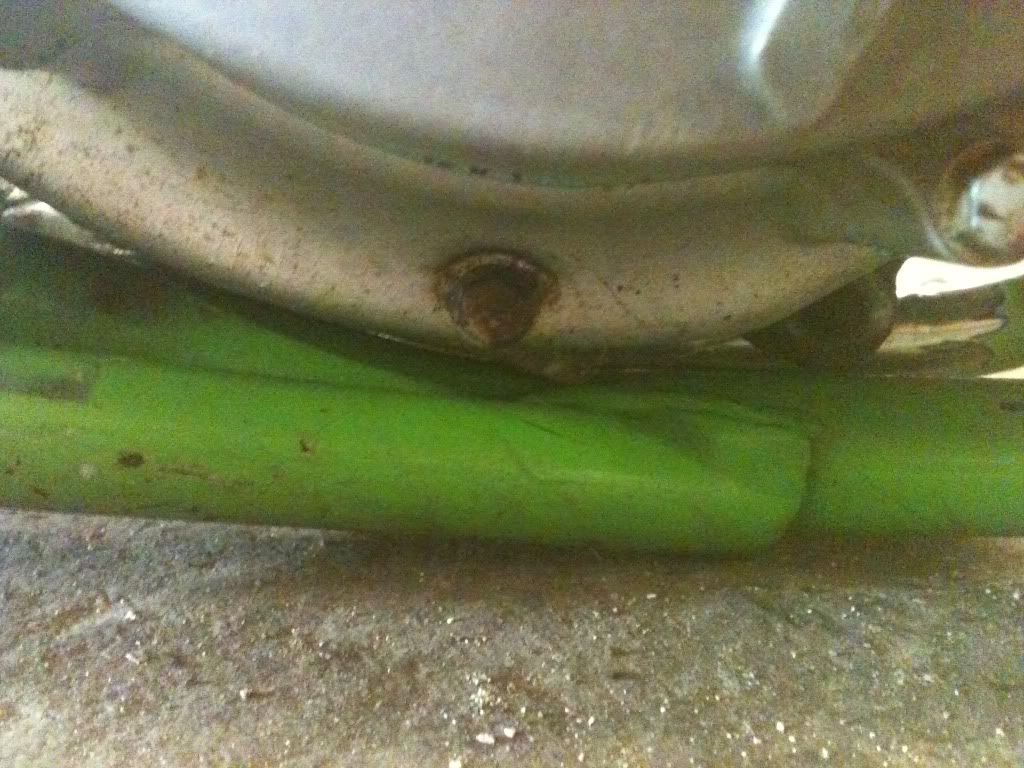
Before Grinding.
After Grinding.
Now the motor can be rotated forward a bit more, the lower mount is resting on the frame in the picture.
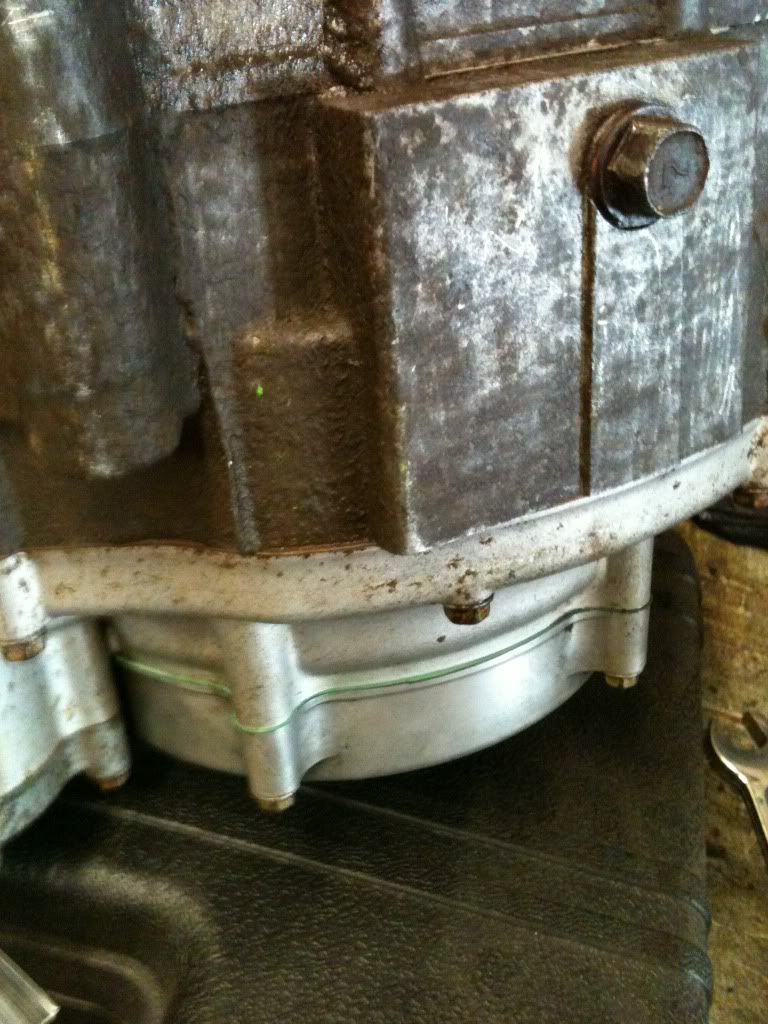
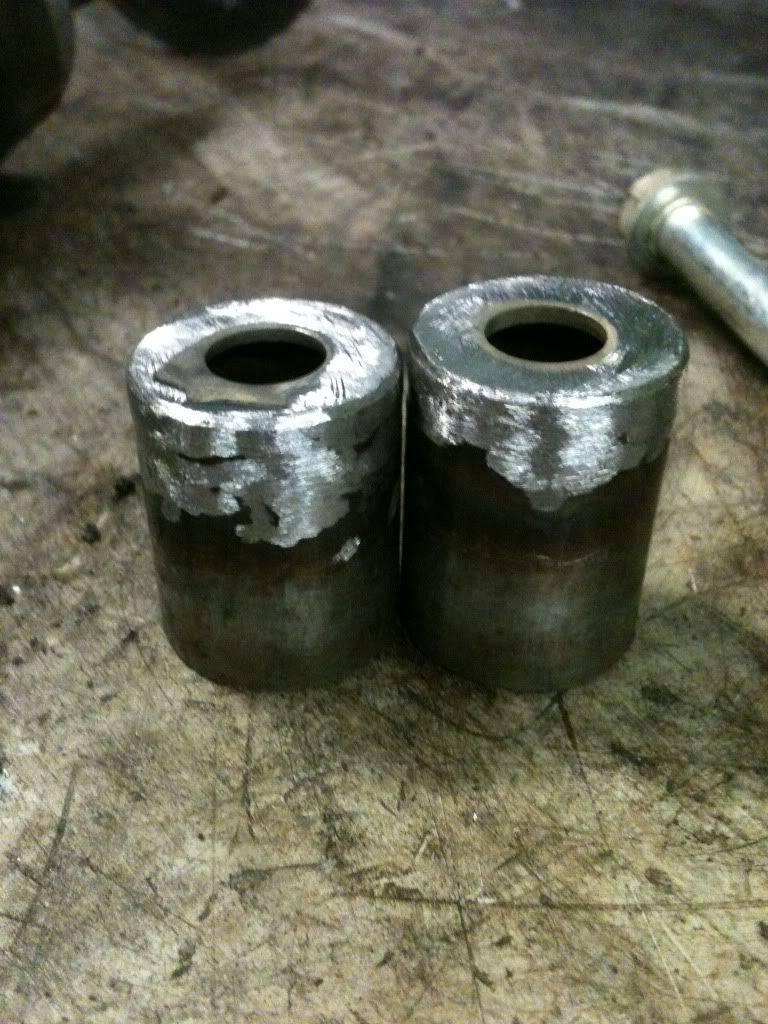
My lower mounts... copied Hrdrokn! Welded a washer onto the end of a 1" diameter steel tube.
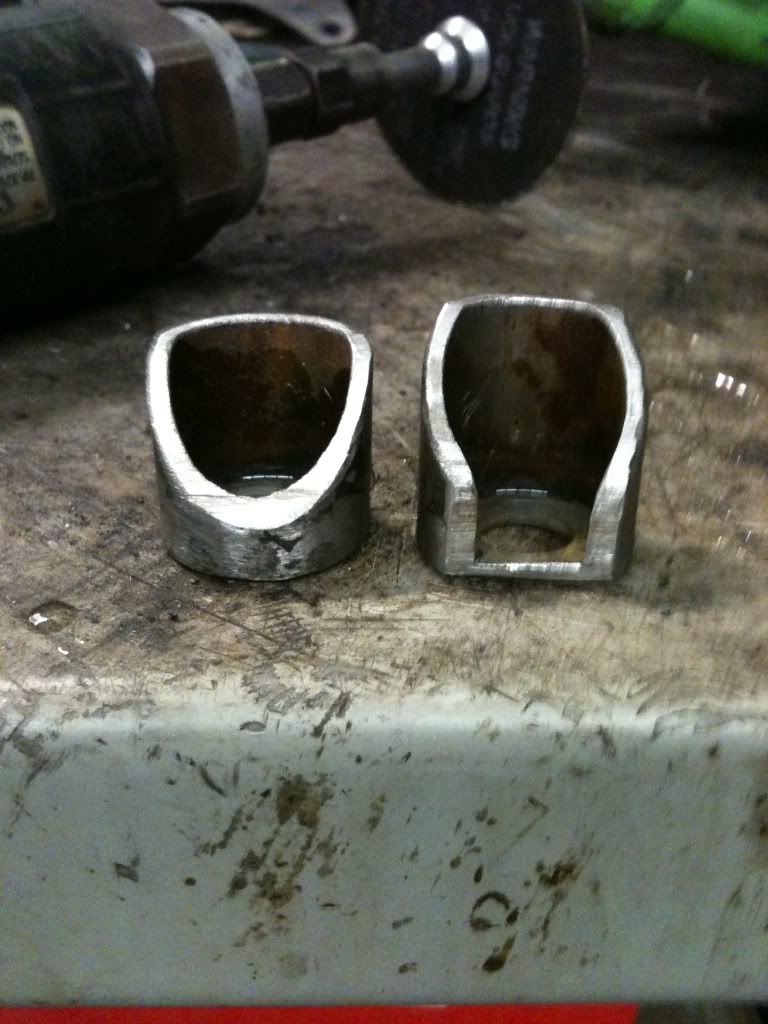
Here they are cut, one side must be shaved down a bit to clear the case.
Got everything tacked up!
Fumbling my way through a hybrid build
Posted: 10:52 pm May 20 2012
by Faint333
Mounted the pipe, welded a mount farther back than the KX one so I could use the stock bushing hanger thing. No clearance issues but like I said I'm using two metal gaskets in the cylinder, I may have to use some silicone if it's leaky.
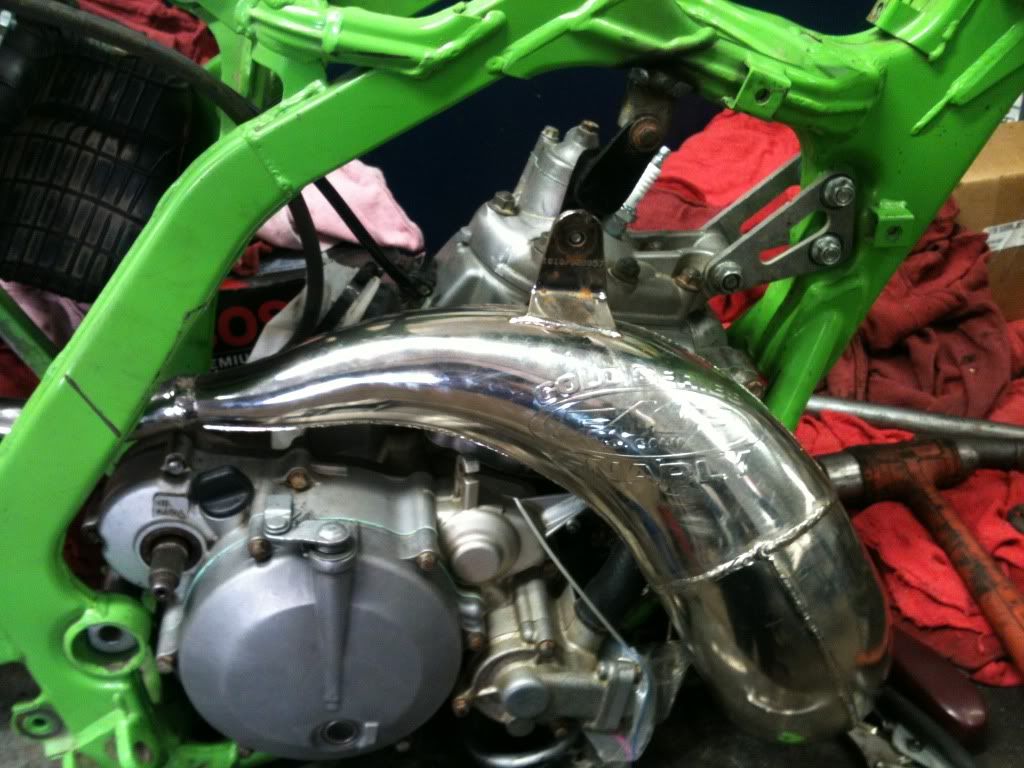
I cut off the pipe to my KX125 turbine core 2 and mounted it up.
Then I took the pipe from the KDX FMF pipe I had laying around and cut/rotated it to fit and tacked/welded.
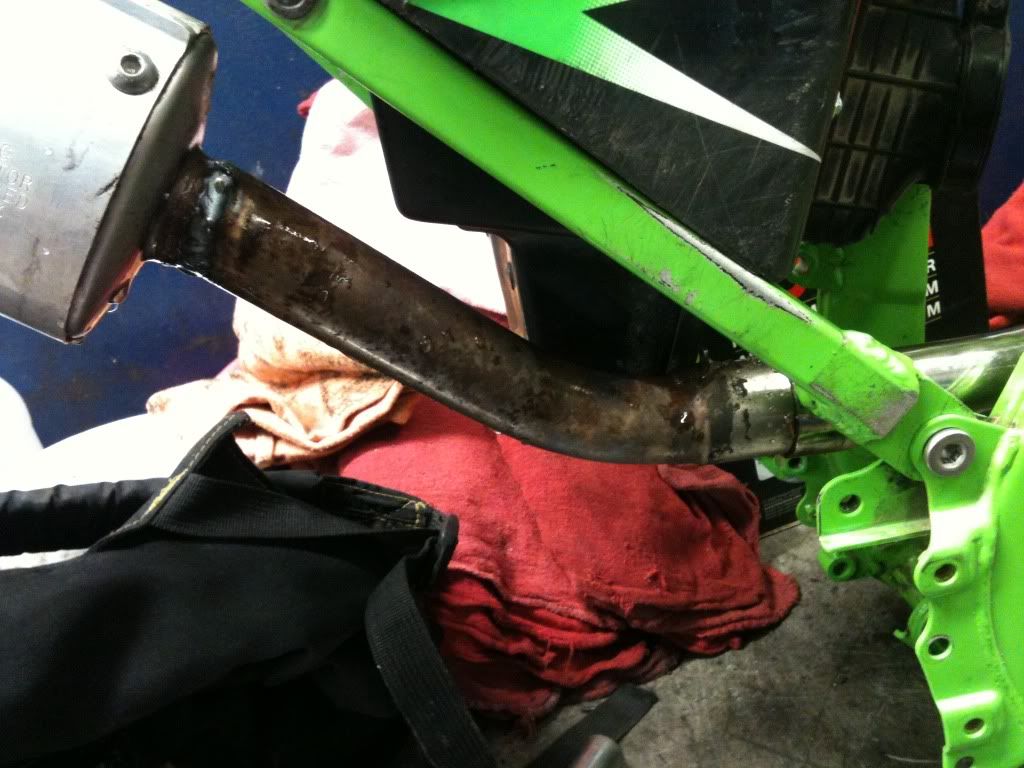
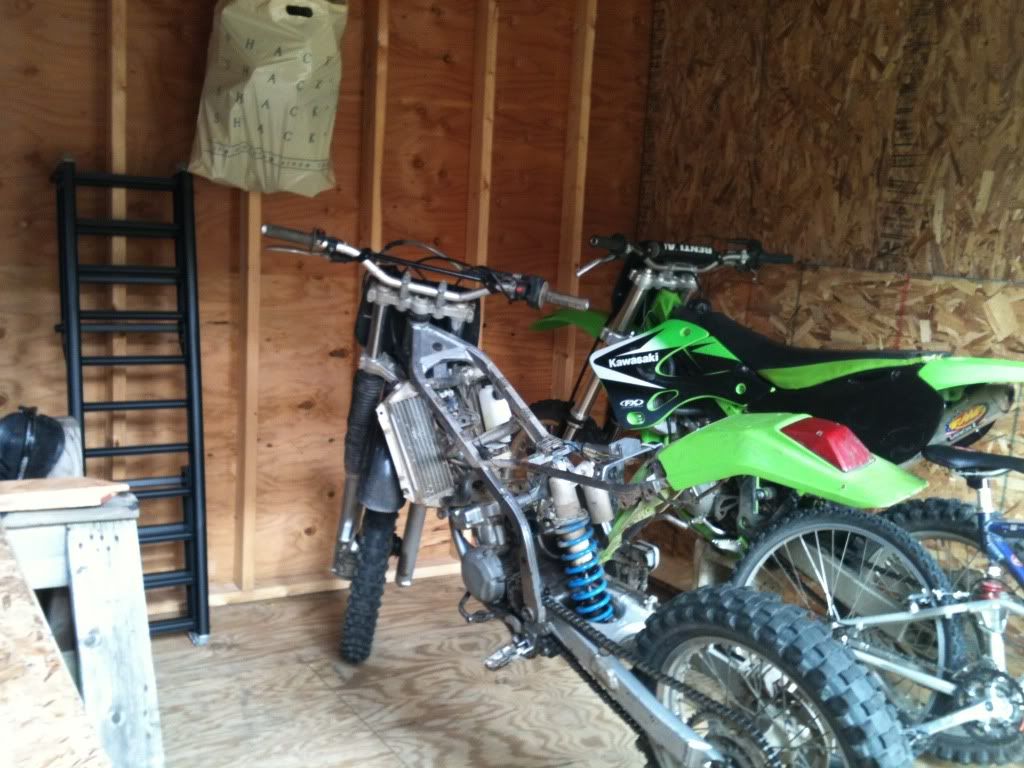
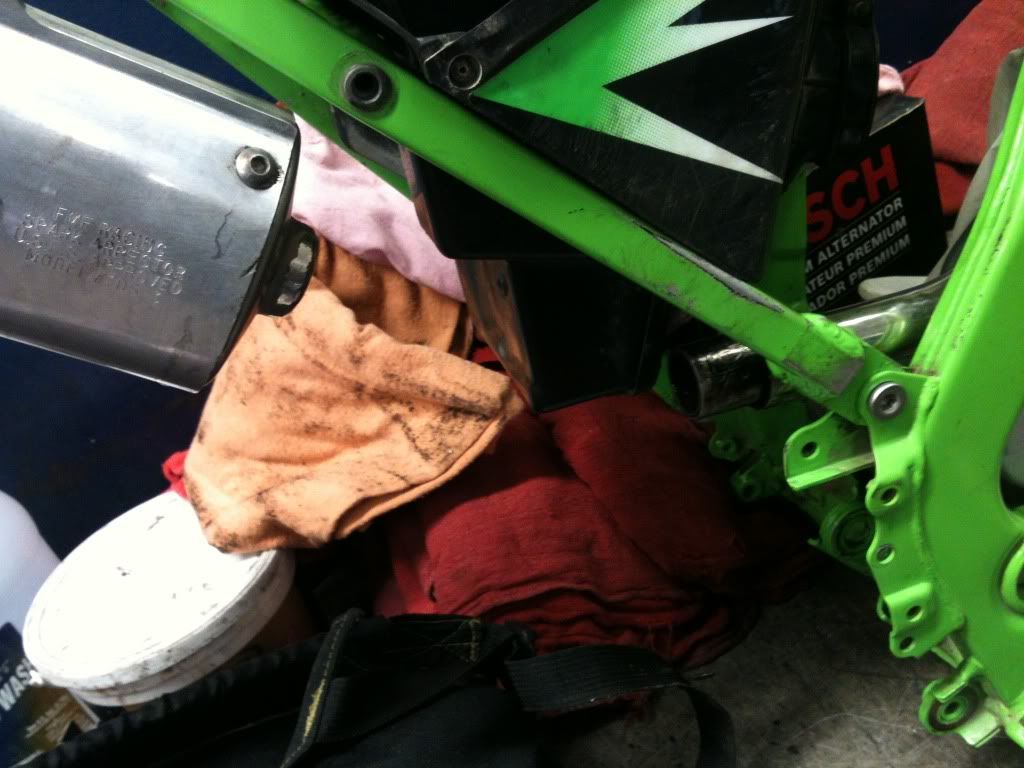
The bike is actually coming together!
Oh, I also cut off the lower mount off the Gnarly pipe and welded a mount onto the front of the frame rail above the pipe. I'll get a picture up in a bit.
Fumbling my way through a hybrid build
Posted: 05:47 am May 21 2012
by dfeckel
Looking good!
Fumbling my way through a hybrid build
Posted: 11:08 am May 21 2012
by Faint333
Thanks!
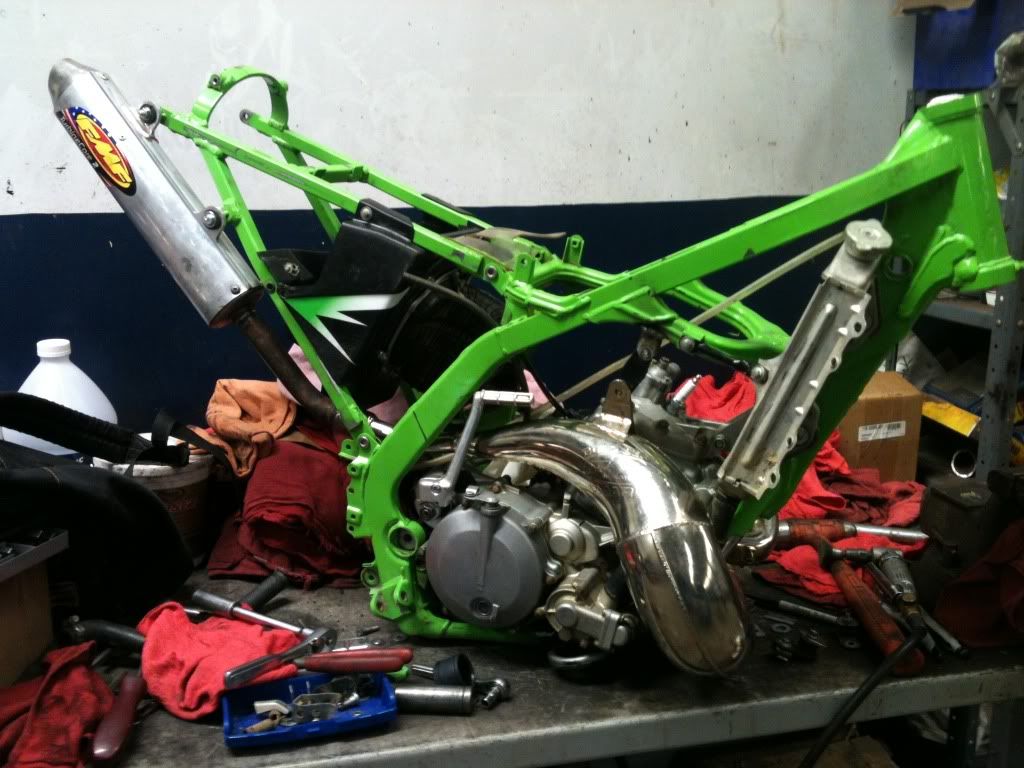
The frame is now at the powder coaters getting some silver color the guy used on a harley tank. I'm not very picky and it looked close enough to what I'm looking for. $250 though...
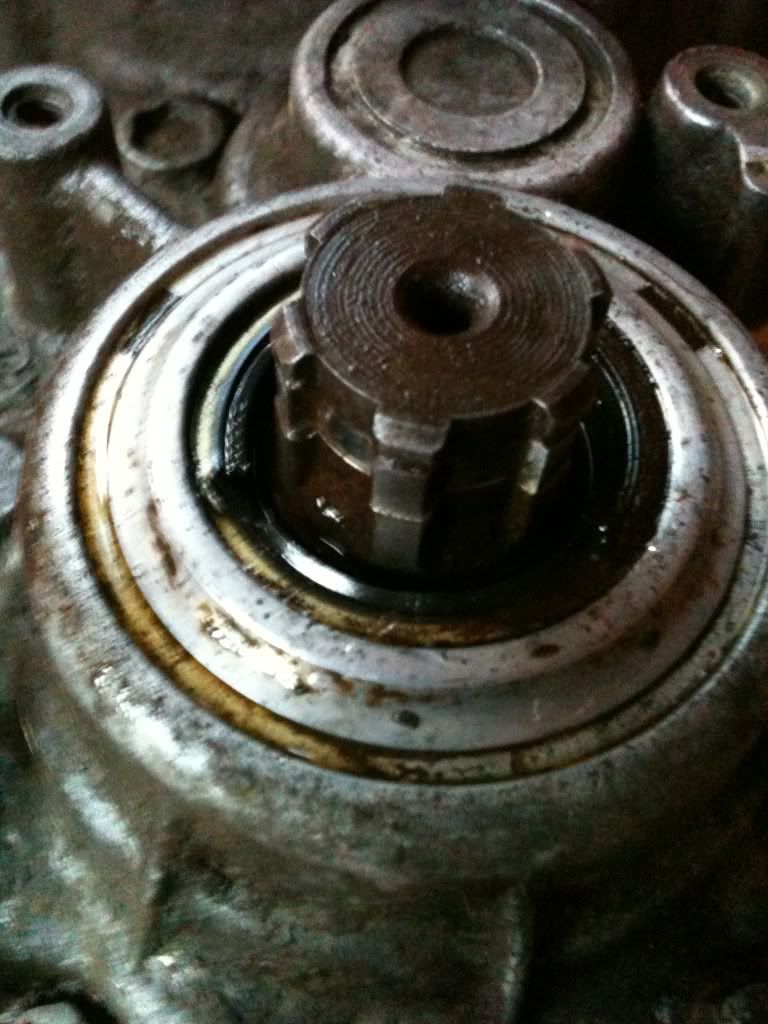
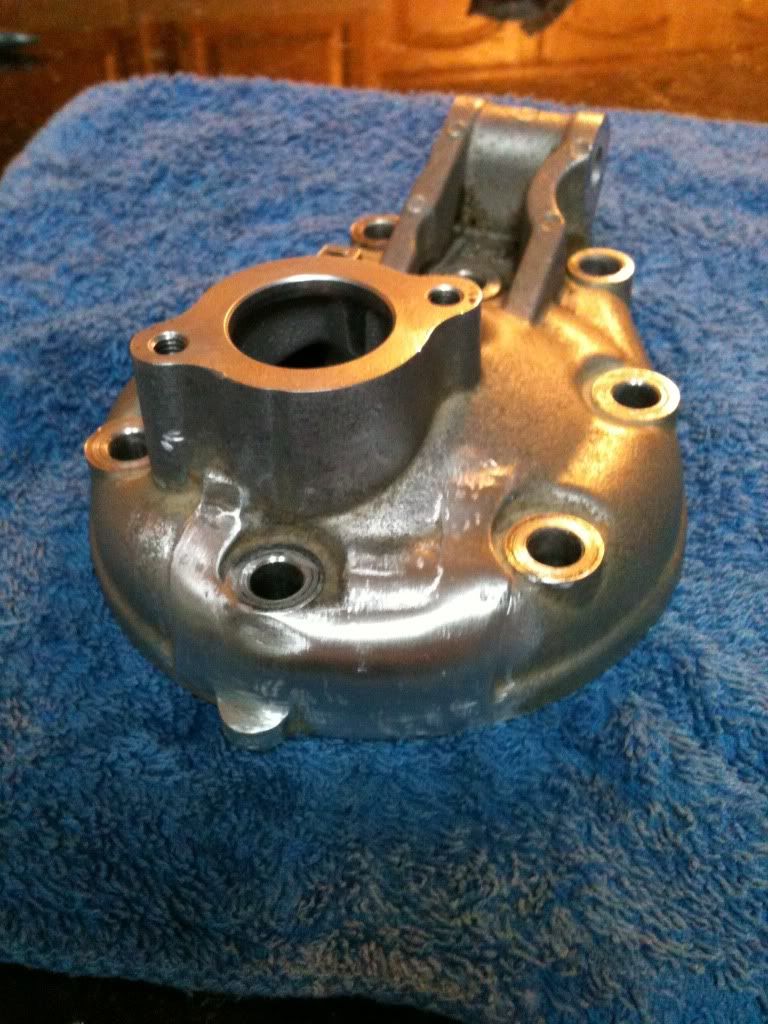
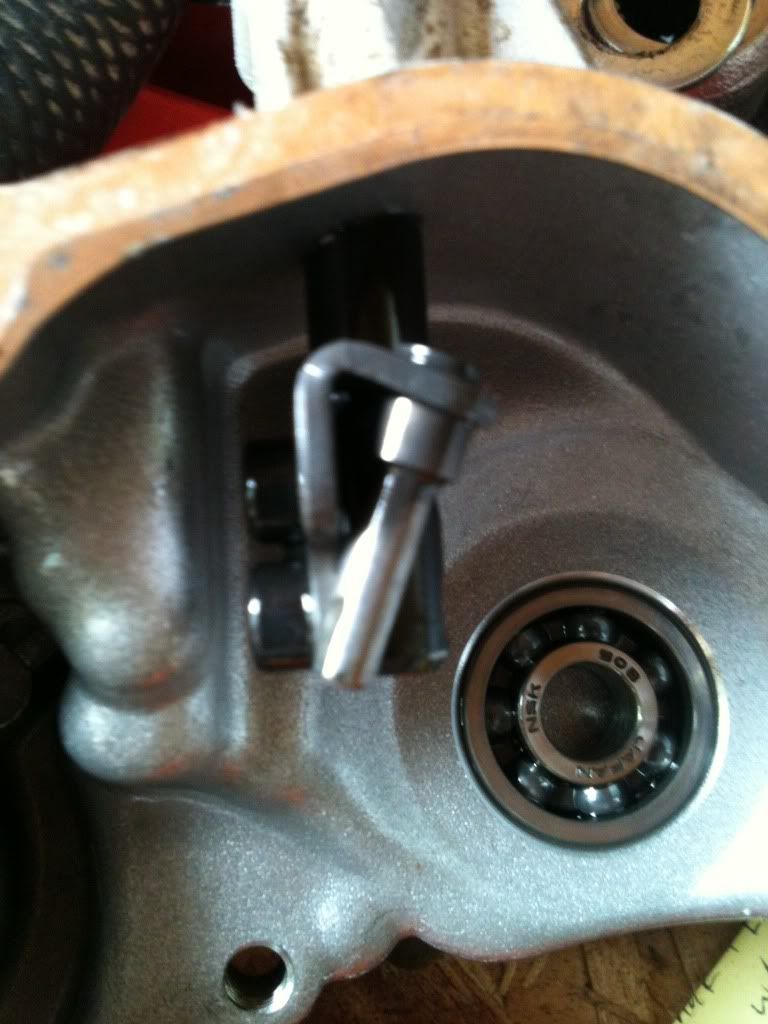
Opened up the inner clutch cover and found the broken kips part. The damn 13236-1260, it's tweaked out bad. I'm glad I didn't run the bike much.

Fumbling my way through a hybrid build
Posted: 12:19 pm May 21 2012
by Slick_Nick
Looking great so far!
Fumbling my way through a hybrid build
Posted: 07:55 pm May 22 2012
by Faint333
Thanks Nick! I can't wait to ride it, hopefully it will be ready for this weekend!
I was bored today and had nothing to work on (this wait is brutal, I haven't gone riding in a few weeks!) so I painted the caliper guards with the truck bed liner by rustoleum. They came out O.K.
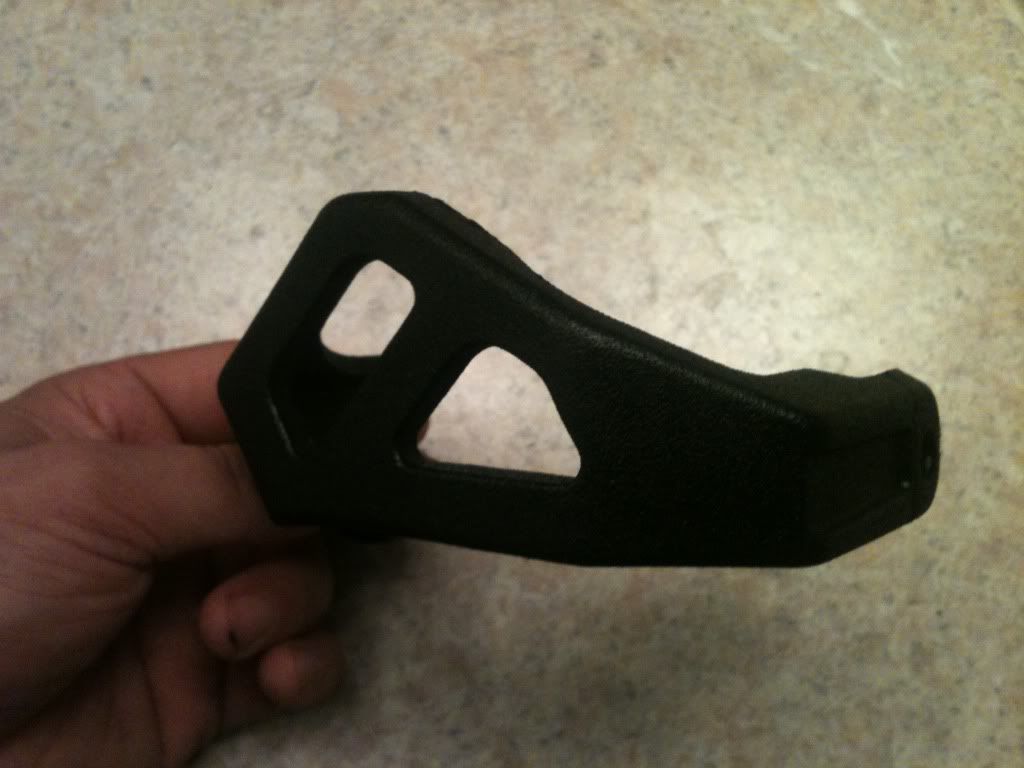
I wonder how long the paint will last, if they end up looking like crap after a few rides i'll just strip it off with acetone...