Ericr, thanks for the info. What’s a parts cleaner?

I’m doing it all by hand.
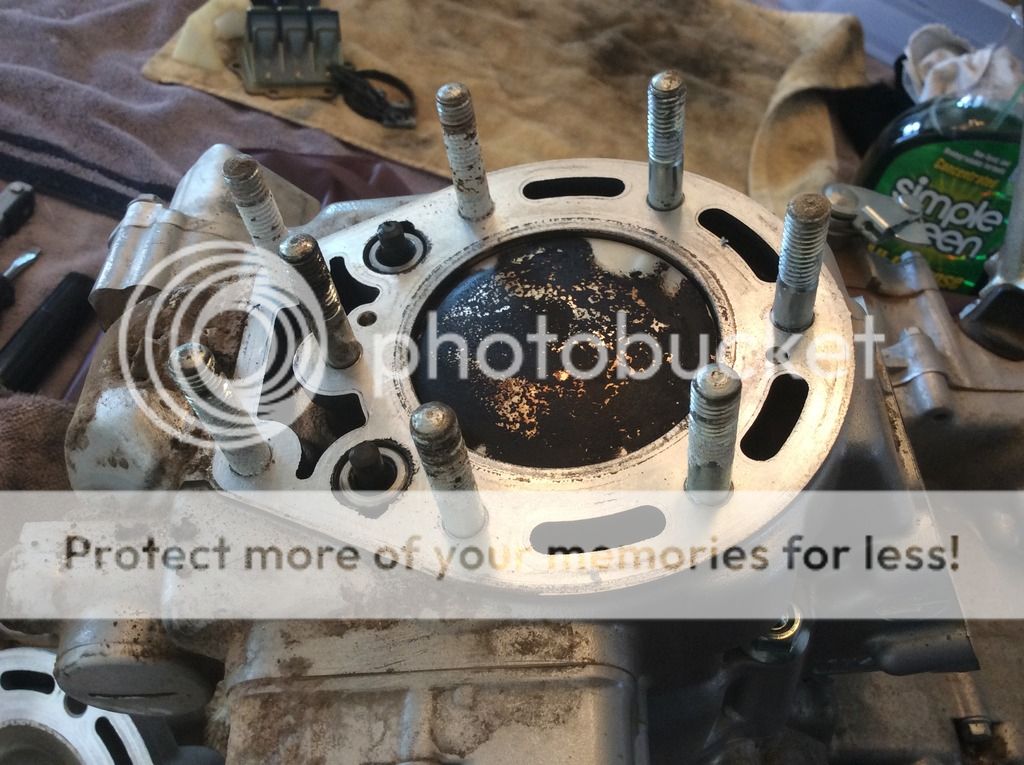
You addressed my question I was gonna ask on the cylinder studs, they are soaking in Kroil for now. I see the white stuff comes off with oil and a little brushing. I may just replace them all if it’s gonna be an continuing issue with rust. Never used naval jelly. Do I need the threadlock them back in?
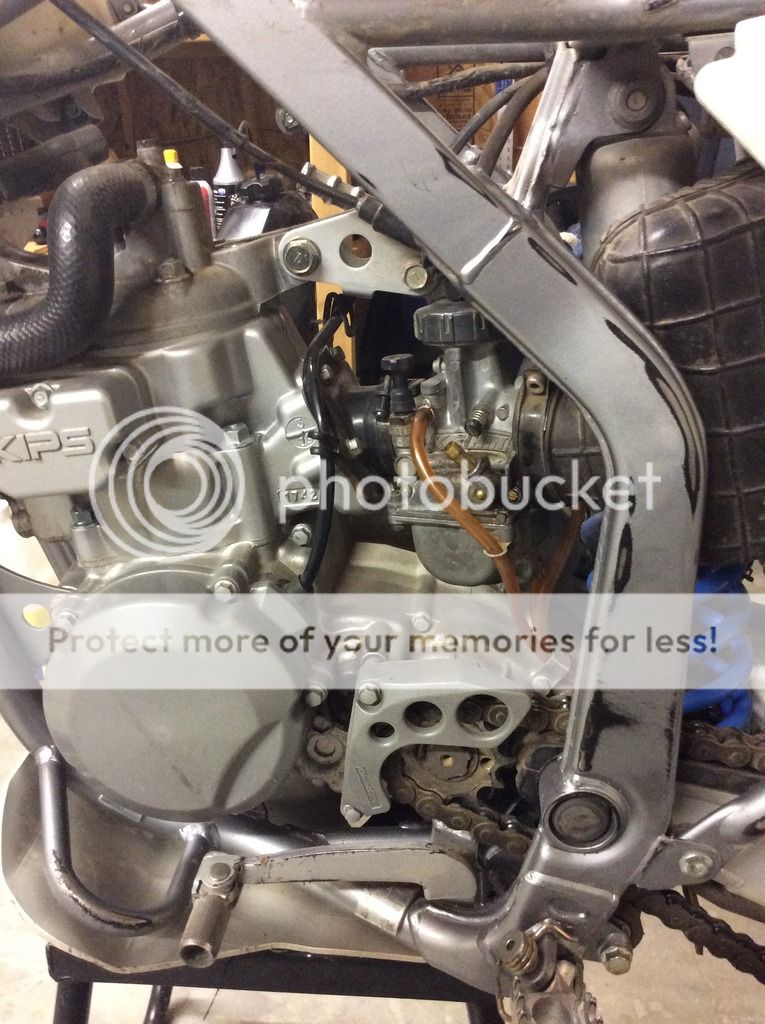
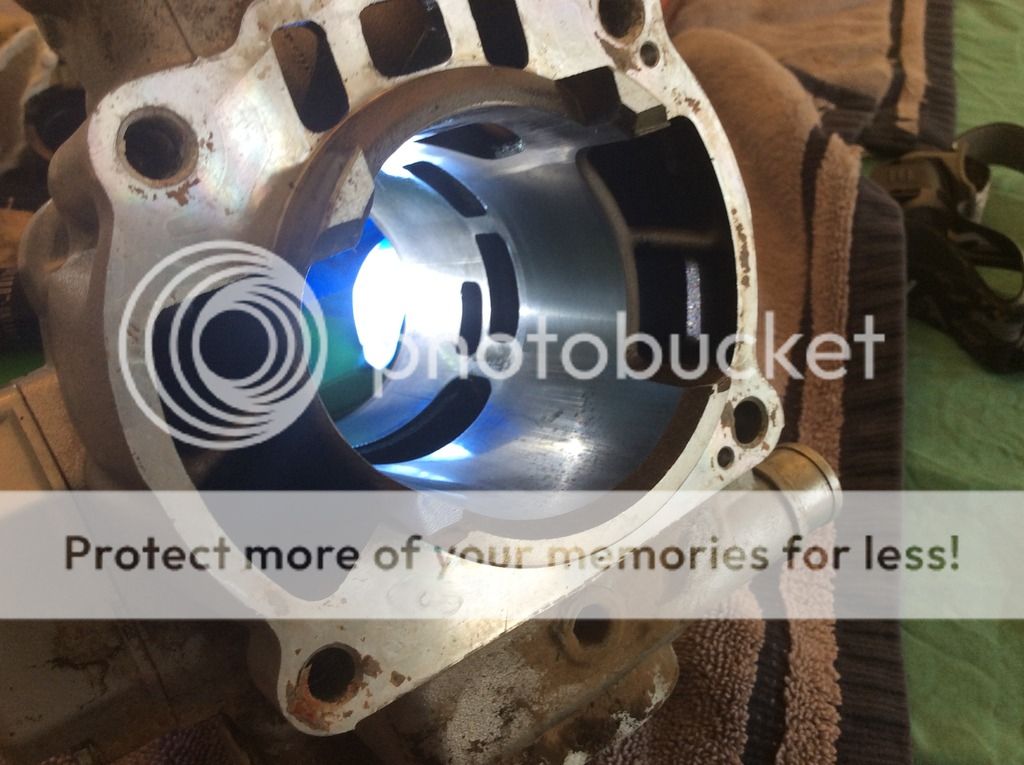
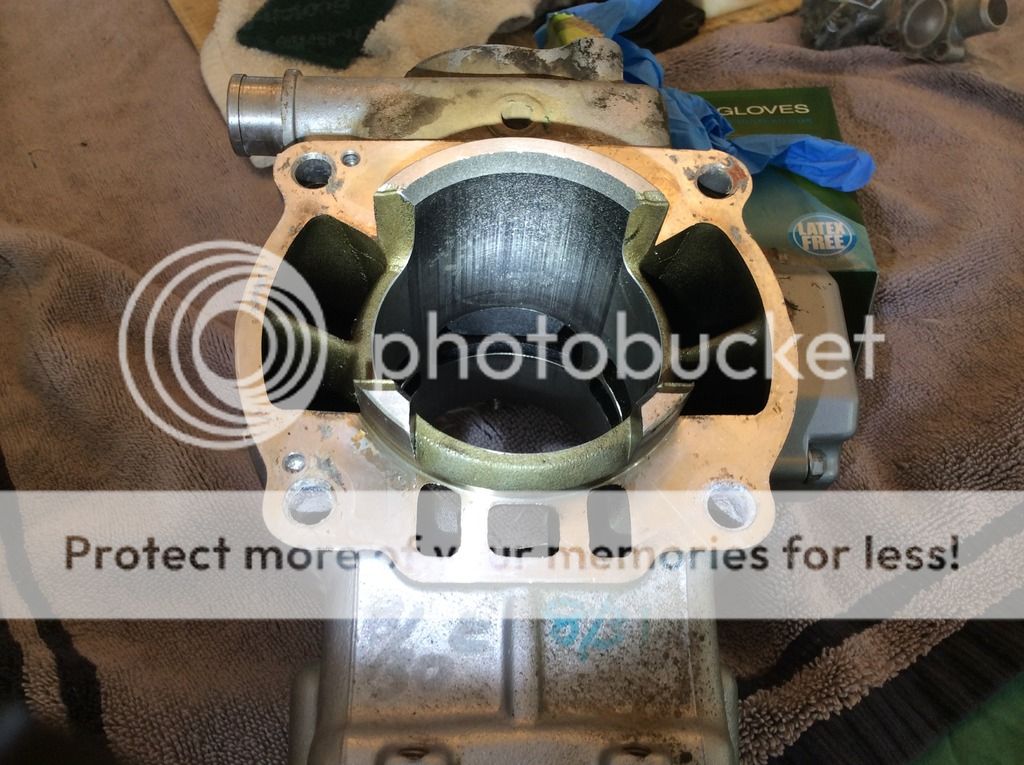
Is the coolant jacket plug the large allen plug on the bottom of the exhaust outlet? That was gonna be my second question.
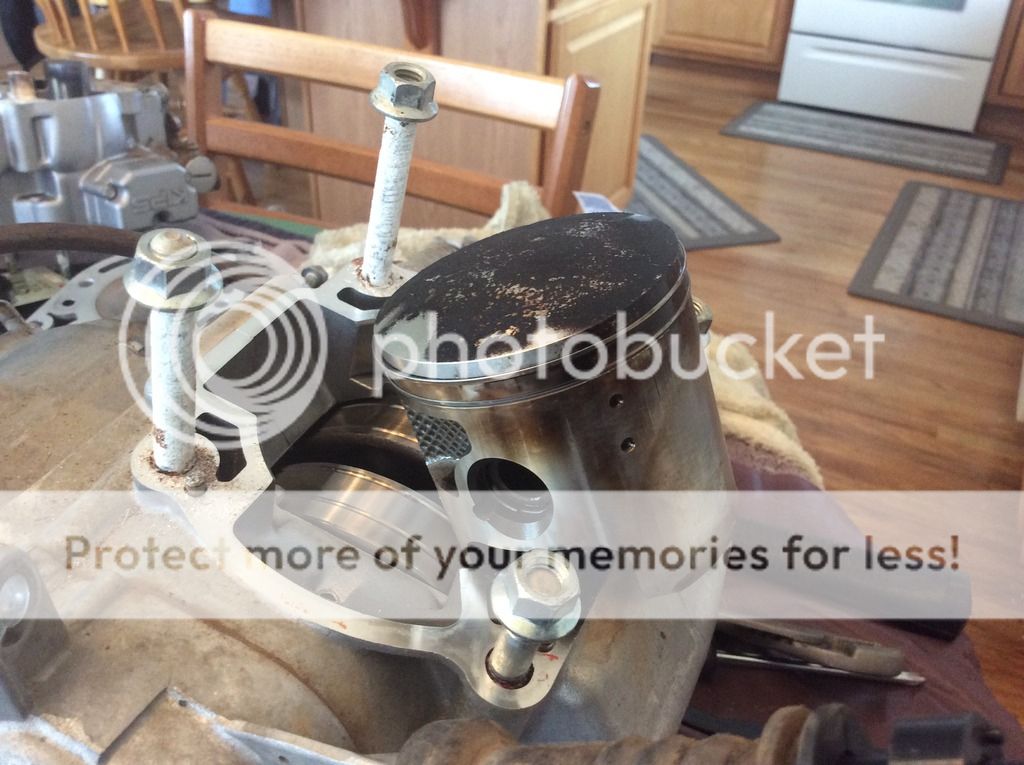
Measured the piston and it’s still within the service limits as are the rings. Don’t have the tool to measure the cylinder bore. Powerseal and Millenium are the two go to companies for replating. I’ve never done it but they both are highly recommended on the TT Forum. I was told to send them the piston like you said too.
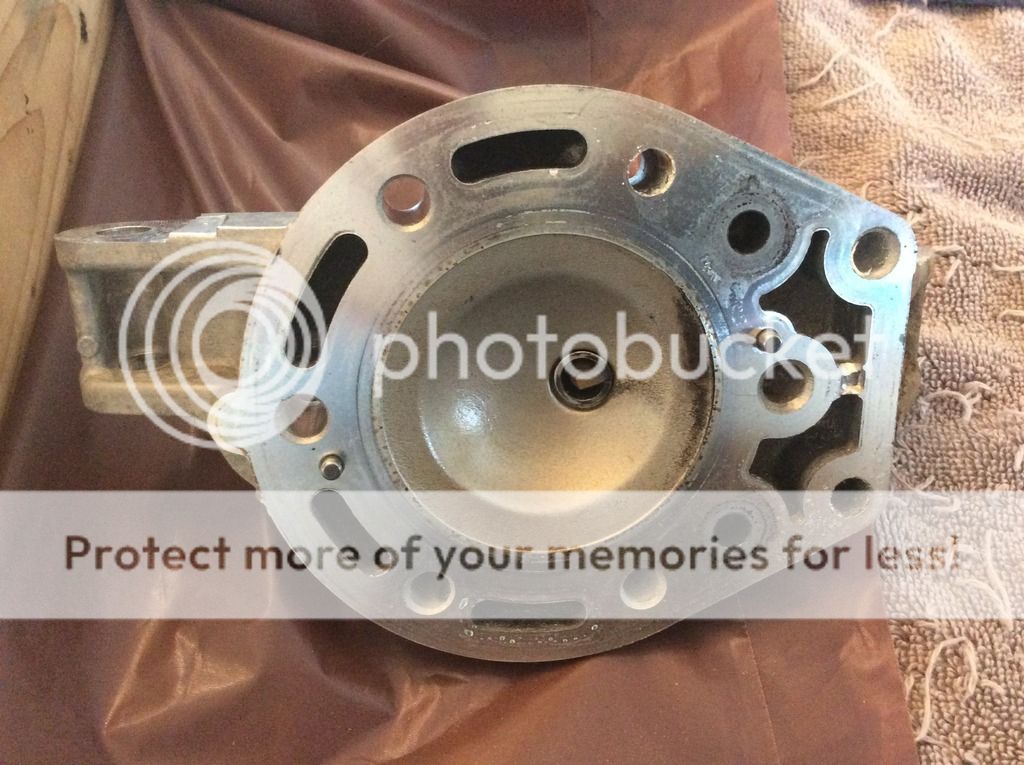
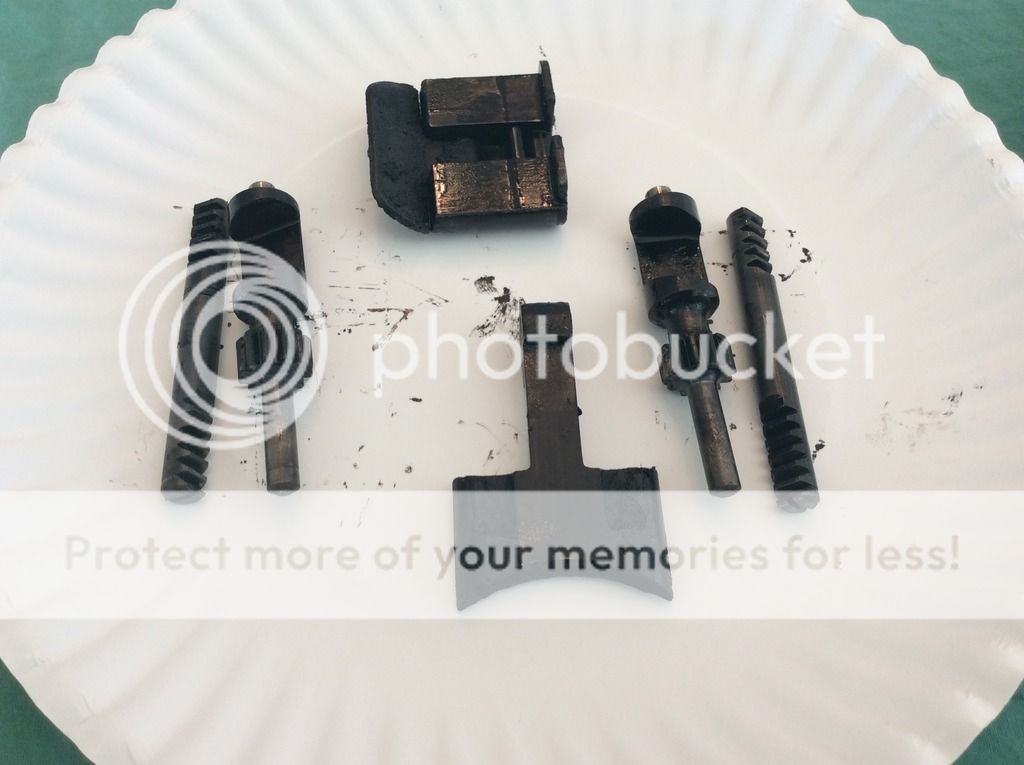
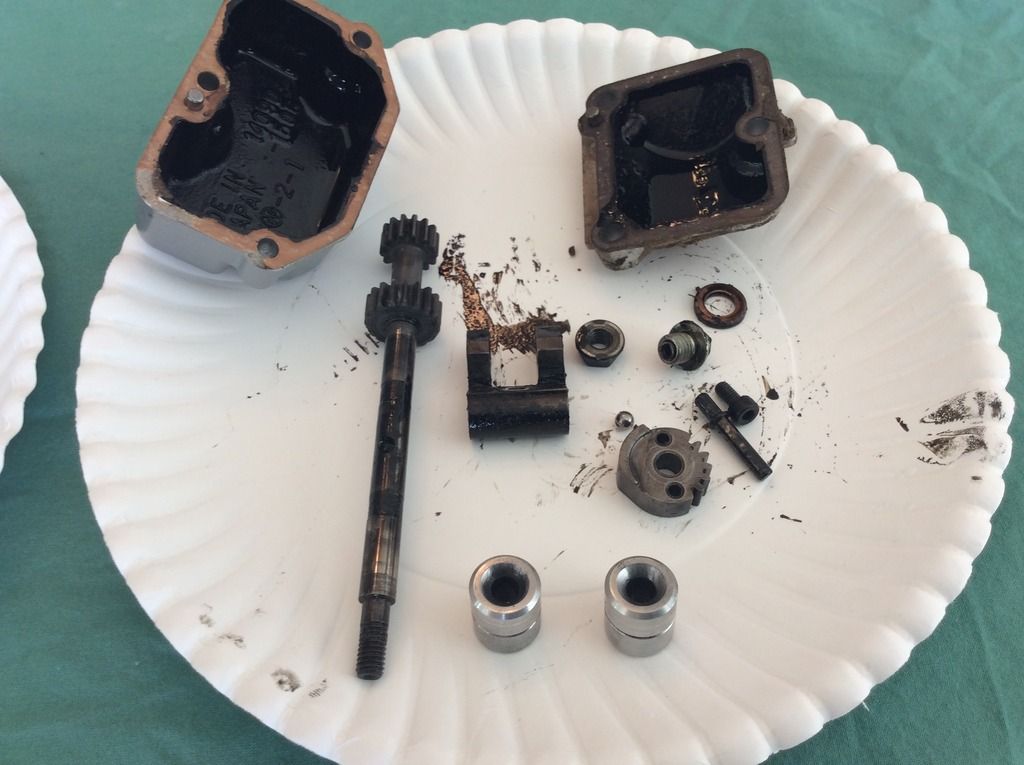
I’m gonna try the oven cleaner next weekend. I was able to get most of the crap off the aluminum parts with a mild degreaser and a light brushing and a good wash in water afterwards.