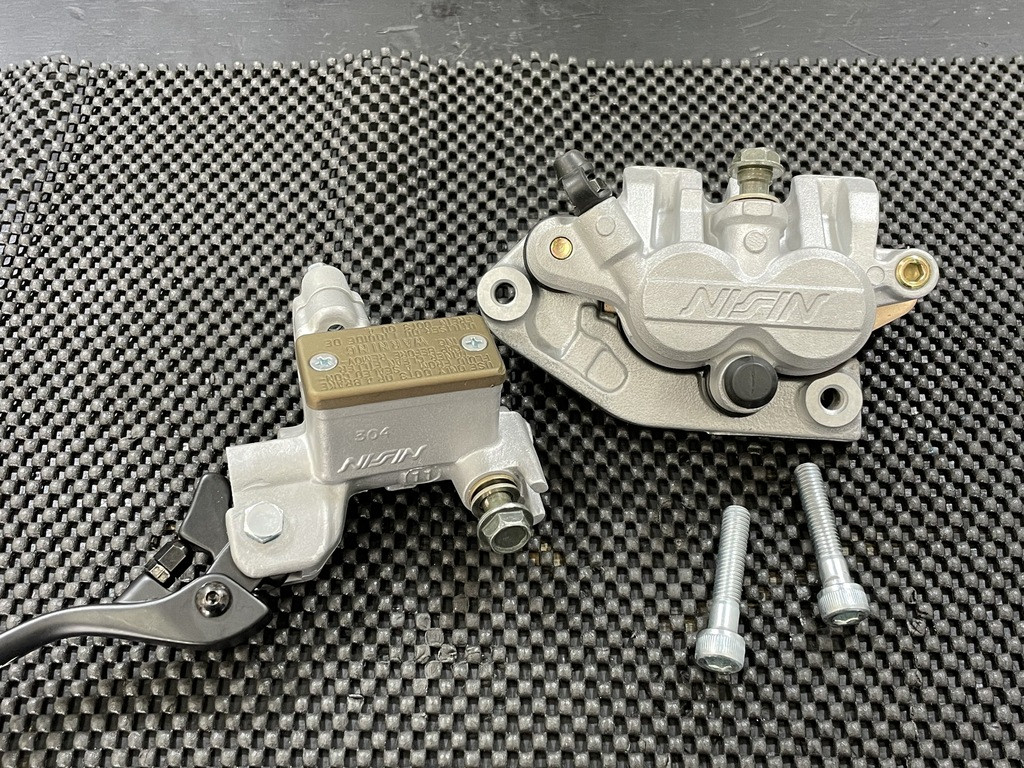
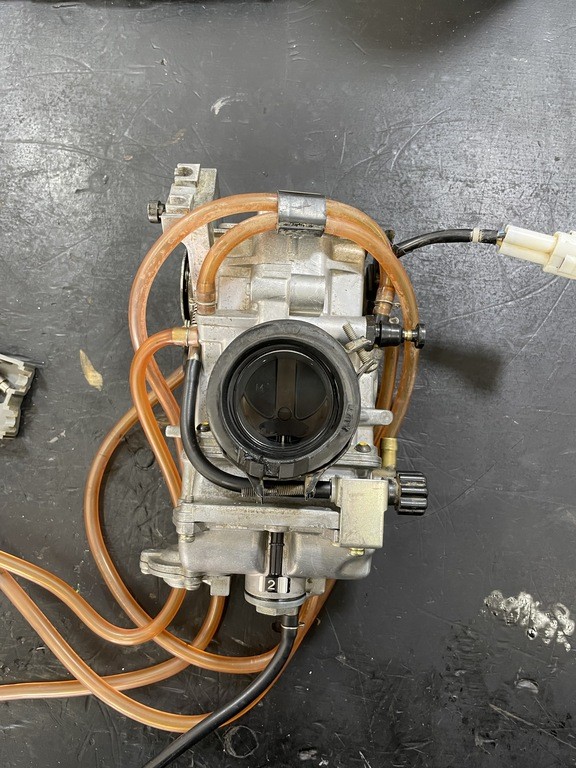
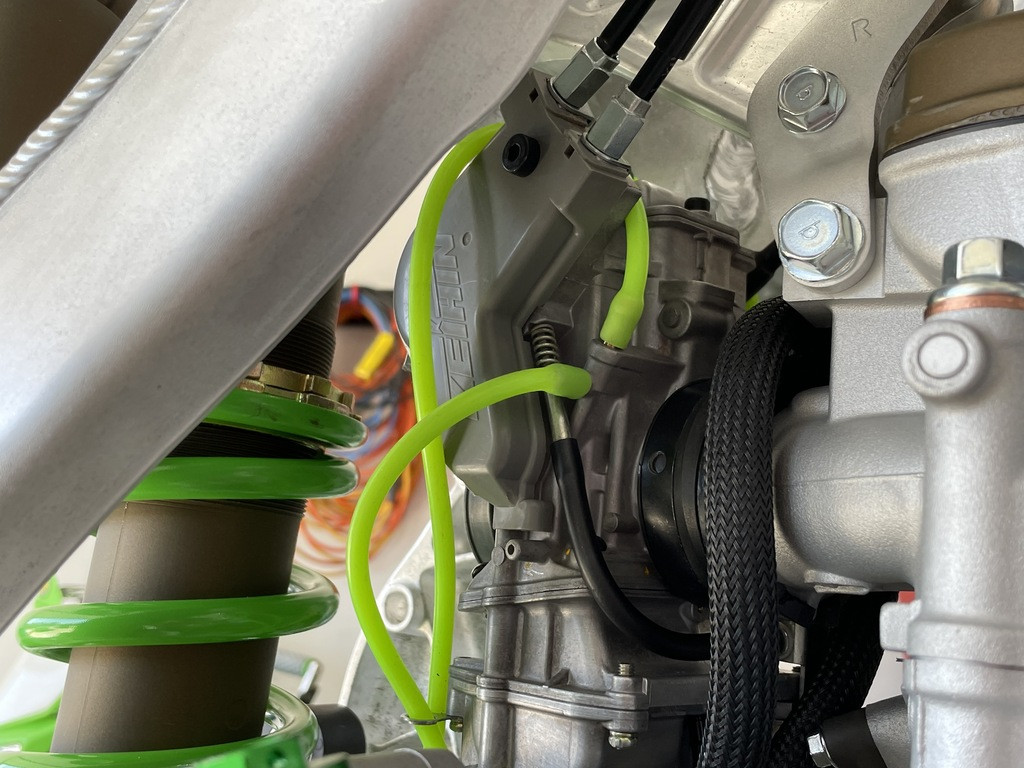
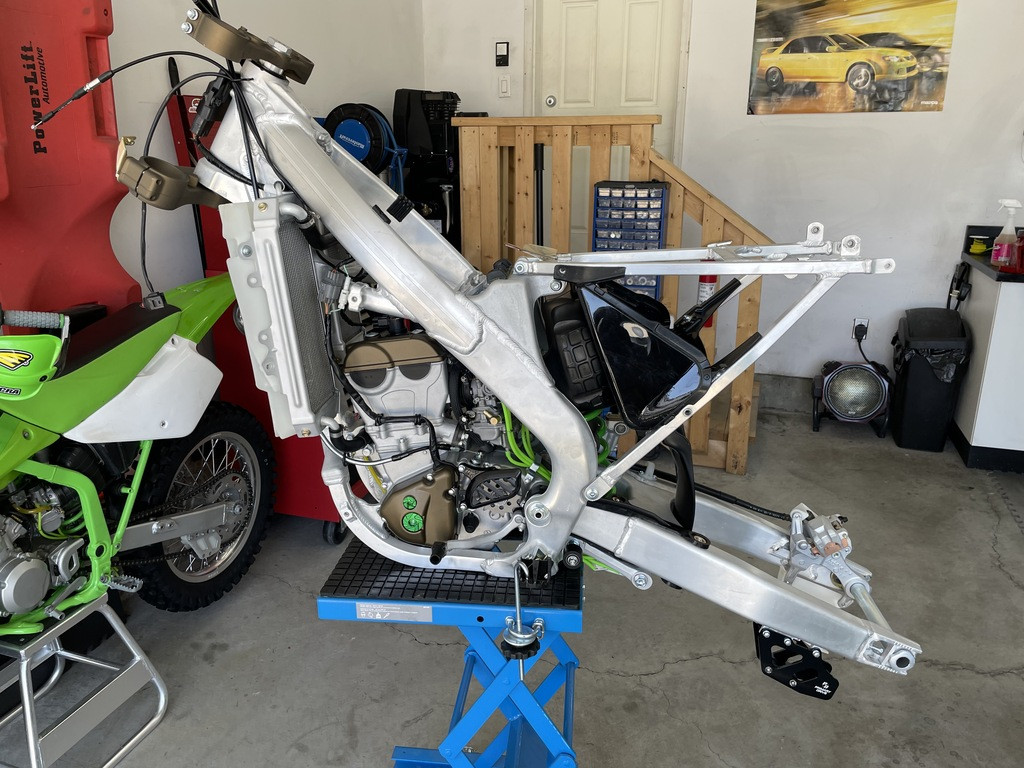
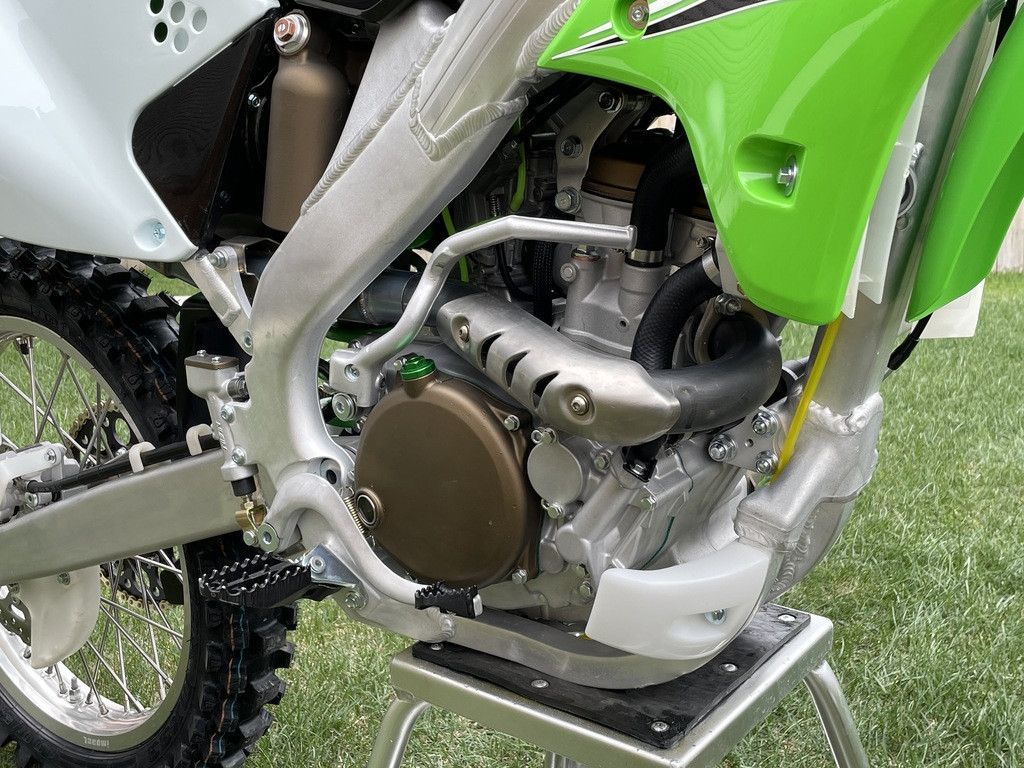
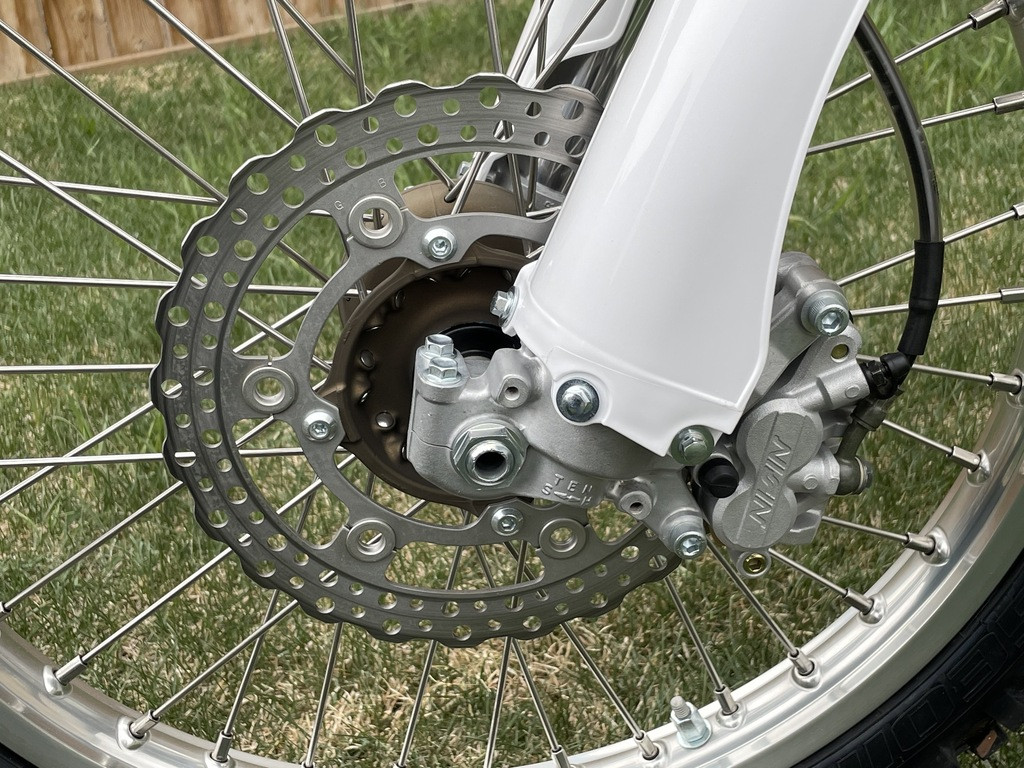
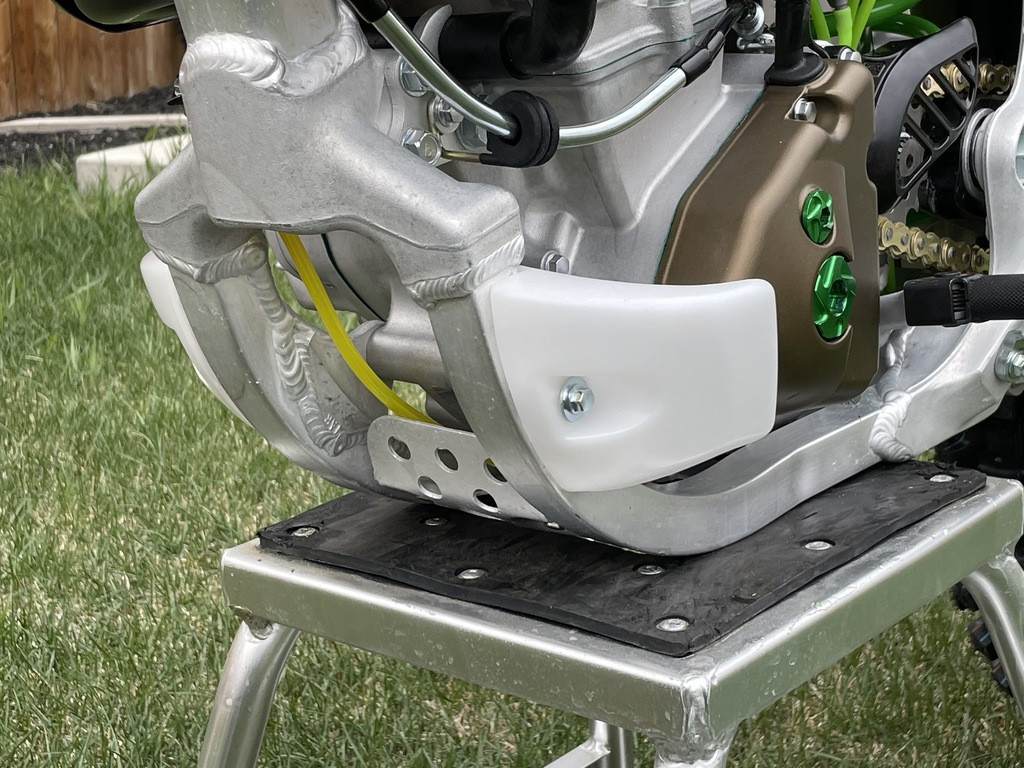
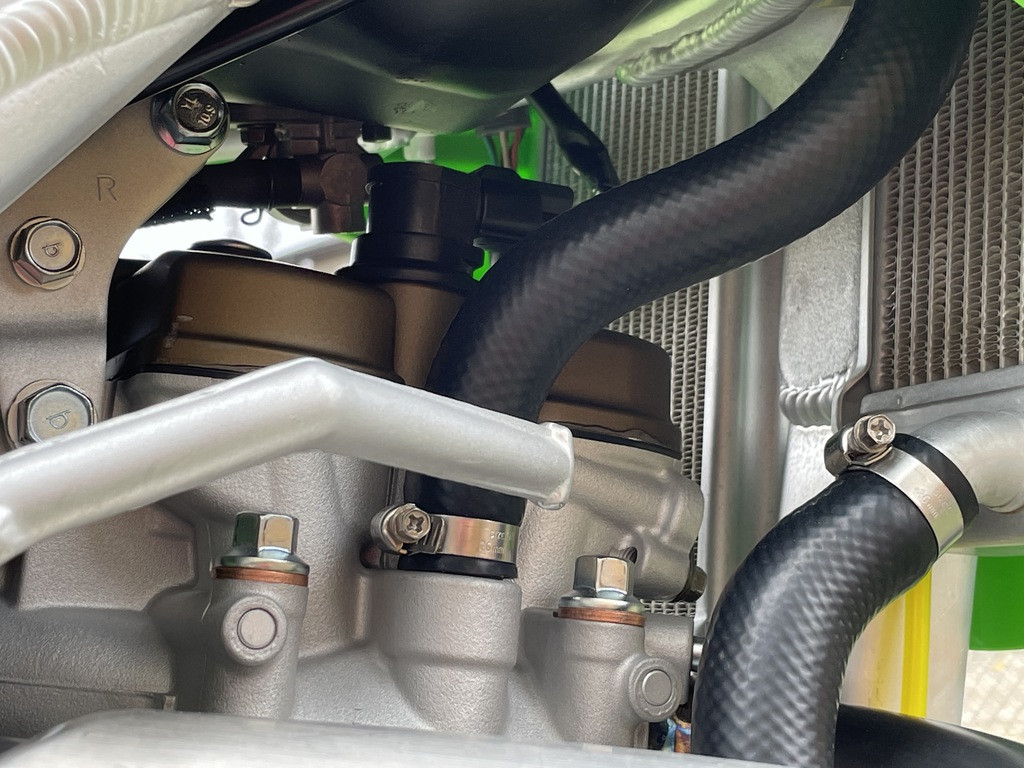
At this point, the bike was basically "done" aside from the plastics. I like leaving the installation of the plastics until the very end, because in my opinion, it's the most satisfying part of the entire build. Its where the whole bike really comes to fruition. Not to mention, filling fluids like coolant and oil can sometimes be easier without plastics in the way. I filled the bike with oil, coolant, made sure the brakes were bled and responsive, and gave it about a half a tank of race gas. I opened the petcock, and made sure the carb filled without overflowing. We were ready for the first start essentially.
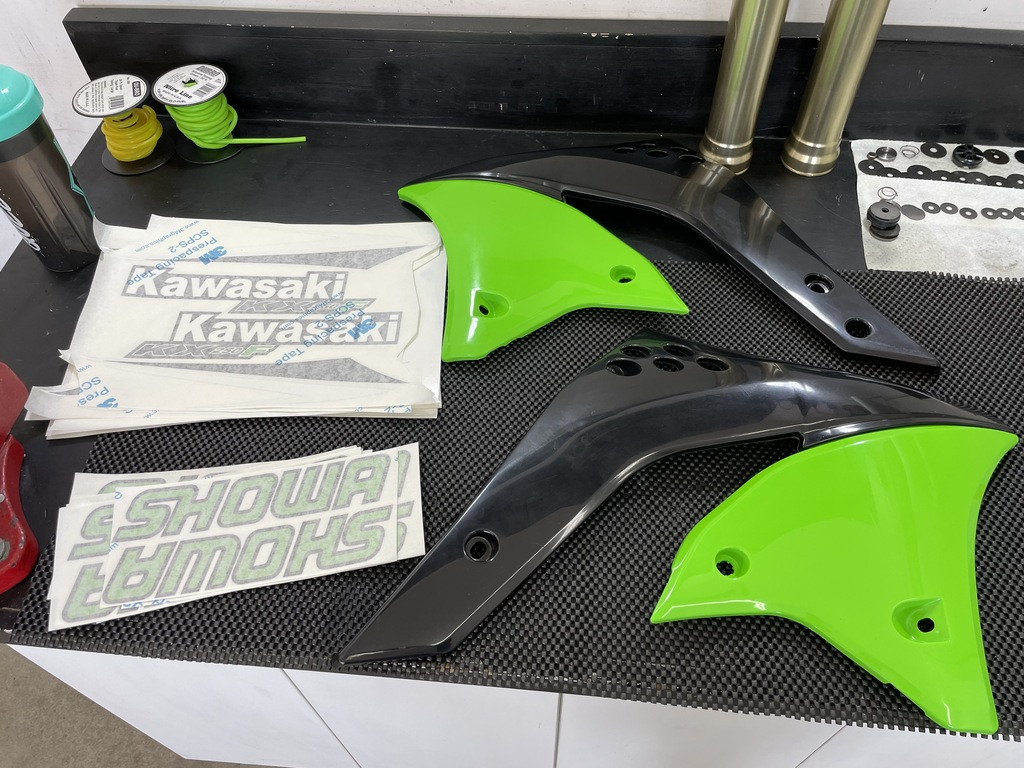
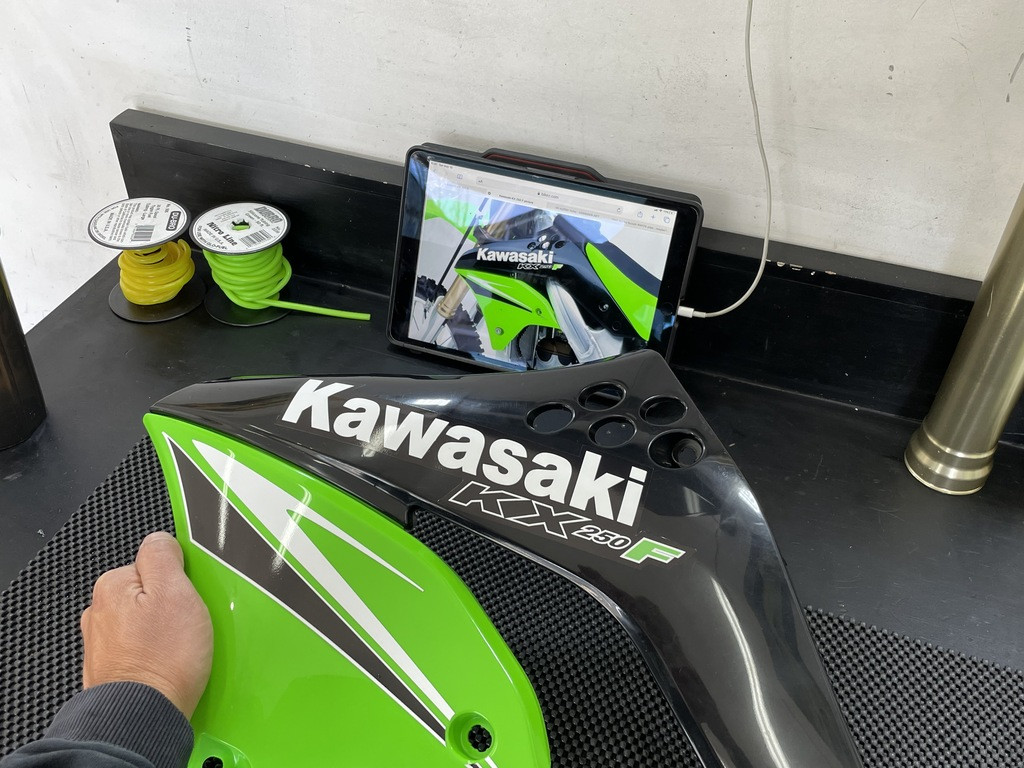
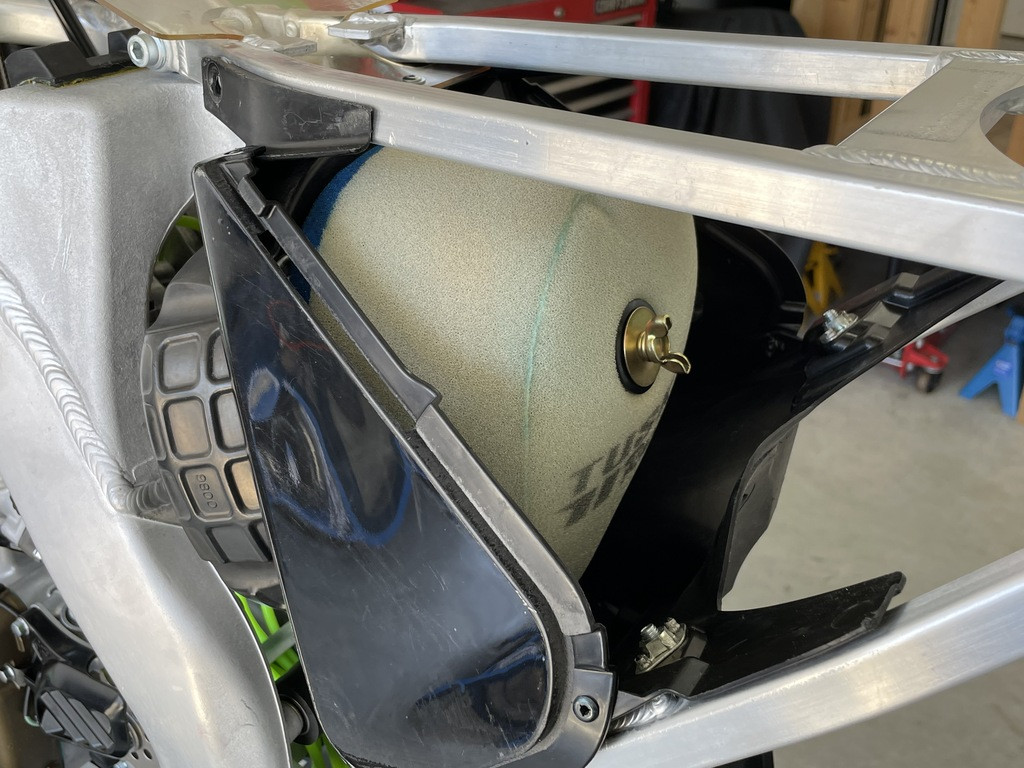
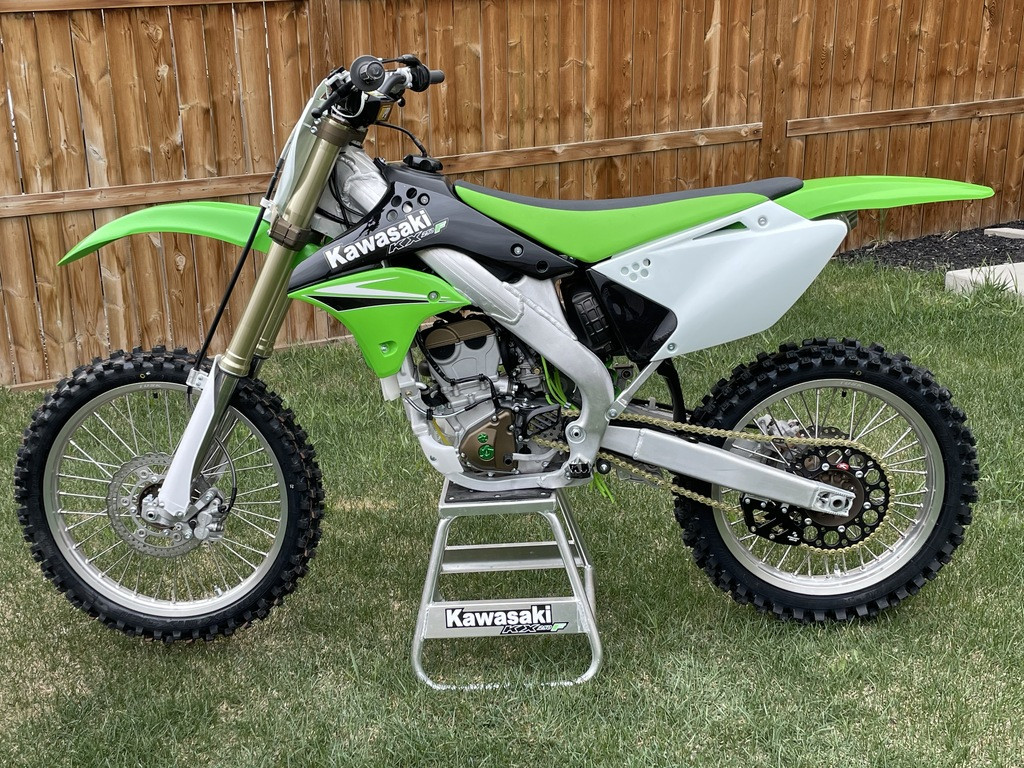
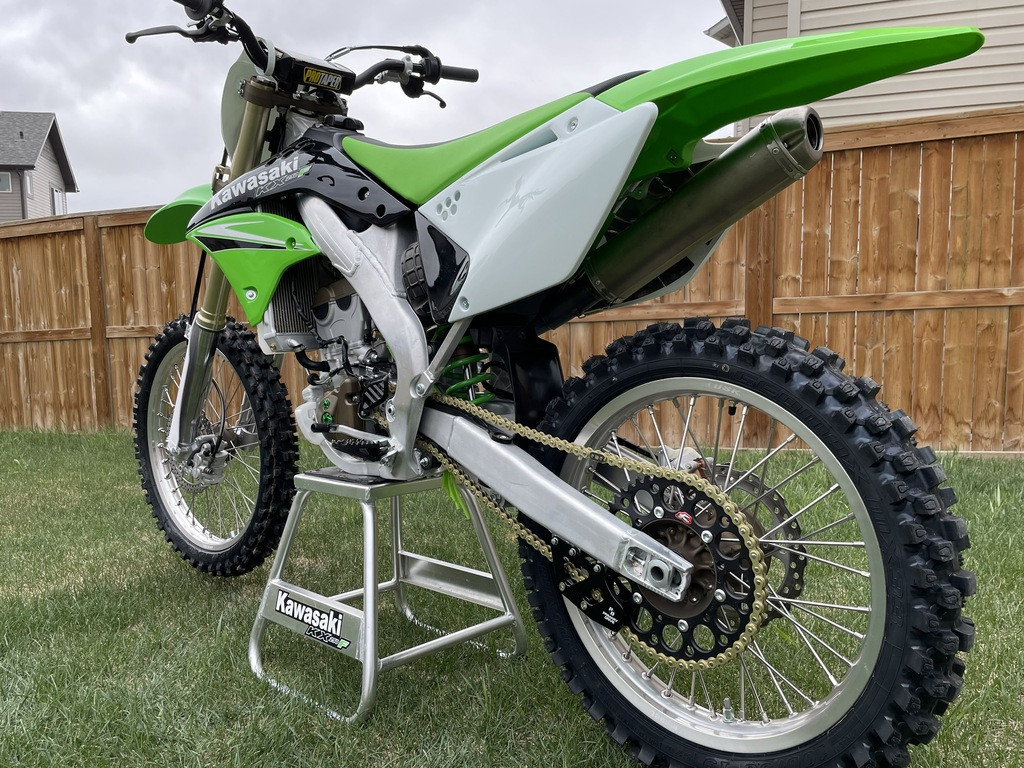
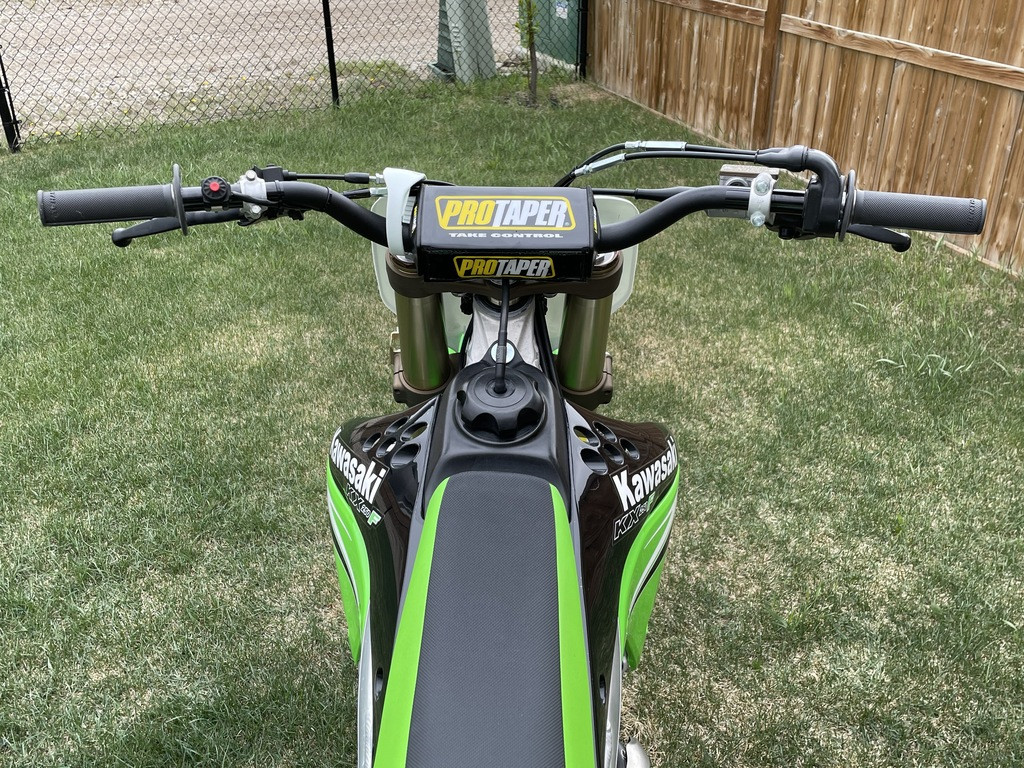
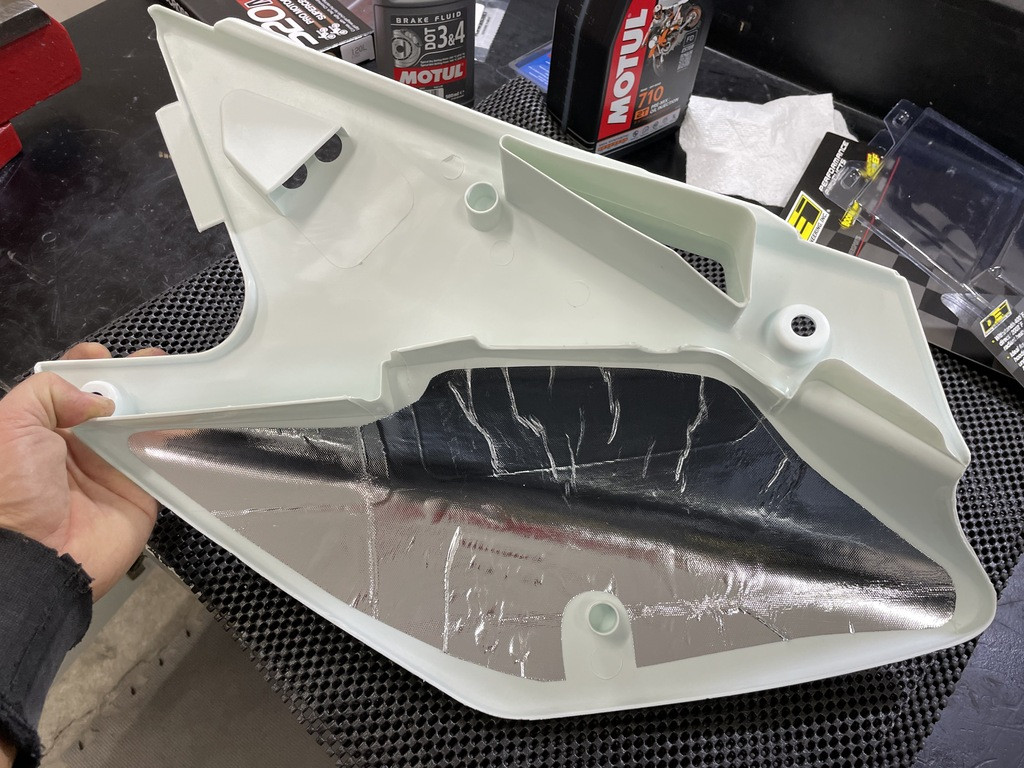
Except, I walked away. I wanted to make sure I double and triple checked everything, so I went and had some lunch. When I came back, I made sure there were no leaks, double checked everything again, and started installing the plastics. The hardware that came with the bike was okay, but I had ordered a bolt plastic hardware kit anyways for a tiny bit of bling. Made sure to install the heat shield under the right number plate too!
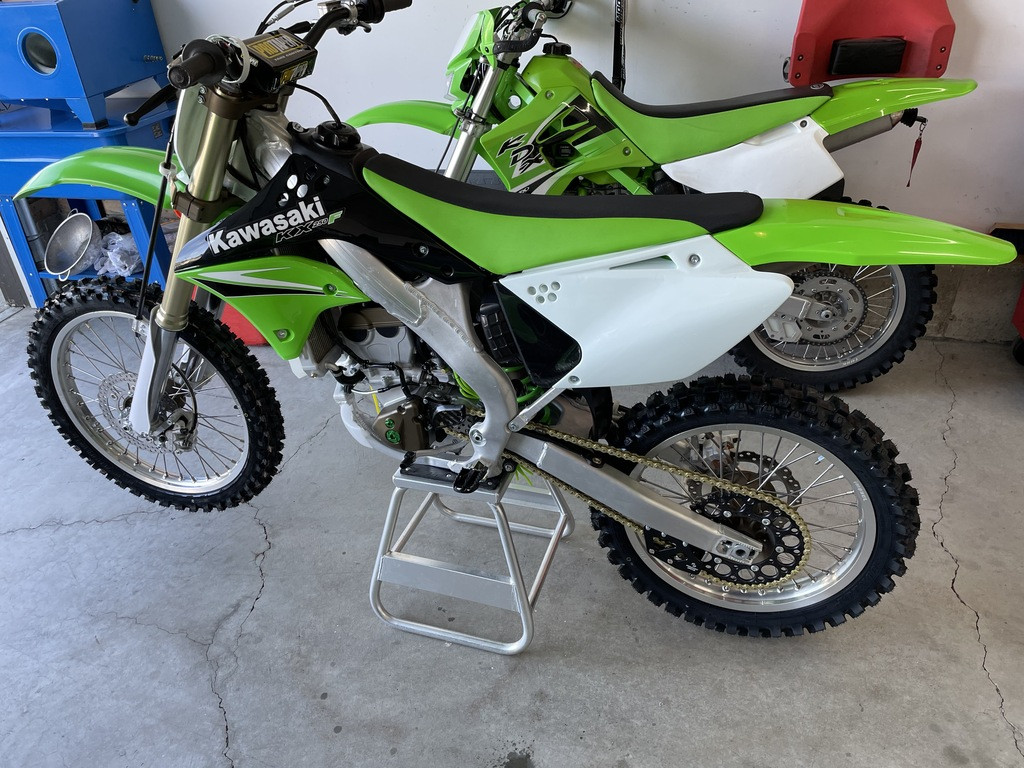
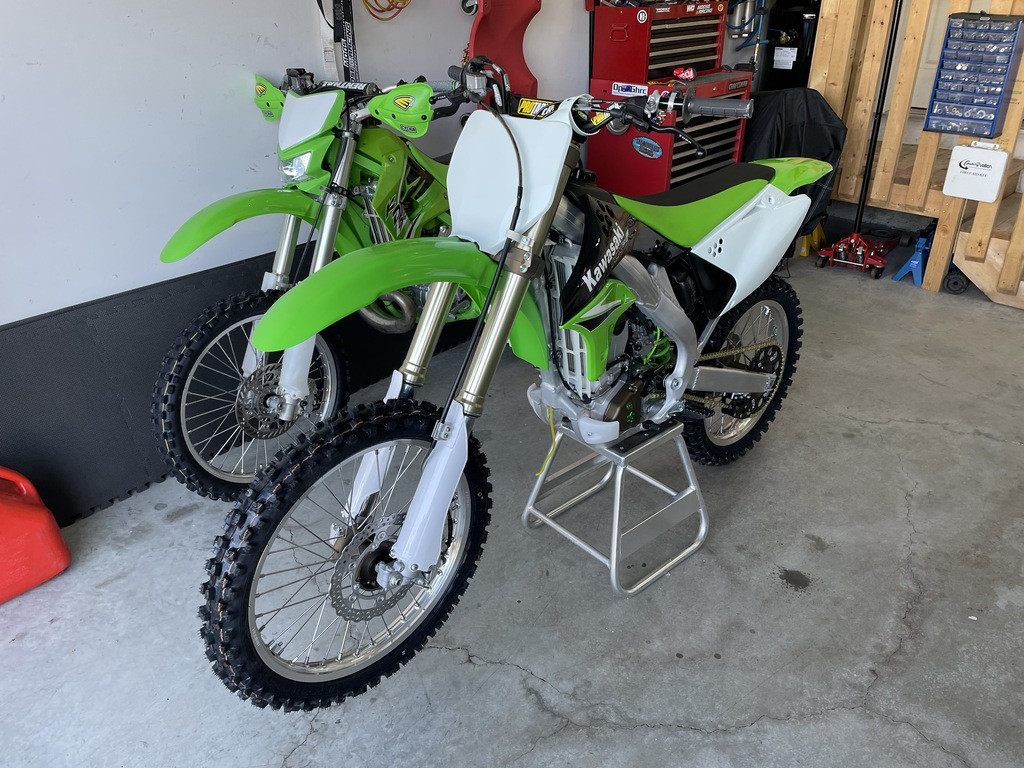
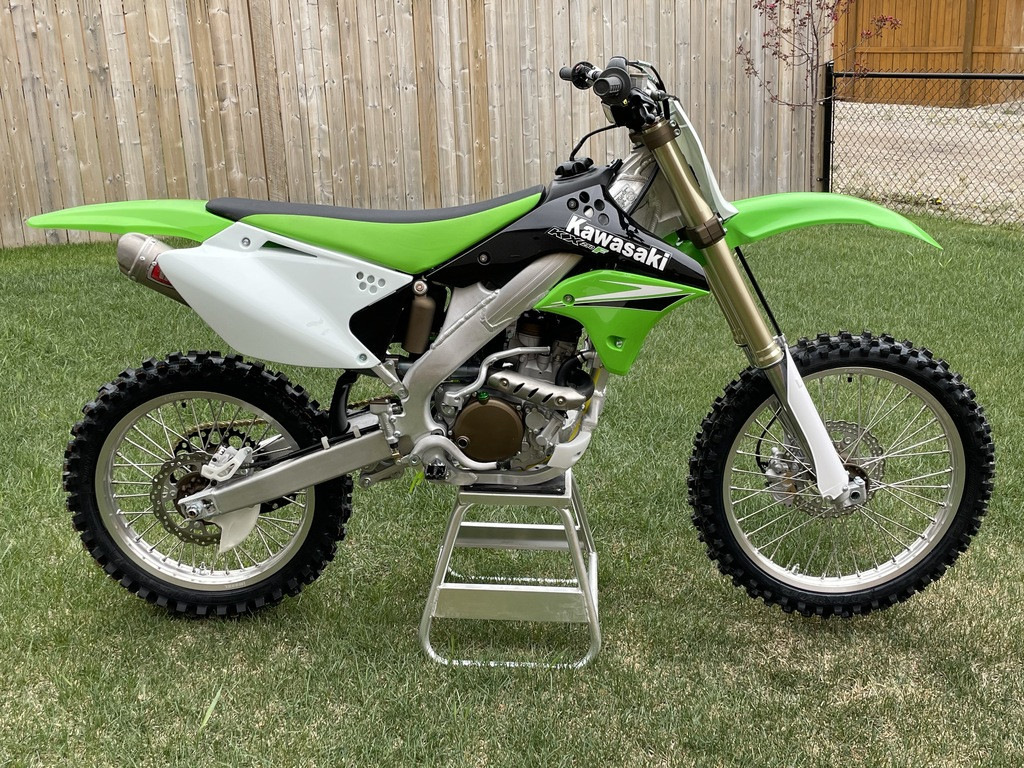
And that was that! I can't fathom the amount of hours that I put into this bike, but it was so worth it.
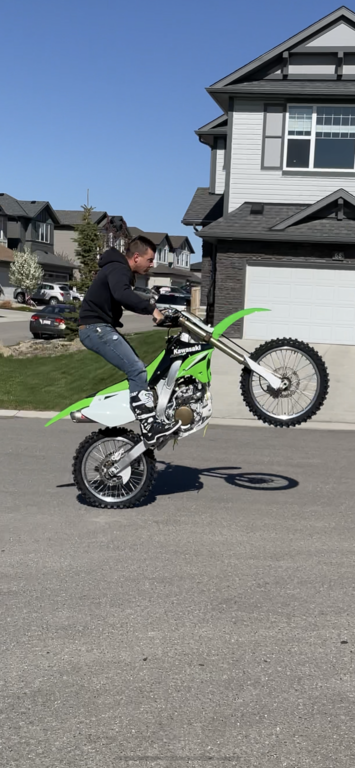
After a few kicks, it roared to life! I got the idle dialed in, and after letting it warm up fully, I wanted to seat the rings with some moderate throttle runs up and down the street. Hope I didn't piss the neighbours off too bad!