Motor Together!
Posted: 03:43 pm Aug 07 2019
Yesterday was a good day..
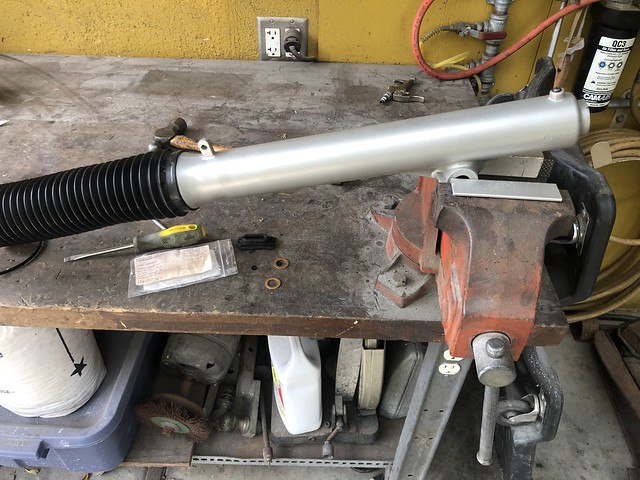
Started off with my oldest helping get a feebay exhaust pipe ready for paint.
It was either packed with shredded newspaper, or a mouse got in there or...?
Stuff kept coming and coming when we blew it out.

See also the pile of old nuts we put in there.
After shaking and shaking and shaking it around,
Piles of red flaky rust dust came out.
Pretty soon our friends came over and helped sand the old crusty paint off.

We also re-packed the muffler and gave it a polish, even
(it was so battered and scratched it didn't look like much).

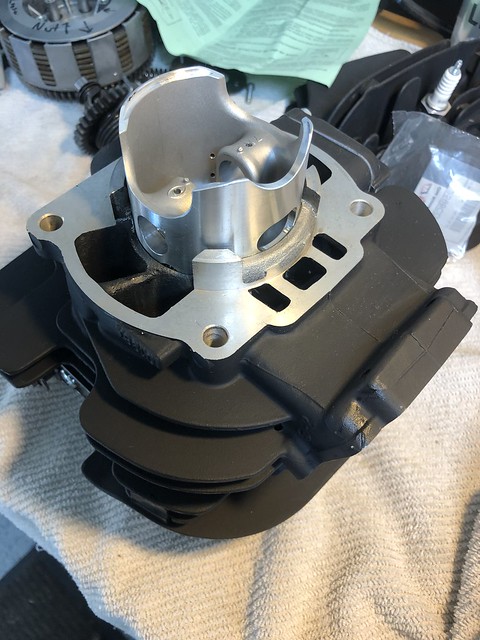
I got on with putting a motor together.
Rather than blueprint the thing, check port alignment with the piston, deck height, etc.
I just stuck the sucker together.
It's really hard for me to install any gasket dry.
Was out of indian Head shellac, so I put some Aviation on the base gasket.

For the head gasket, I used aluminum paint;
This is an old-timer trick I just can't help doing on any semi-metallic head gasket.
I just had to..
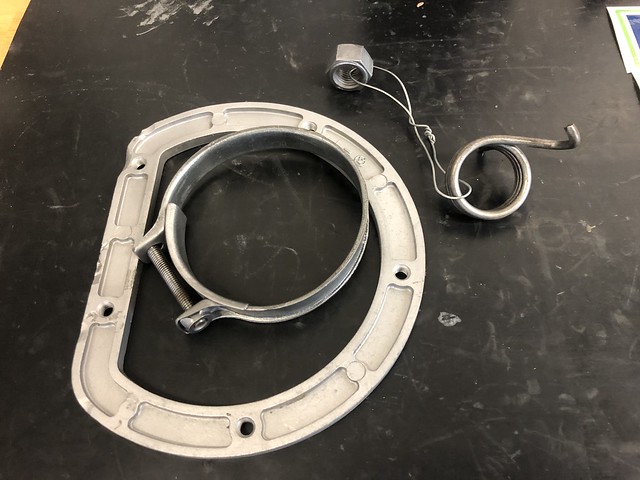
Here's the parts for the reed valve area.
The manual doesn't show a gasket between the cage and the boot thingie,
So I put some aviation on where it woulda gone, unlike in the pic here.

Was going to put these Boysen reeds on, but they just seemed so different than the ones in place.
Took and flipped the ones on it over, but that made them worse, so put them back.

"I have some reed cages I'll sell ya"..
People are still happy to trade money for parts that don't work.
it's always about getting the money, right?

Since the bike always ran FINE with the reeds just like they were,
It went back together just like it was.
[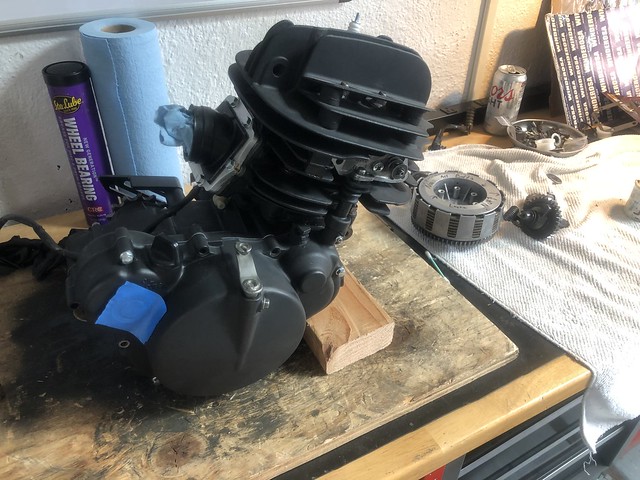
About the blue tape on the pictre above..
Apparently, the last guy who worked on this really didn't believe in washers.
Must have been against his religion or something..
Certain washers, like under the throw-out pushrod, under the rotor bolt, those are specialized,
And obviously have to go in.
But here's an odd one;
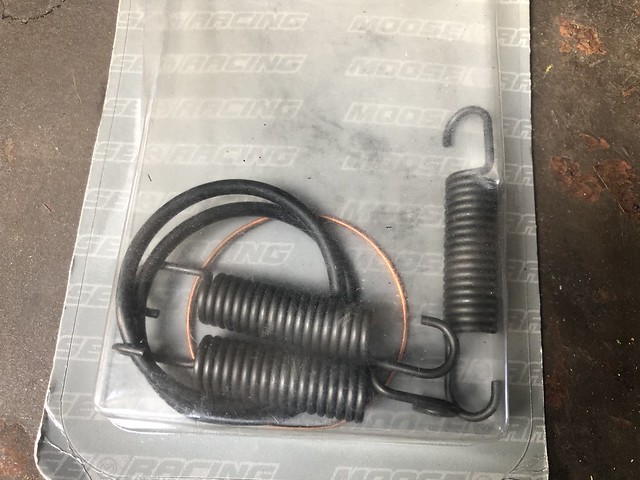
Washers on each side of the plastic spacer inside the kicker return spring..
Manual shows them:

Partzilla shows them - 92022C-271:

Yet, ALL THREE of the motors i took apart had NO shims on either side of the plastic spacer.
Neither did two extra kicker assemblies i ended up with..

Anybody know the truth on this one?
Here I'm all going fishing for some shims, and do the whole end-play/shim/check routine,
But maybe they were eliminated later on?
It obviously starts the bike without them,
But who wants a sloppy/slipping kicker that eats ratchet gears??
THIS is why you never rebuild a basket case.
ALWAYS start with the best example you possibly can!
WAY more fun to just go and shoot a potato gun!!

Started off with my oldest helping get a feebay exhaust pipe ready for paint.
It was either packed with shredded newspaper, or a mouse got in there or...?
Stuff kept coming and coming when we blew it out.
See also the pile of old nuts we put in there.
After shaking and shaking and shaking it around,
Piles of red flaky rust dust came out.
Pretty soon our friends came over and helped sand the old crusty paint off.
We also re-packed the muffler and gave it a polish, even
(it was so battered and scratched it didn't look like much).
I got on with putting a motor together.
Rather than blueprint the thing, check port alignment with the piston, deck height, etc.
I just stuck the sucker together.
It's really hard for me to install any gasket dry.
Was out of indian Head shellac, so I put some Aviation on the base gasket.
For the head gasket, I used aluminum paint;
This is an old-timer trick I just can't help doing on any semi-metallic head gasket.
I just had to..
Here's the parts for the reed valve area.
The manual doesn't show a gasket between the cage and the boot thingie,
So I put some aviation on where it woulda gone, unlike in the pic here.
Was going to put these Boysen reeds on, but they just seemed so different than the ones in place.
Took and flipped the ones on it over, but that made them worse, so put them back.
"I have some reed cages I'll sell ya"..
People are still happy to trade money for parts that don't work.
it's always about getting the money, right?
Since the bike always ran FINE with the reeds just like they were,
It went back together just like it was.
[
About the blue tape on the pictre above..
Apparently, the last guy who worked on this really didn't believe in washers.
Must have been against his religion or something..
Certain washers, like under the throw-out pushrod, under the rotor bolt, those are specialized,
And obviously have to go in.
But here's an odd one;
Washers on each side of the plastic spacer inside the kicker return spring..
Manual shows them:
Partzilla shows them - 92022C-271:
Yet, ALL THREE of the motors i took apart had NO shims on either side of the plastic spacer.
Neither did two extra kicker assemblies i ended up with..
Anybody know the truth on this one?
Here I'm all going fishing for some shims, and do the whole end-play/shim/check routine,
But maybe they were eliminated later on?
It obviously starts the bike without them,
But who wants a sloppy/slipping kicker that eats ratchet gears??
THIS is why you never rebuild a basket case.
ALWAYS start with the best example you possibly can!
WAY more fun to just go and shoot a potato gun!!