Page 1 of 2
2004 Hybrid build #2
Posted: 02:08 pm Mar 05 2010
by Tedh98
I've been working on #2 for a while and have some time to post some pictures.
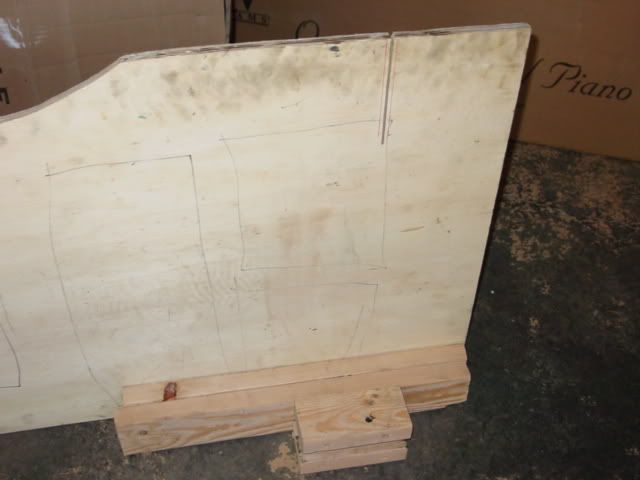
I found a easier way to cut the swingarm. In my
first build I used a number of different pieces of wood to prop and secure the swingarm in place so it wouldn't move on the table saw.
The easier approach is to build a sled that holds the rear wheel bolt and keeps the swingarm in place. This is the completed sled.
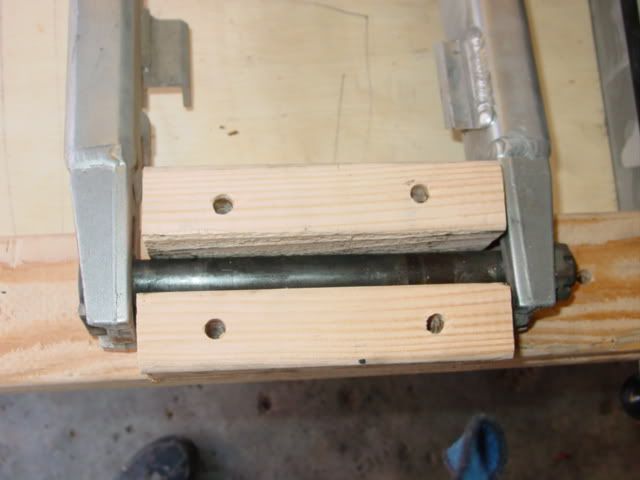
Next is the swingarm and bolt mounted in the sled.
And here it all is on the table saw. I initially leave the bolt loose. Once it is on the sled, I adjusted the swingarm for proper position. Then I tightened the rear wheel bolt to keep it in alignment.
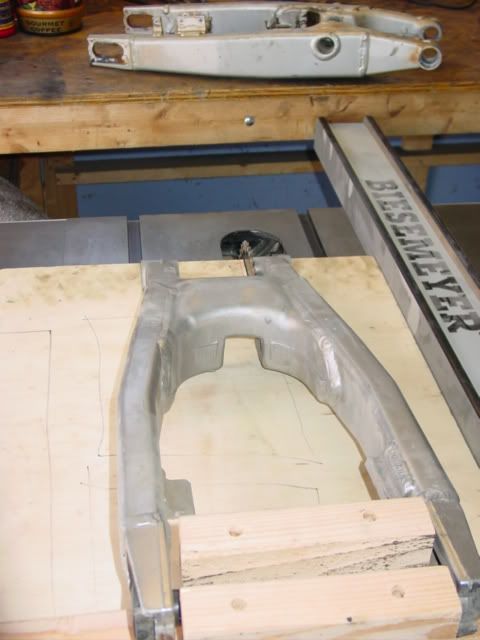
I think it took me about 20 minutes to get the sled together and then each cut took a couple of minutes to position and make the cut.
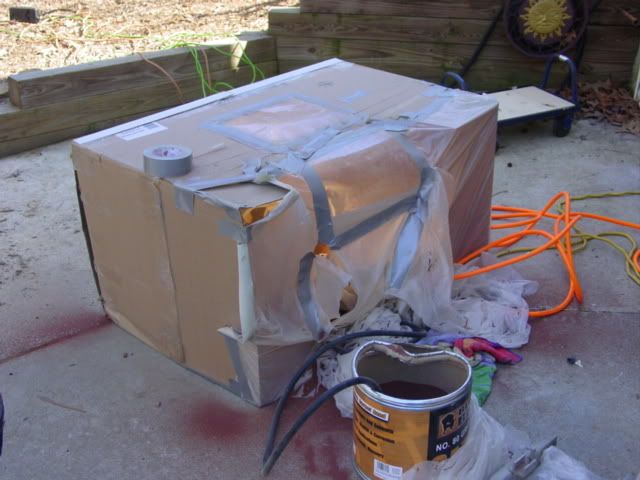
I put together this very high tech sandblasting cabinet. It did a really good job of keeping most of the media in the box. I wore a respirator to be on the safe side, but I didn't use eye protection and didn't get anything in my eyes. I bought the replaceable sandblasting cabinet 'windows' and duct taped them in place so I could see what I was doing.
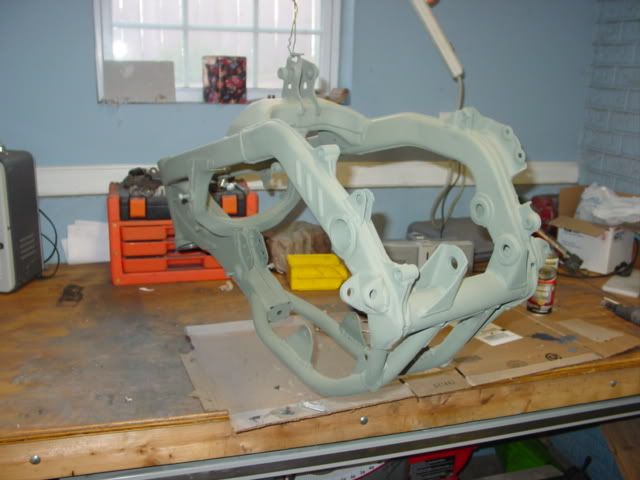
Here is the frame primed. I'm painting it now, I'll have some more pictures in a few days.
Posted: 09:15 am Mar 06 2010
by dfeckel
Wow. Looking good!
What is it about building a hybrid that makes you want to build another soon after? I'm not even done with the first, and I'm already considering another...
Posted: 04:33 pm Mar 07 2010
by Tedh98
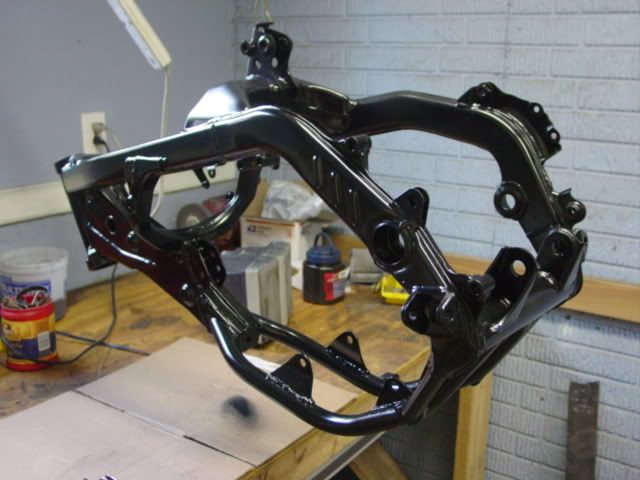
Frame is all painted.
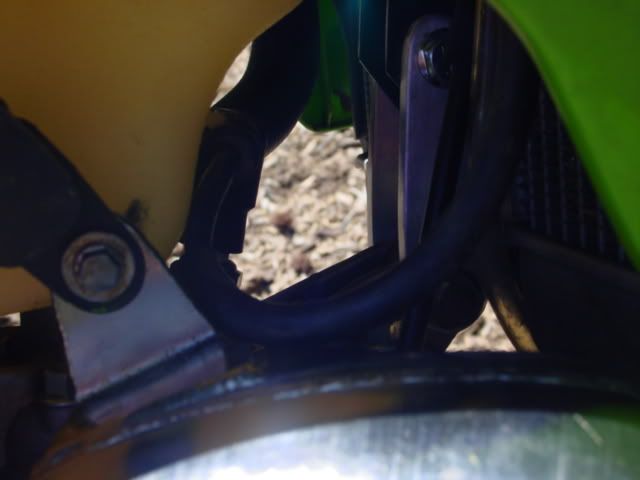
Here are the rear headstay brackets I made to work with the oversize tank I'll be using.

Posted: 04:37 pm Mar 07 2010
by Indawoods
What blade are you using in your tablesaw? Does it buck at all?
Posted: 04:43 pm Mar 07 2010
by Tedh98


Indawoods wrote:What blade are you using in your tablesaw? Does it buck at all?
This time I used a 40 tooth. No bucking. On my first swingarm I used a blade with a higher tooth count and didn't notice a difference between the effort to make the cut or the final cut quality.
I've routed a bunch of aluminum and I'll have bucking or chatter if I try to cut too much in one pass.
Posted: 02:18 pm Mar 11 2010
by Tedh98
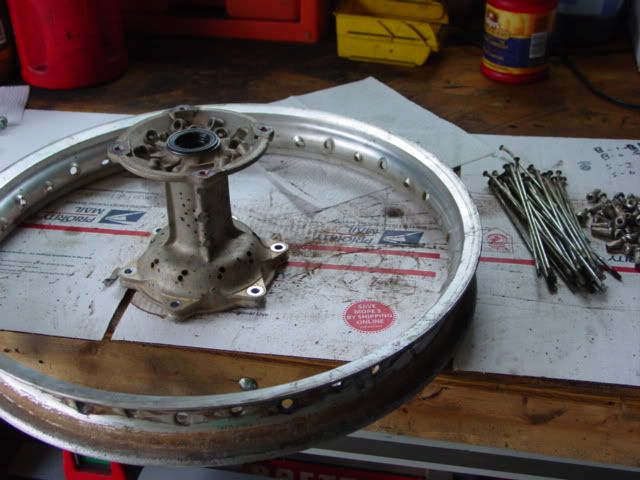
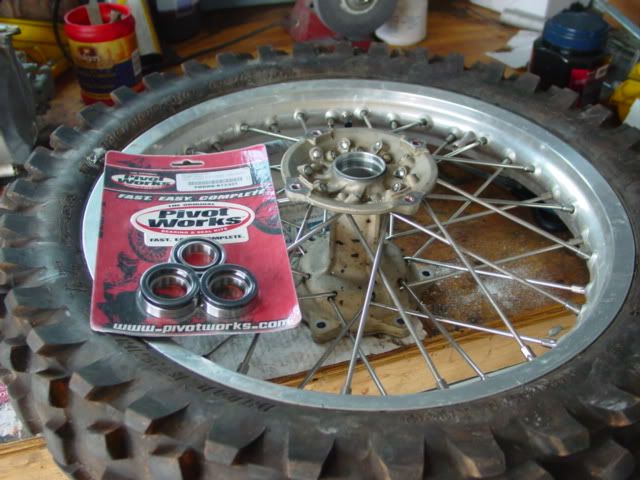
My 18" spokes came in. So I'm starting with this . . . .
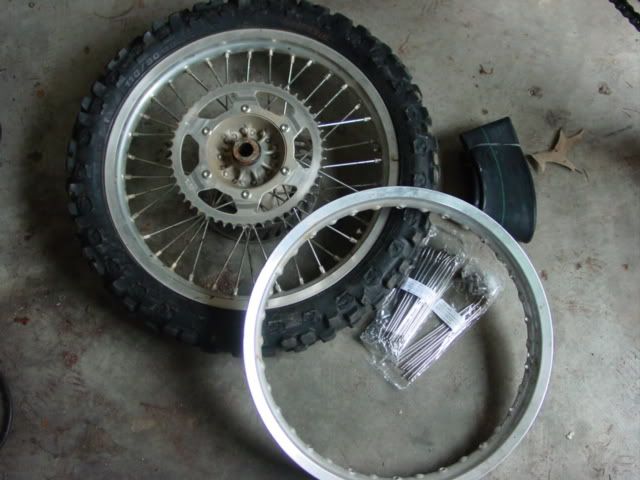
It took me a while to get the tire off the rim, but I eventually got to the point where the hub and rim were apart.
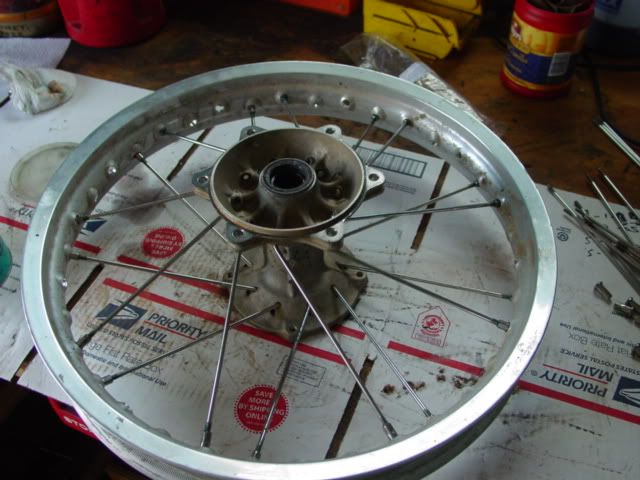
1/2 the spokes on
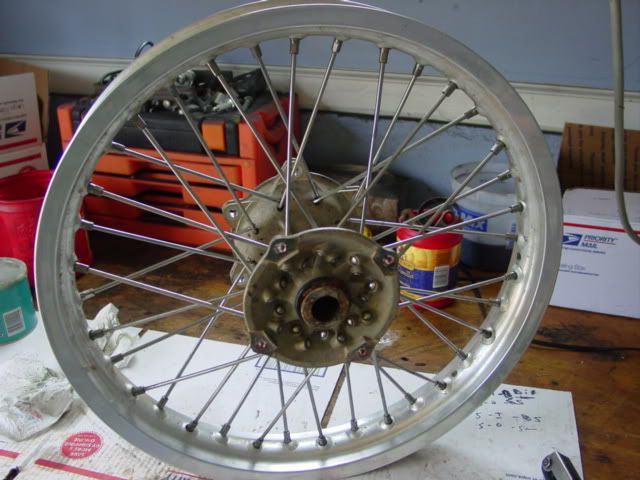
All the spokes with just 1 thread showing.
I need to figure out the easiest truing stand to build and then order a new rim lock and rear tire.
The paint should be cured enough in a couple of days where I can start putting the bike together.
Posted: 02:40 pm Mar 11 2010
by scheckaet
you can use the bike as a truing stand, worked great for me
Posted: 02:41 pm Mar 11 2010
by Tedh98
scheckaet wrote:you can use the bike as a truing stand, worked great for me
I would if the bike were together. I guess I could try to clamp the swingarm to the workbench.
Posted: 03:02 pm Mar 11 2010
by dfeckel
A pair of jackstands works well, too. Tape a pair of dowel rods or straws or something as referances for side-to-side and up and down variations.
Posted: 03:06 pm Mar 11 2010
by Tedh98
dfeckel wrote:A pair of jackstands works well, too. Tape a pair of dowel rods or straws or something as referances for side-to-side and up and down variations.
I like that approach. I can put that up on the workbench and due the truing standing up. Thanks!
Posted: 03:10 pm Mar 13 2010
by Tedh98
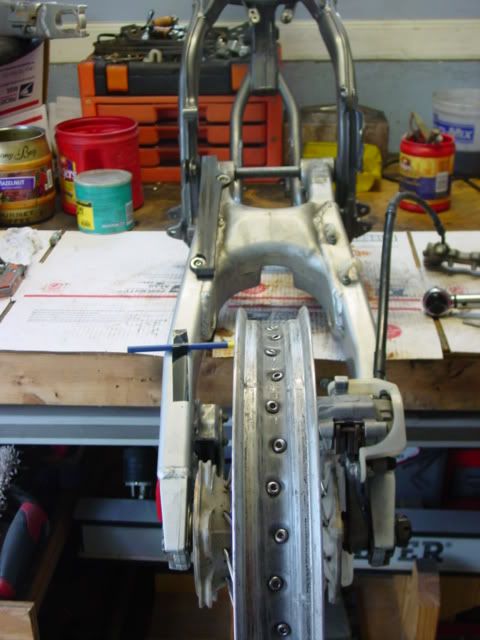
I couldn't get the jackstands to work, I kept moving the wheel left or right when I was tightening the spokes.
So I got out my other frame, bolted the swingarm in place and then put the wheel on. Worked out well, didn't take too long to true up the wheel. I used my small torque wrench with an allen head bit to get the spokes torqued equally.
Posted: 12:57 pm Mar 18 2010
by Tedh98
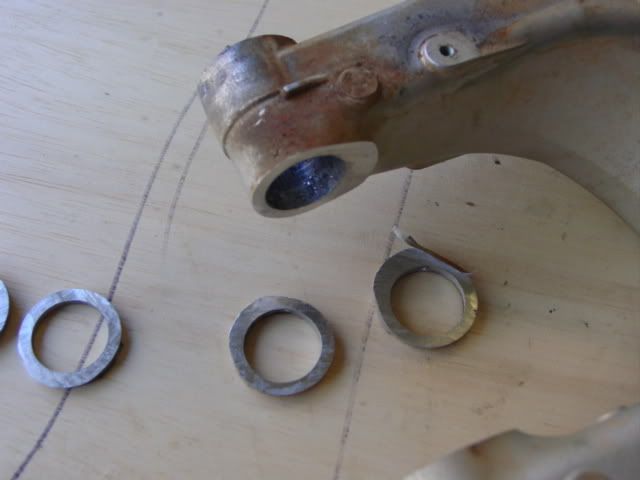
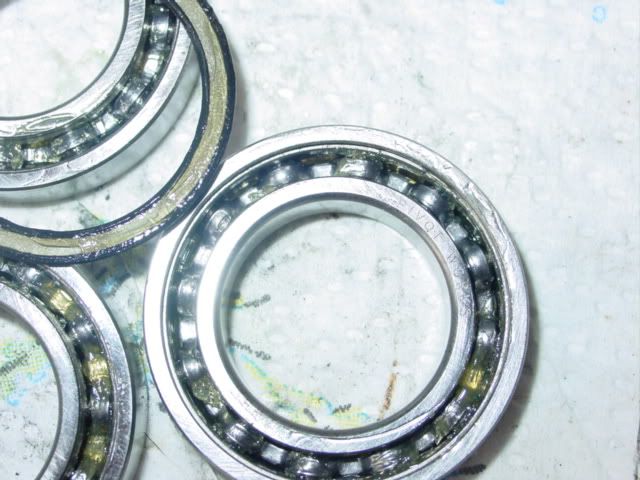
I made some progress today. Put new bearings in the swingarm. Started the bearings in a vice . . .
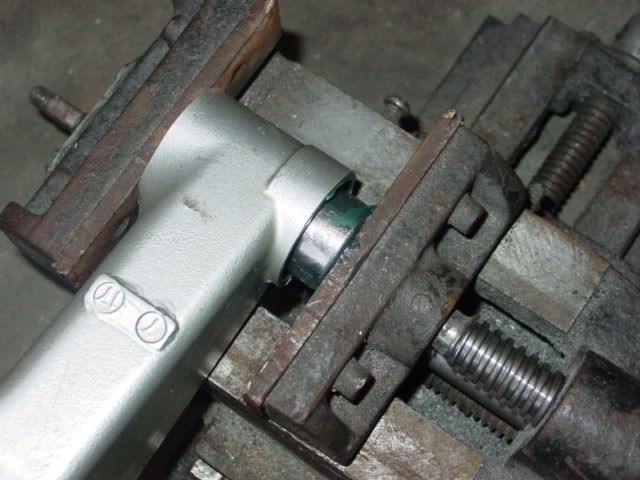
Seated them with a socket . . .
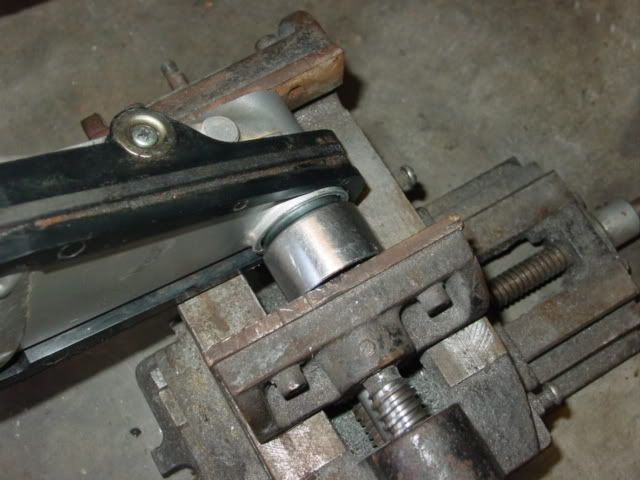
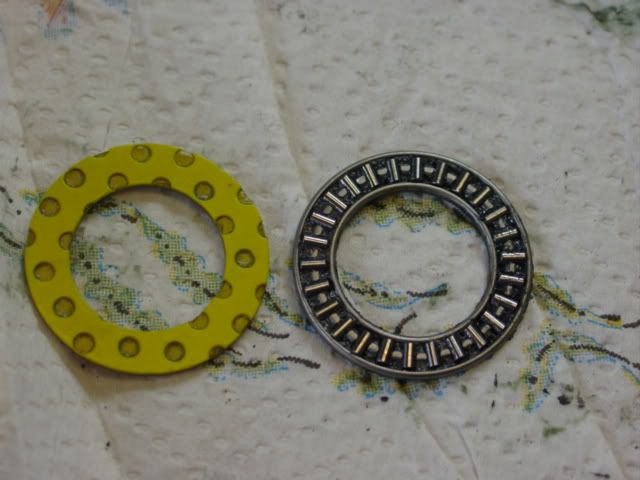
The new teflon bearing on the left is supposed to be more durable to mud and sand than the roller bearing on the right. I guess time will tell.
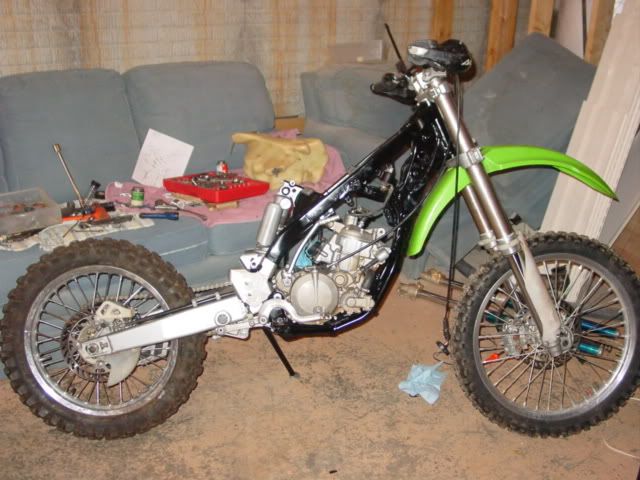
Front end installed, motor and swingarm bolted on. . .
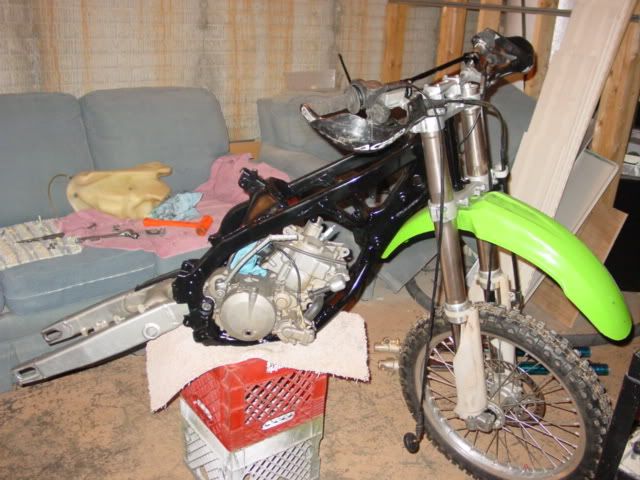
More pictures to follow.
Posted: 03:49 pm Mar 26 2010
by Tedh98
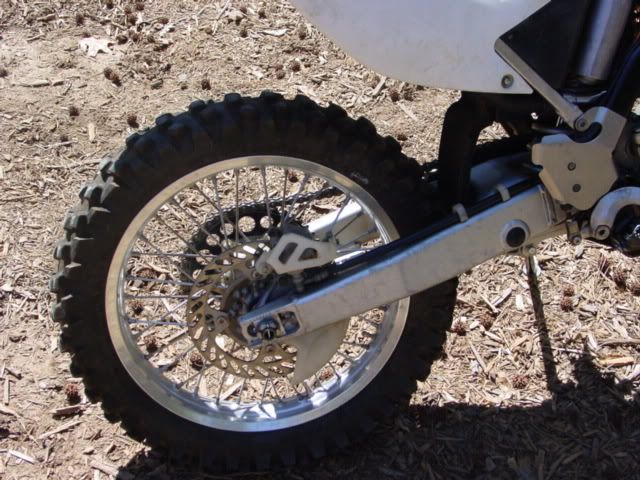
A few things came in over the last few days to finish up the rear wheel.
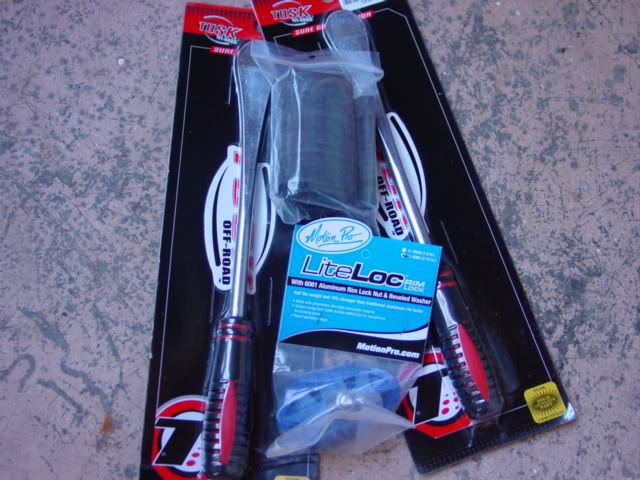
As usual, not enough grease.
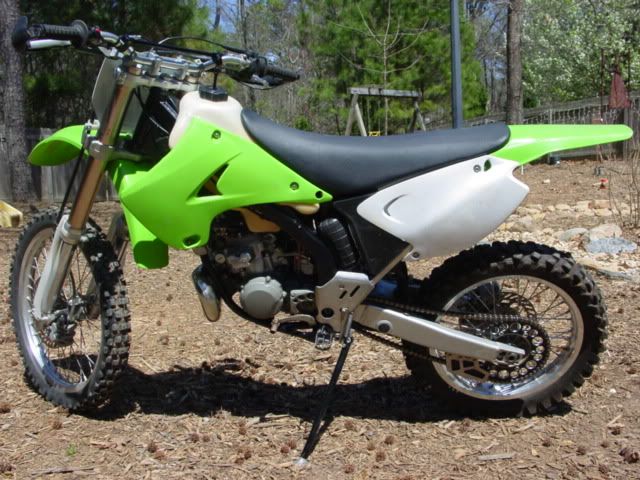
Finally, no milk crates!
Posted: 07:57 pm Mar 28 2010
by dfeckel
Lookin' good! I like the dark-colored frame.
Posted: 08:10 pm Mar 28 2010
by scheckaet
where did you get that teflon bearing?
Posted: 08:23 pm Mar 28 2010
by Tedh98
scheckaet wrote:where did you get that teflon bearing?
It came with the swingarm bearing kit. It was All Balls.
Posted: 02:50 pm Mar 29 2010
by Tedh98
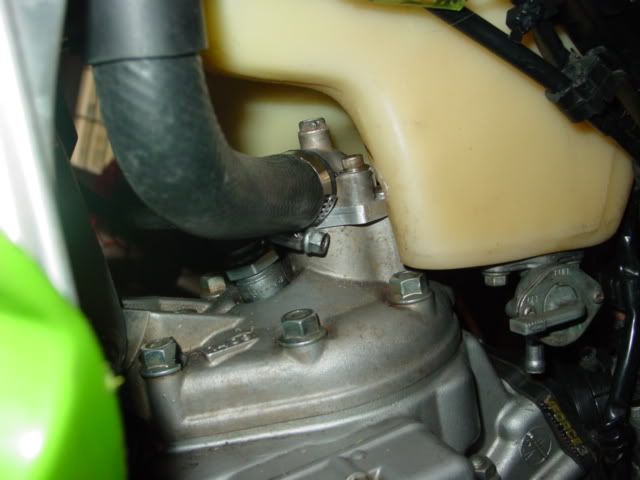
Ran into a little clearance problem with the IMS tank and the water outlet on the top of the head.
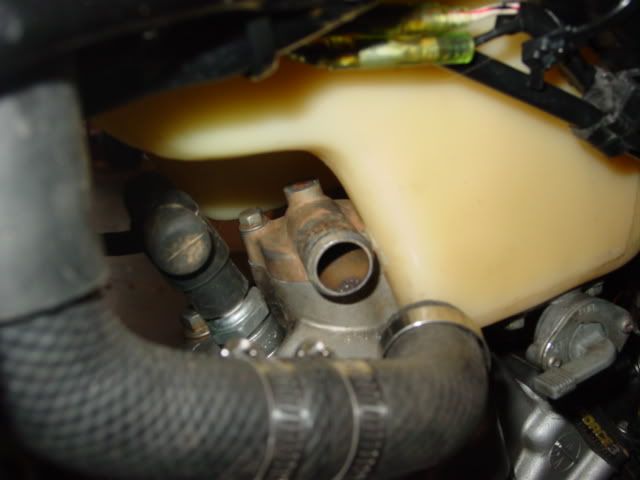
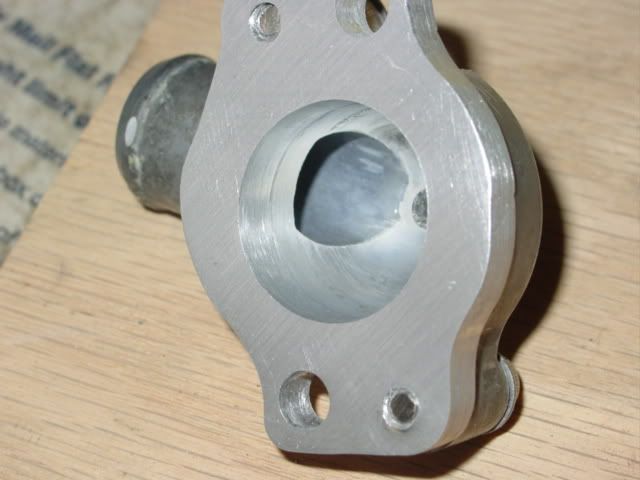
I made this adapter plate to rotate the water outlet out of the way.

Bottom view of the plate and water outlet bolted together.
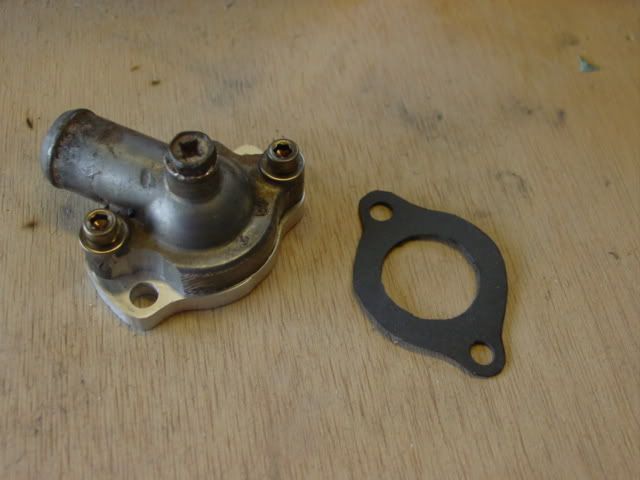
Top view with my hand cut gasket.
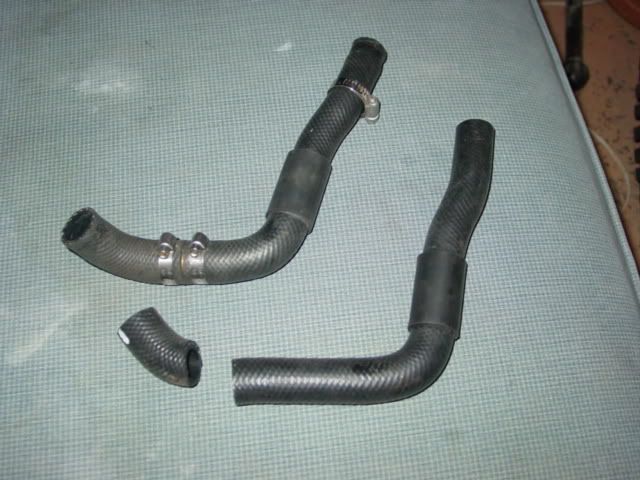
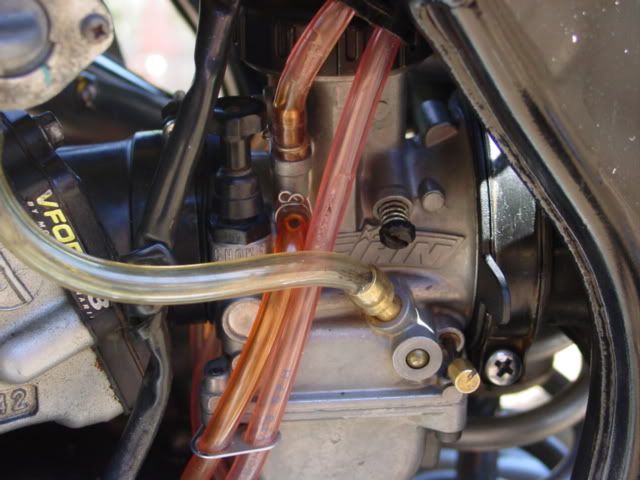
I originally had to put a splice into the factory KX hose (left) to rotate the end 90 degrees to fit onto the head. With the water outlet rotated, I was able to cut the curved end off (right), no splice was needed.
All bolted up.
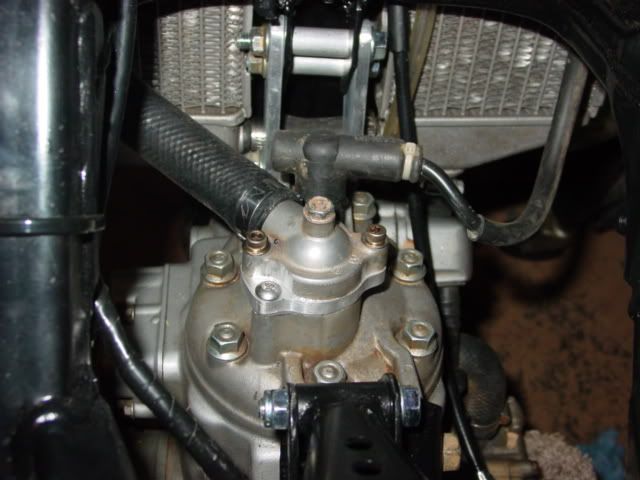
Plenty of room now.
Posted: 04:31 pm Mar 29 2010
by Jupiter2
A work of art. Very nice.
Posted: 09:54 am Mar 31 2010
by bulabula09
Dang!! very nice handy work!! that looks awesome!
Posted: 01:05 pm Mar 31 2010
by Tedh98
Thanks for the positive comments guys. It is pretty neat what you can do with a router.
I tightened the last bolt earlier today. I need to wait till the rtv dries on the exhaust pipe before I can fire it up. I'm not real happy with the fit of the IMS tank, but I got it for $30 on eBay so I can't complain. I'm going to be on the lookout for a Clarke tank to see if that fits better.
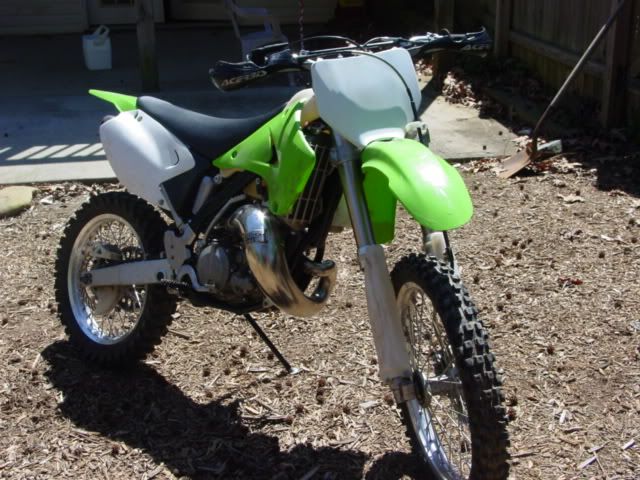
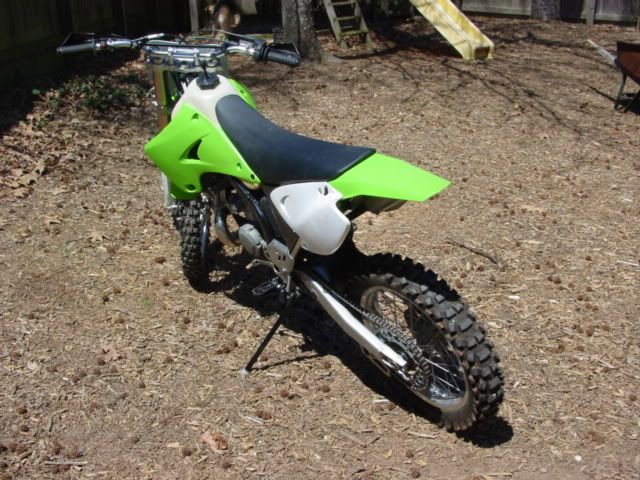
I already like the 18" rear just based on looks, I'm sure I like it better once I go riding.
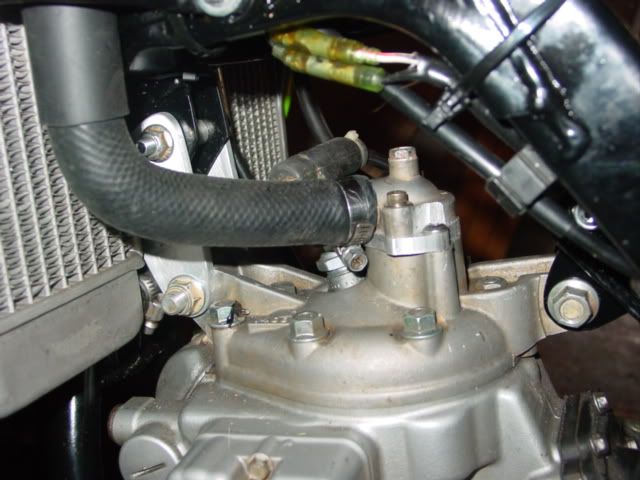
I changed were I put the electrical components from my 1st hybrid. I put the CDI above the left radiator.
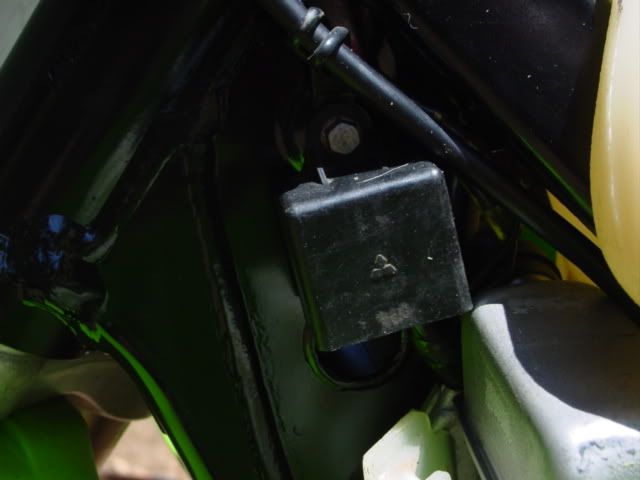
A saw a late model KX 250 that had the coil mounted behind the right radiator. I copied that approach so I'd have more room to get to the spark plug. Kind of hard to see the coil in this picture, but it is back there.
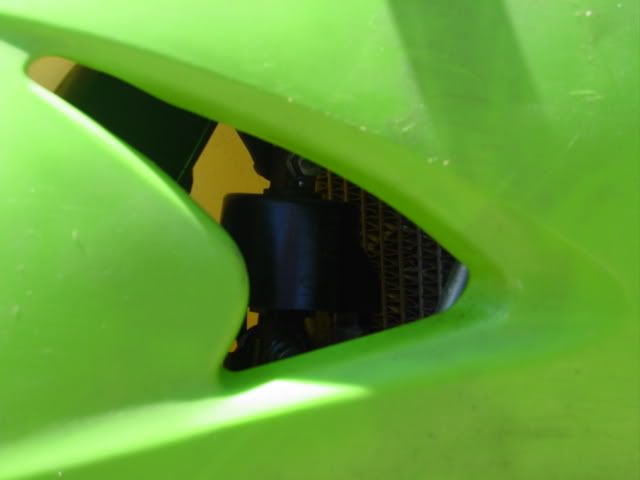
Between the pipe and coil with my 1st bike, there wasn't much room to get at the spark plug, now there is a little more room with that out of the way.
I also upgraded with the vforce and air striker carb.
Hopefully I'll get to do a little test ride tomorrow before going riding this weekend.