I took a different approach to cutting the swing arm. Since it is more likely that someone will have a table saw over a mill, I thought it may be of interest to share how I used my table saw. A decent carbide tipped blade will cut aluminum with no problem. The aluminum you are cutting on the swing arm isn't that thick, so this cut very easily. Big picture is that you need to build a 'sled' that will allow you to feed the swing arm through the table saw blade.
I first set the fence at an arbitrary distance from the blade and made a small cut. I tried to put the cut near the center of the plywood.
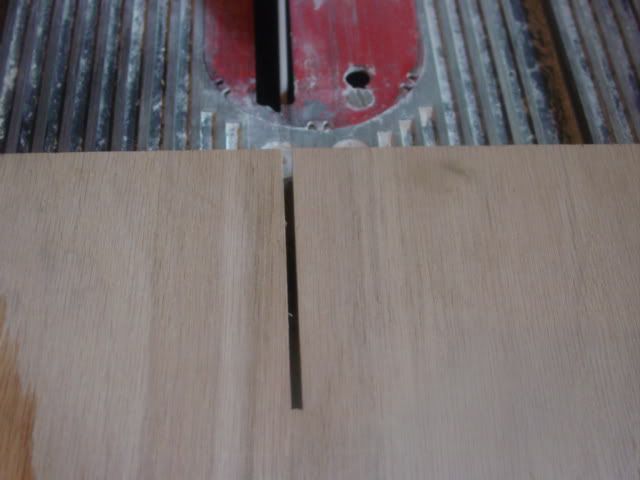
From this point on, you can't move the fence. After determining how much material needs to be removed, you mark a line parallel to the original cut that equals the amount of aluminum that needs to be removed.
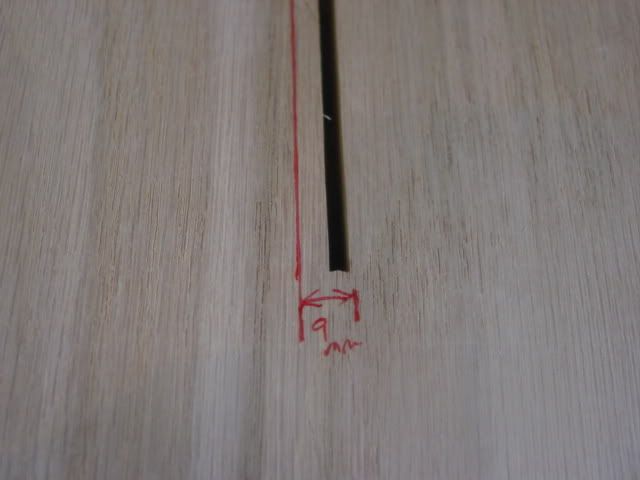
Then you need to do two things with the next step. You need to align the inside edge of the swing arm that you are going to cut so that it is parallel with the line you made. I put a straightedge against the swing arm and aligned the straightedge to the line. That is going to be more accurate than eye balling it. Once you have the swing arm lined up with the cut, you need to use blocks of wood to hold the swing arm in place so it doesn't move during the cut.
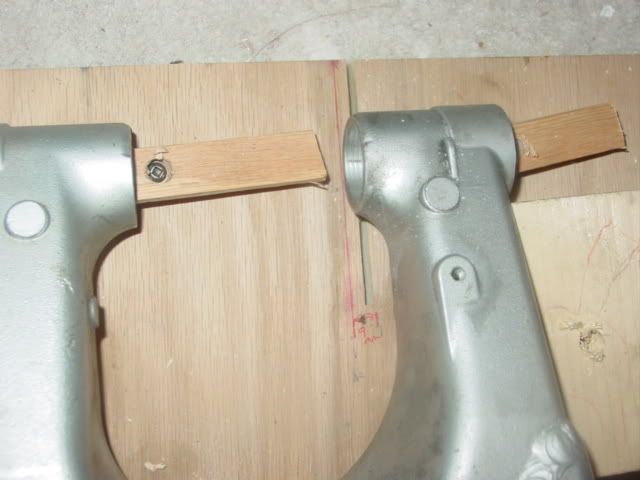
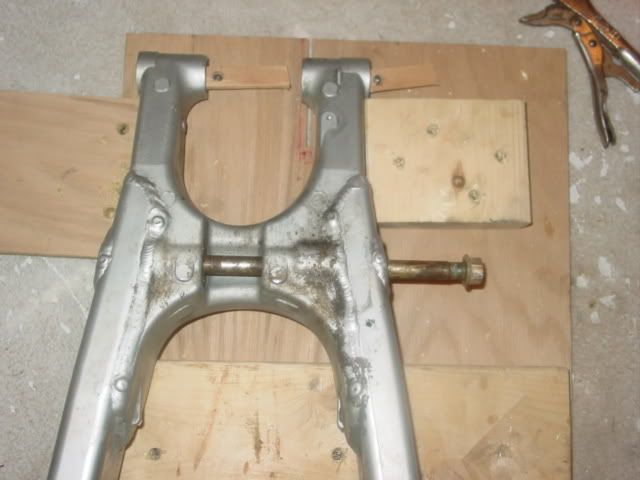
Then it is time to make the cut. You just take your 'sled' and slide the edge of the plywood against the fence to make the cut.
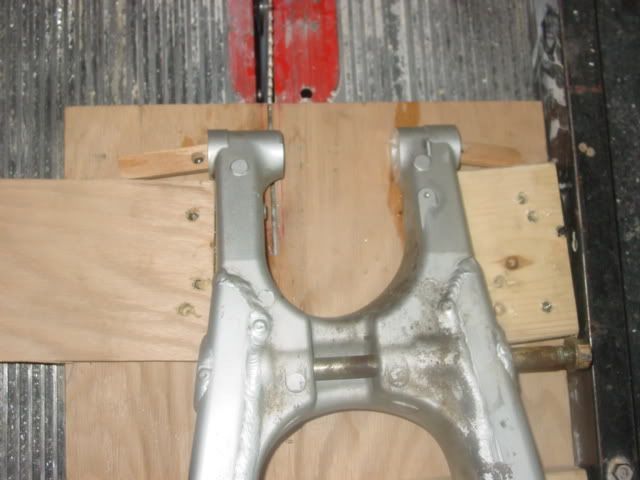
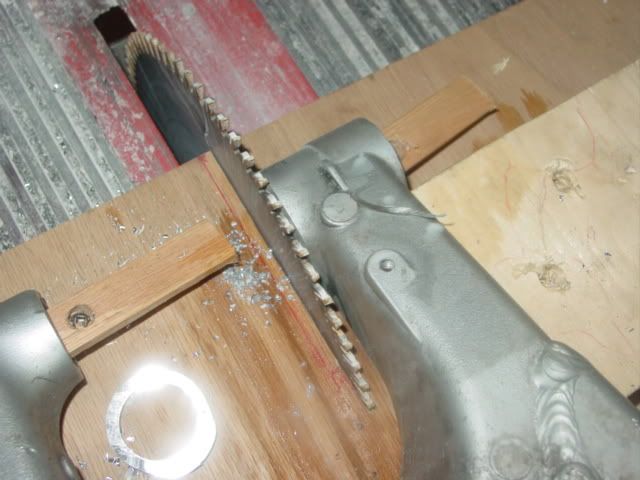
Here is a picture of one of the cuts. I didn't use my best blade (or my best table saw), so this one had some wobble to it and left some teeth marks. It didn't take long to sand them out.
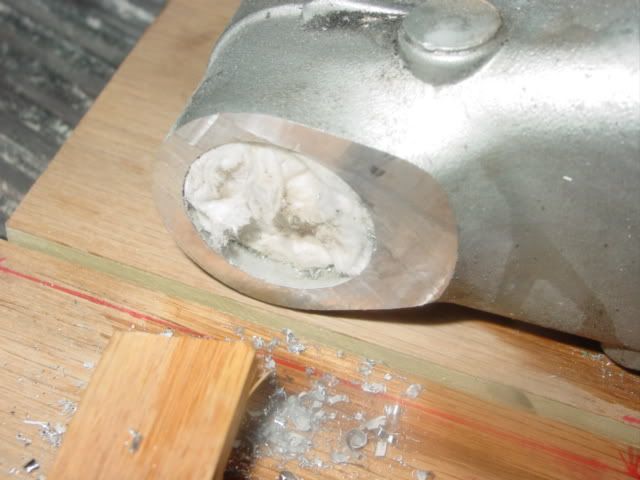
When it is time to cut the other side, you make a new reference line and repeat the process of blocking the swing arm into place.
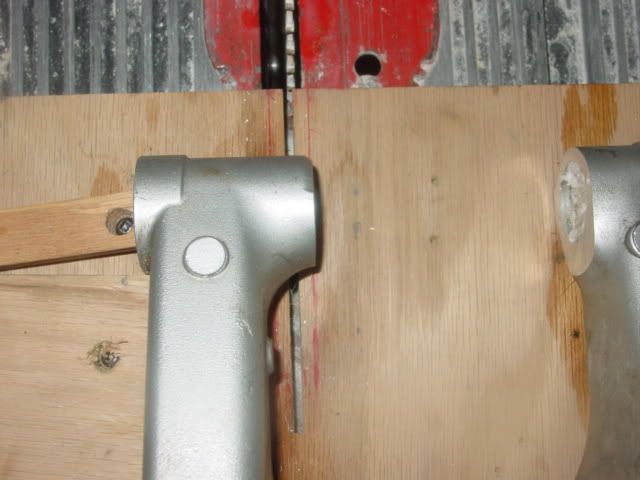
Cutting the swing arm bushings to the correct length took a lot longer and the amount you cutoff is far more critical than the amount of material you take off the swing arm.
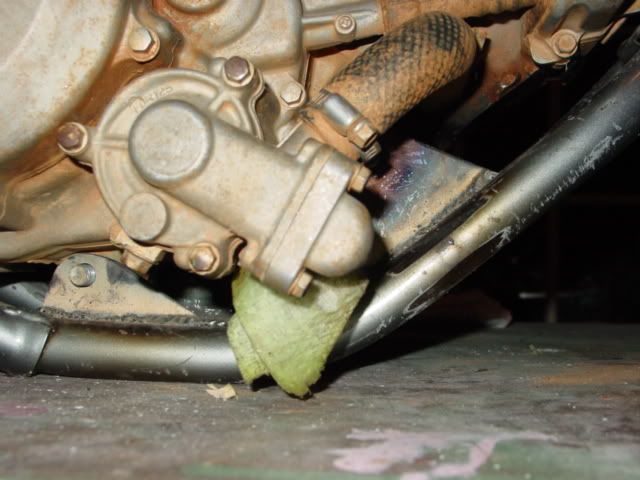
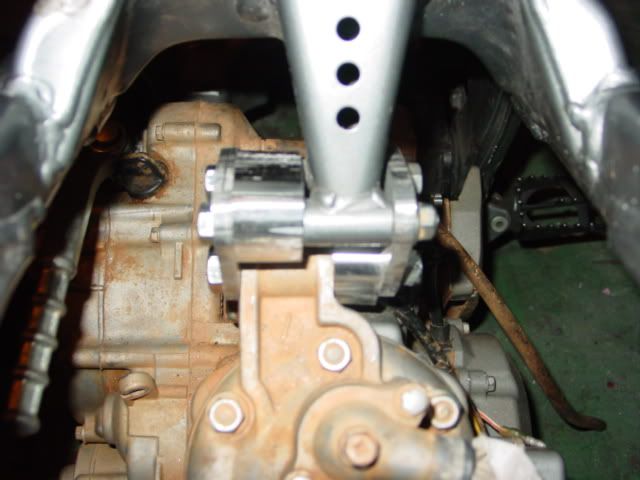
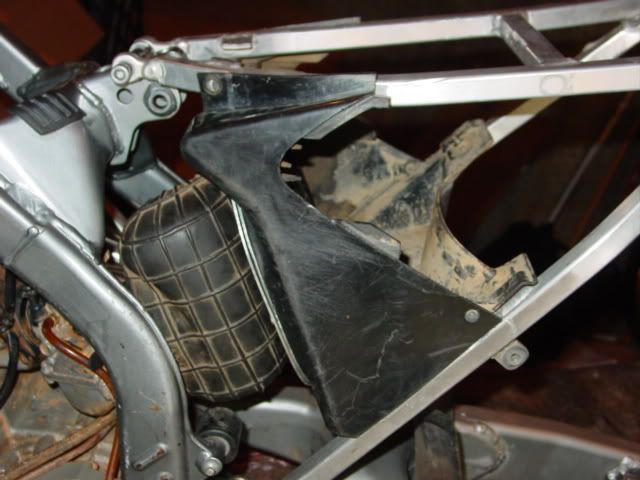
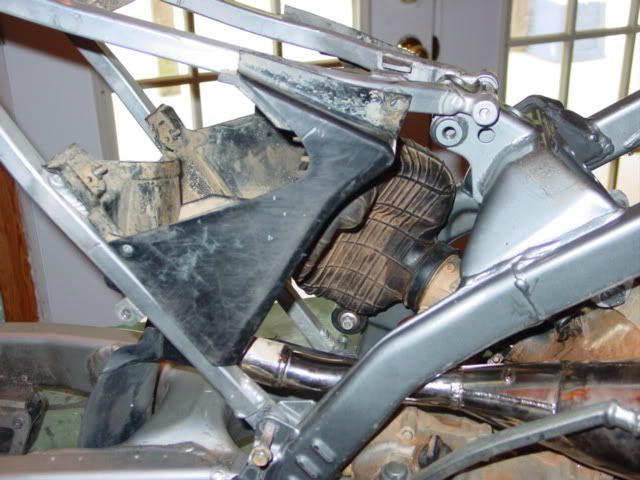
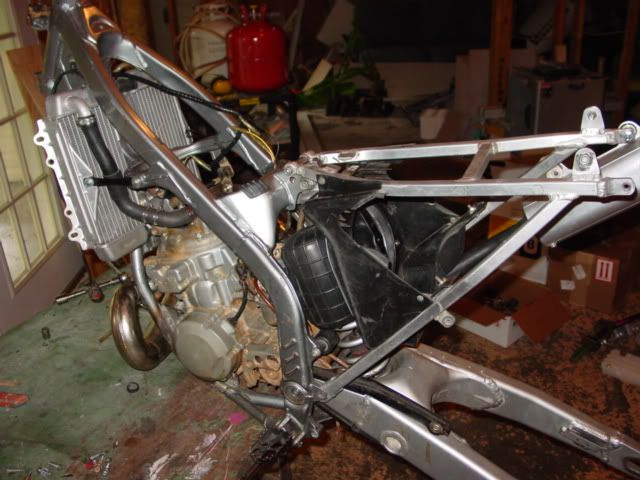
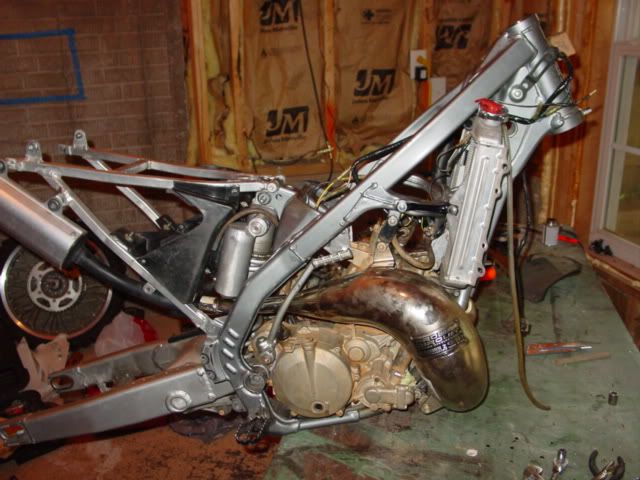
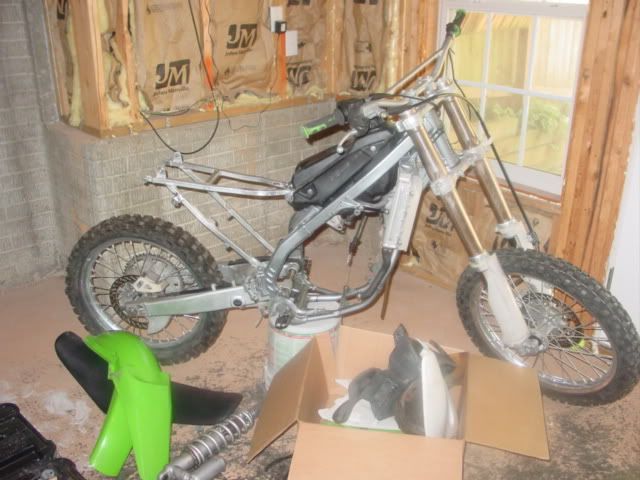
Here is the engine & swing arm in the frame. I've got the engine propped in place to check for clearances, no mounts have been welded in place yet.
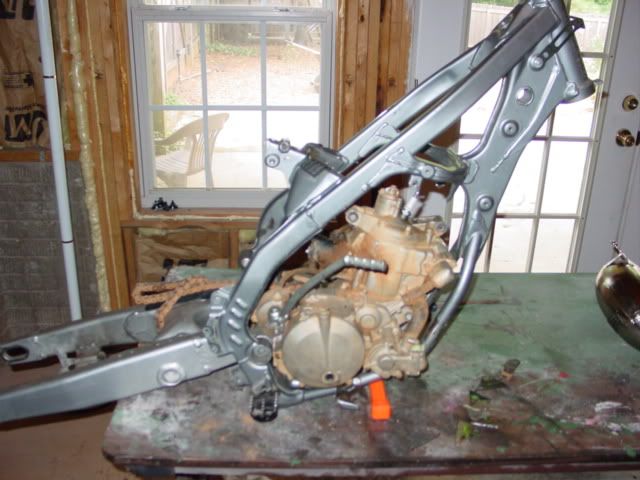
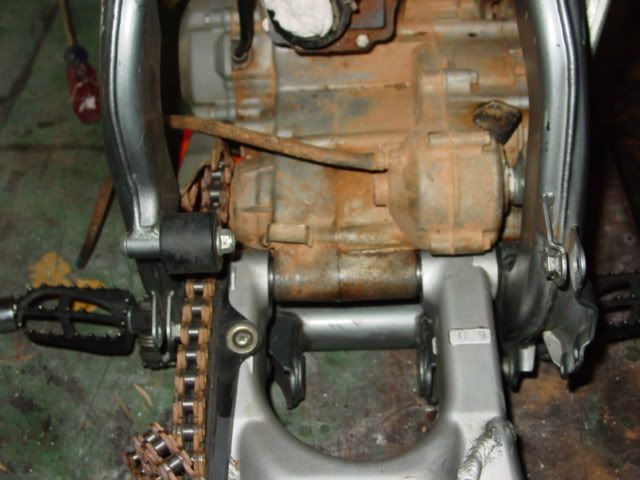
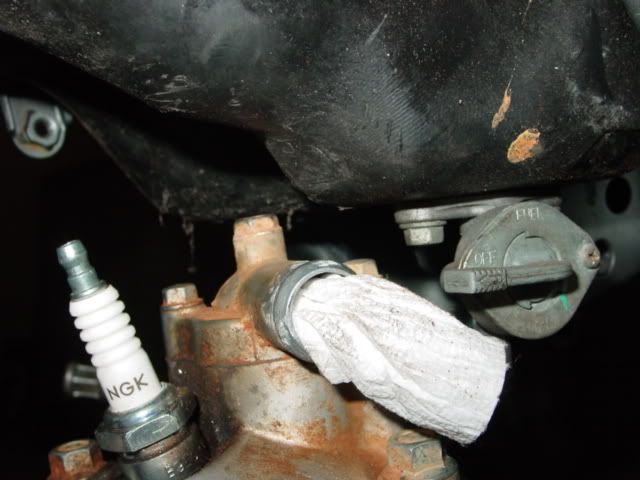
Lots of room between the head and the bottom of the tank.
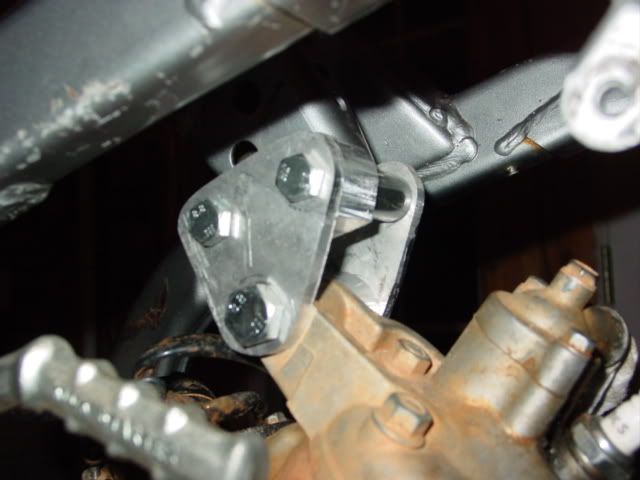
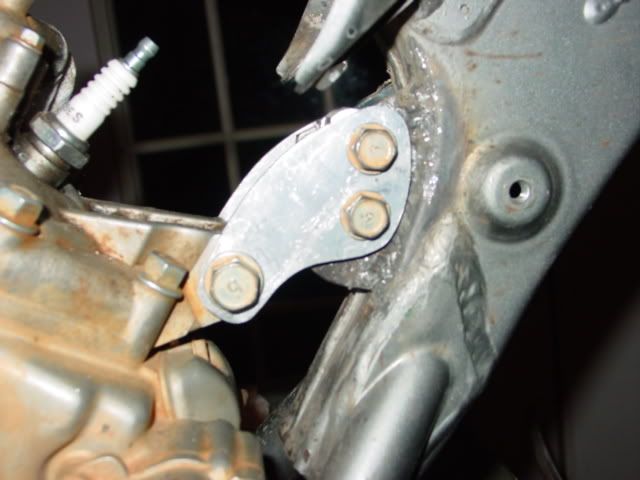
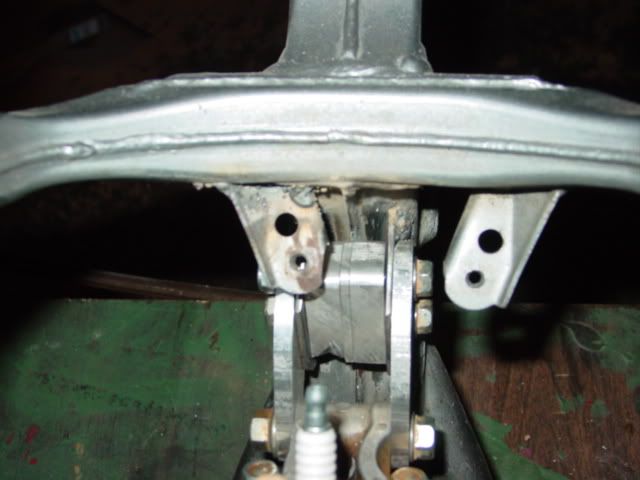
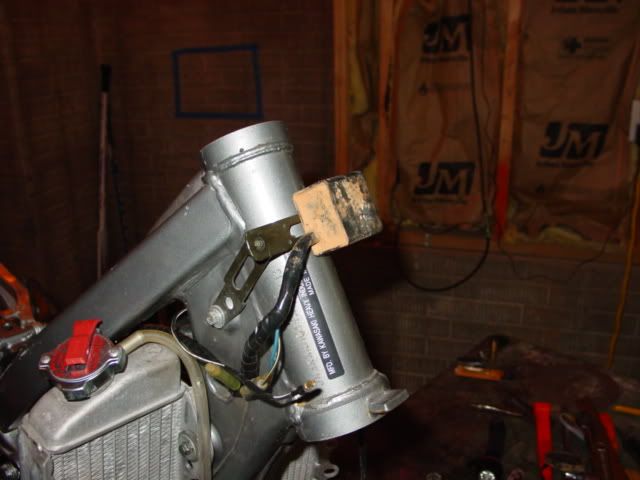
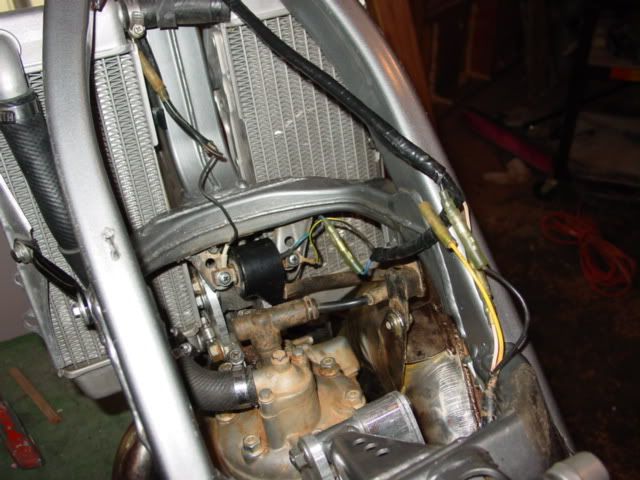
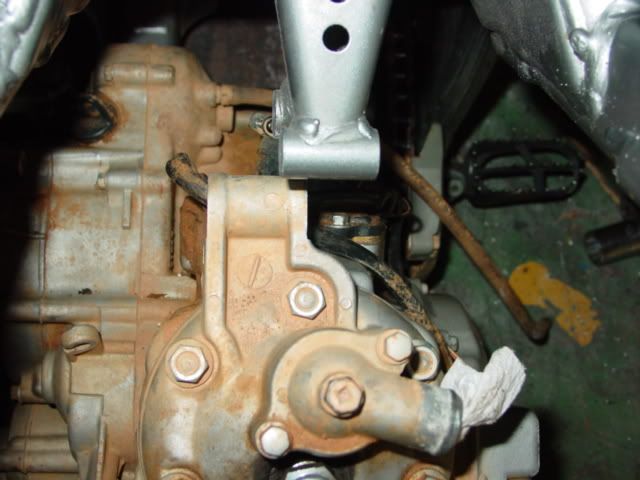
Here is how the frame bracket and head line up. I haven't figured out yet if I want to move the bracket or try to make an offset plate to connect the two.
The '97 KDX 200 I bought had an FMF Fatty pipe with it. The Fatty pipe wasn't even close to fitting the KX frame. I bought an PC II pipe and it has more than enough room, no need to dent the pipe.
I'll post some more pictures as I get further along.


