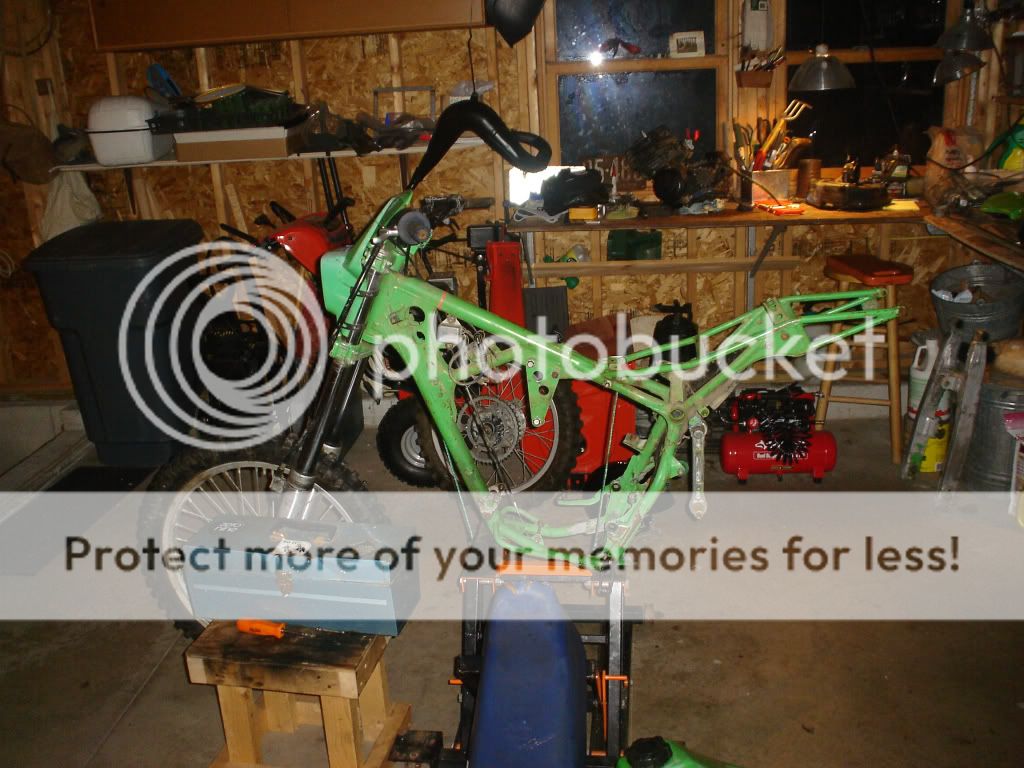
Ouch! Found this hole in the '87 KDX 200 I recently bought. Found a few other places I need to do a bit of welding too.
Once done with that I guess it's on to stripping the paint and repainting it, not certain why it has the '88 green though the entire swing arm was painted the same green too.
Posted: 07:35 pm Sep 20 2011
by JohnPainter
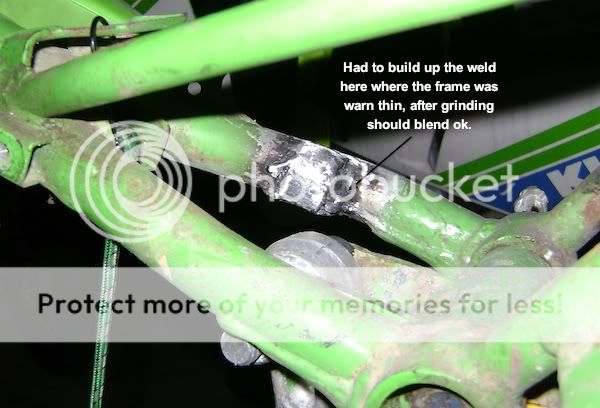
Spent some time with my powered wire brush getting down to bare metal around the various holes etc on my '87 KDX. Here's that hole in the frame welded up, but it was warn thin more than I'd thought and I had to bead it up quite a bit, not pretty but a little time with the grinder and it will be fine not very noticeable place but not one I want to fail when I ride it.
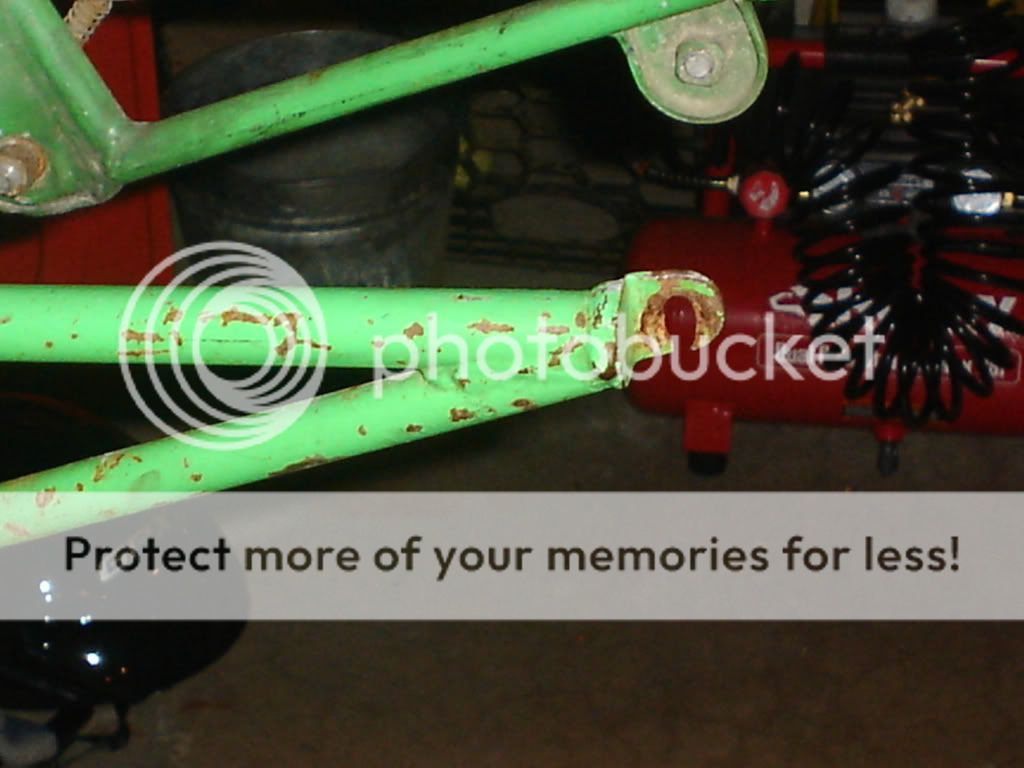
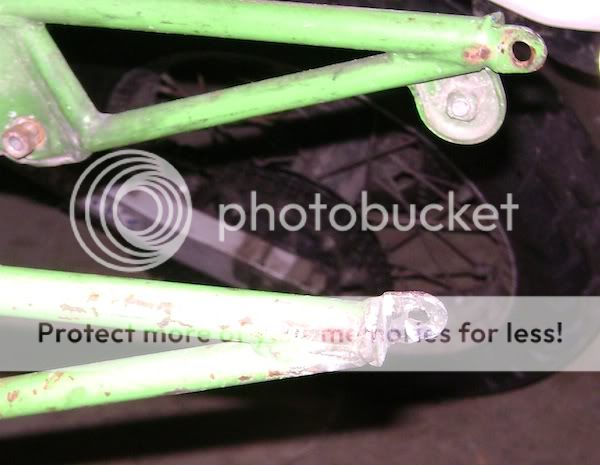
I also had to add some material onto the fender well where the metal had warn clear through.
A little bit of grinding and it should be as good as new. you can see on the right side its warn too, but I figure it's got enough metal left that I can leave it be.
Posted: 07:08 pm Oct 01 2011
by JohnPainter
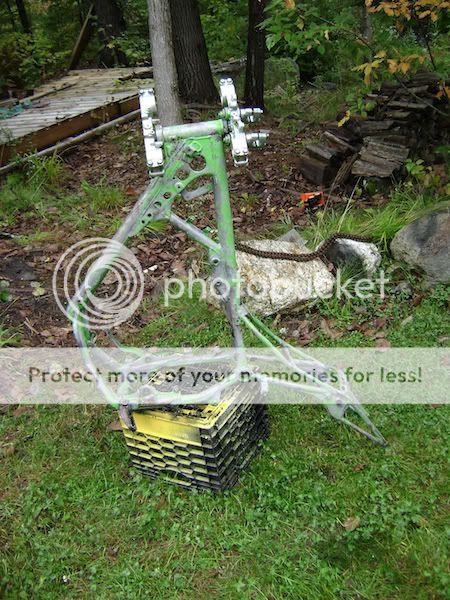
I decided to chemically strip the frame to make sure there were no more cracks or holes before sand blasting, I figured that it's better to have my welds sand blasted than sand blasting the bike then getting stuff all over the frame. So here's the progression.
There was actually quite a bit of paint built up on the triple tree (the PO must have went nuts with the spray paint because he got it into the fork bearings somehow WTF?!) so I figured stripping it was better than having to have it sand blasted, though soda blasting would probably be ok.
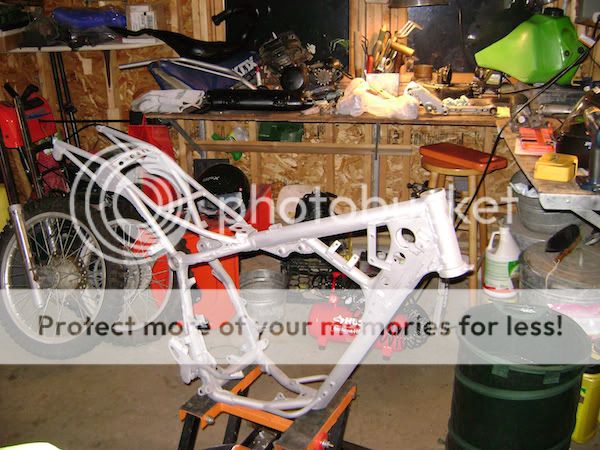
So this is what it looks like after a sandblast with glass, it took off all the remaining paint, roughed up the welds like I figured, and left the steel with a very fine frosted finish. After degreasing the frame and wearing my latex gloves, it's time to prime.
I am using Duplicolor rattle can paint on the bike, I've done this before without the expense, and sometimes questionable results and frame warping you can get with powdercoating. I know a lot of people seem to like it on dirtbikes, not me.
This is Duplicolor 1690 etching primer. Next will be their silver lacquer 1679 which is pretty close to the original '87 KDX silver at a rock bottom price! At the end of this project my total cost for prep and painting (chemical strip, sandblasting, primer, paint, spraycan grip and a couple wire brushes, heavy gloves) will be $82.72.
Posted: 07:26 pm Oct 01 2011
by Fletch
Nice job,
I had a klr identical to that......I like the kdx much better.....
Posted: 07:54 pm Oct 01 2011
by JohnPainter
That's my nearly vintage '89 KLR 650, she has developed a knocking sound suspect a valve, since it sounds to be coming from the top left. I know its not the doohickey I've just replaced that with Eagle Mikes, I'm pretty sure it's not a spun bearing or top or bottom end because my piston seems rock solid, no play; up/down or left/right. Oh well, nothing like having several pokers in the fire at the same time.
My son out for a ride with me. I swear it's not an advertisement for Home Depot.
Posted: 11:35 am Oct 02 2011
by JohnPainter
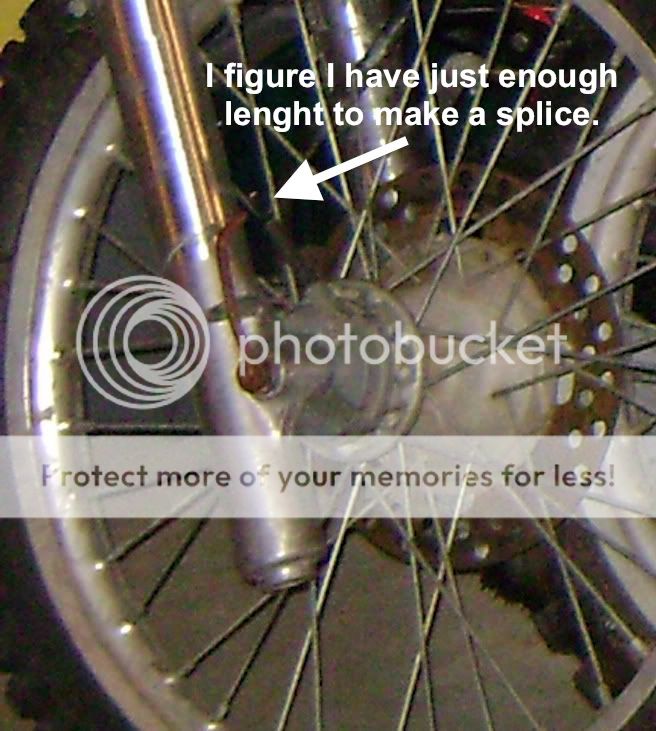
Is anyone familiar with the '87 KDX 200 trip meter wiring off the wheel? Since my bike does not have a trip meter I intend on splicing in a standard bicycle wired computer, probably just a cheap one off e-bay to get a feel for getting it to work off the KDX magnets - I figure I'll have to calibrate it a bit different than recommended but it should work fine.
then later I figure I will get a better one with some bells and whistles.
Posted: 02:13 pm Oct 02 2011
by scheckaet
thought about it, but the unit I got needed to be extremely close (1 mm) to the magnet.
Posted: 08:12 pm Oct 02 2011
by JohnPainter
>|QBB<[/url]
scheckaet wrote:thought about it, but the unit I got needed to be extremely close (1 mm) to the magnet.
Interesting. So were you using the stock trip meter sensor on your KDX? I will use the stock sensor I have, the meter and most of the cable like so many on these these old birds was cut off. I can figure out the wiring I'm sure it's not too hard, but just wondering if anyone already knew which wire is which since it's not clear in my Clymers manual.
Posted: 07:59 pm Oct 03 2011
by skythrasher
The red wire is the signal TO and the black is the signal FROM. Meaning you would hook the red to the wire that has voltage from the computer.
Not sure if the OEM sensor will work with a bicycle type computer or not, There is a circuit board in the wheel sensor not just a magnet and sensor. The OEM meter runs much higher voltage than the newer trail tech type computers.
Posted: 08:38 pm Oct 03 2011
by JohnPainter
skythrasher wrote:There is a circuit board in the wheel sensor not just a magnet and sensor.
. That's what I was wondering, thank you.
Posted: 04:31 pm Oct 05 2011
by JohnPainter
Is Jeff Fredette a God?
I just got my "new" flywheel and rebuilt stator for my '87 KDX 200 from FRP, my engine is apart, but wow, it's a work of beauty and I can see right off this flywheel will not have the magnets come apart.
Posted: 08:01 am Oct 09 2011
by JohnPainter
For those of you who want or need to use the original plastic from an older bike but have a serious oxidization problem with it,
I've found to restore old OEM plastic to good condition,
removing the oxidized plastic then using a heat gun does give
you a good result, watch my video here or take a look at the images below.
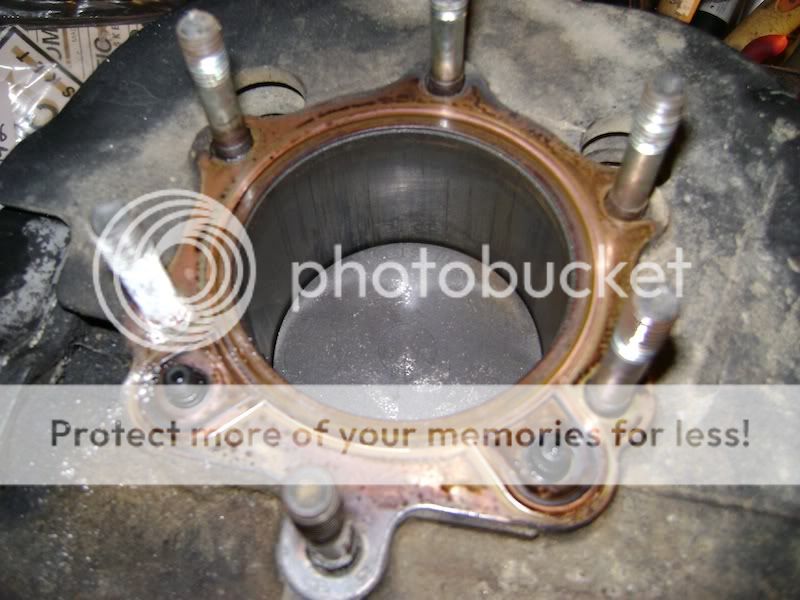
Considering the age of this KDX and how the PO had treated it, the engine so far is looking in good shape. Though the intake boot has a lot of hairline cracks, I've learned that Plasti-Dip (spray kind) will patch that, and holds up well to a variety of petrolium products.
The inside of the bore looks its age, streaked, and glass smooth so it's time to hone. Just the same, the piston and rings are well within spec, and I'm wondering if they might have been replace not too long before original flywheel came apart. There was quite a bit of caked on spooge from the KIPS, if you look in the lower left you can see, I was surprised how thick and hard it was but is coming off with a bit of WD 40.
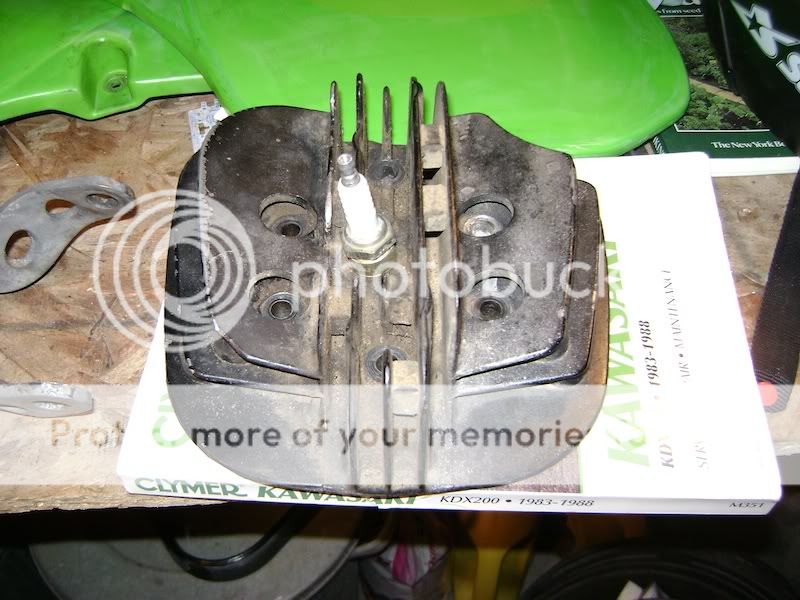
Top of the head is dirty like everything else, but all the fins are there and straight.
Inside the head, though there was some carbon, it was thin and the surface very smooth.
Posted: 11:17 pm Oct 11 2011
by JohnPainter
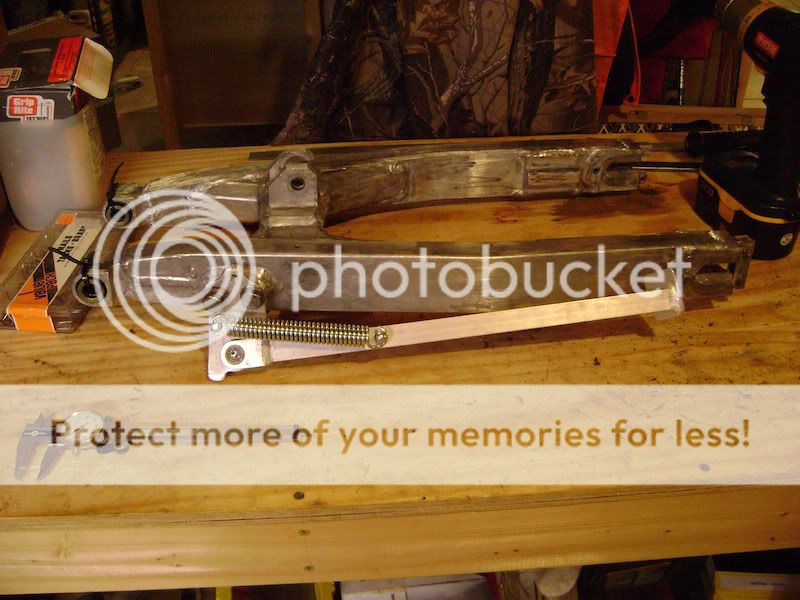
Well the frame has been hanging in for a couple days, so it's time to go to the basement (dehumidified) for longer curing and assemblage of the parts.
While I have the swing arm mostly cleaned up, I still need to smooth out some gouges, give it a more brushed aluminum look and get my bearings
installed. I'm very lucky the linkage is in such good condition I didn't even bother spray painting it, it will be the true OEM silver on the bike - for good luck.
Posted: 11:09 pm Oct 14 2011
by JohnPainter
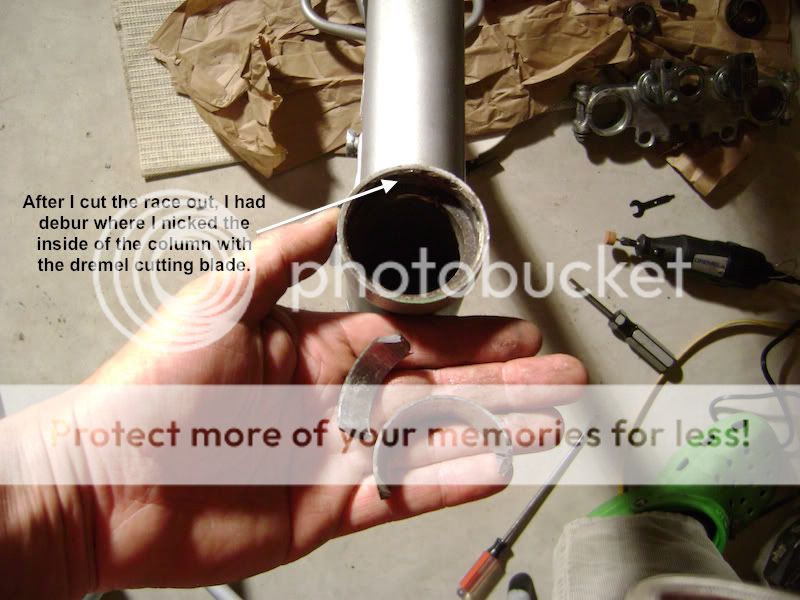
Well the race was heavily pitted and had to be replaced, little did I know there's no edge on the race to hit against from the other side, so out came the dremel
with cutter. It cut easily, but I nicked the inside of the tube, very minor, and had to debur it. Other than than the operation went smooth in fact so smooth I also
cut the bearings off from the stem with the dremel! Way easier and more fun than other times I've done it!
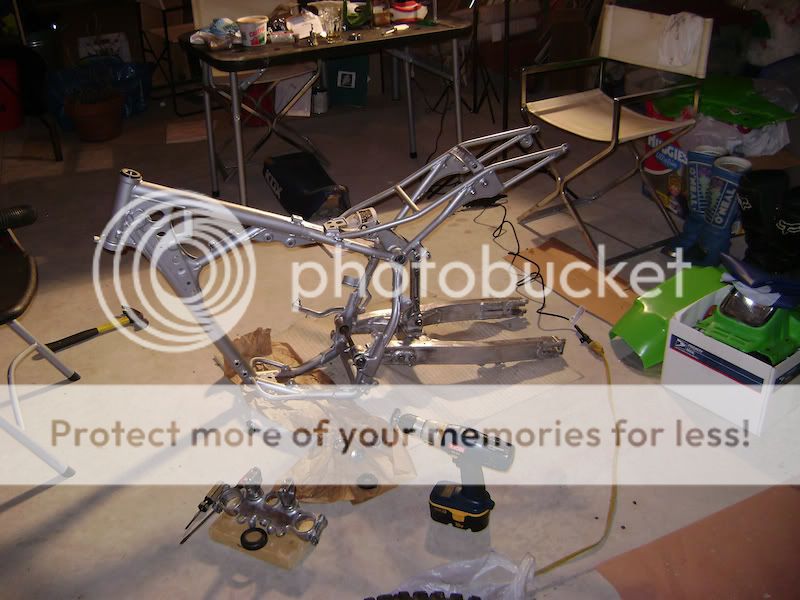
After that, I was able to get to the swing arm and pop the bearings out and slide new ones in (I froze them for half an hour, and they
basically slid right in pushing them in with my vice), from that point I had to see how it would line up so some light assembly followed.
Posted: 01:19 am Oct 15 2011
by Fletch
Careful on the honing. If that is an electrofusion bore then a scotchbright scrub with wd is all it should need. honing could damage the plating.
lookn good
Posted: 09:11 pm Oct 15 2011
by JohnPainter
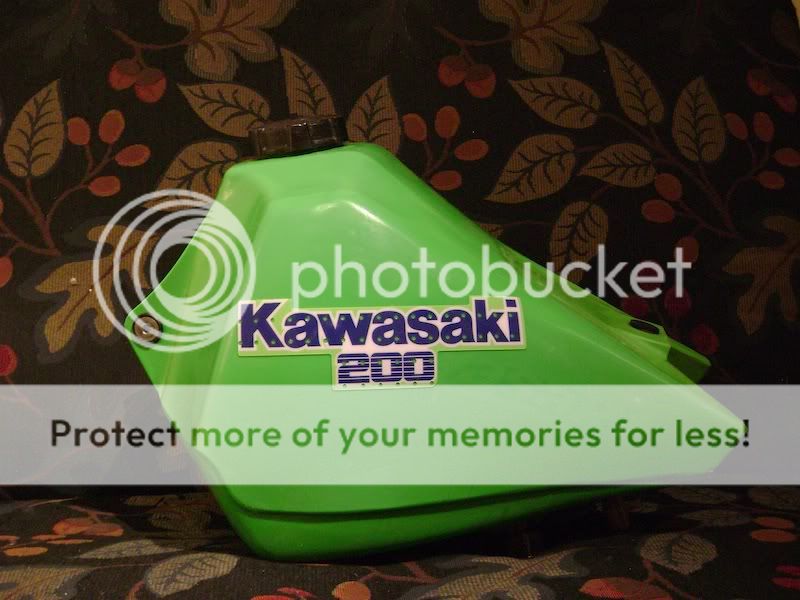
One would think I'd be most pleased having finished getting the tripple tree mounted today since there was a lot of frozen metal and heat guns involved, but
once it was together and then the mail-lady showed up with my fresh Speed & Sport Inc tank decal I couldn't wait to see all that green with the right decal on it.
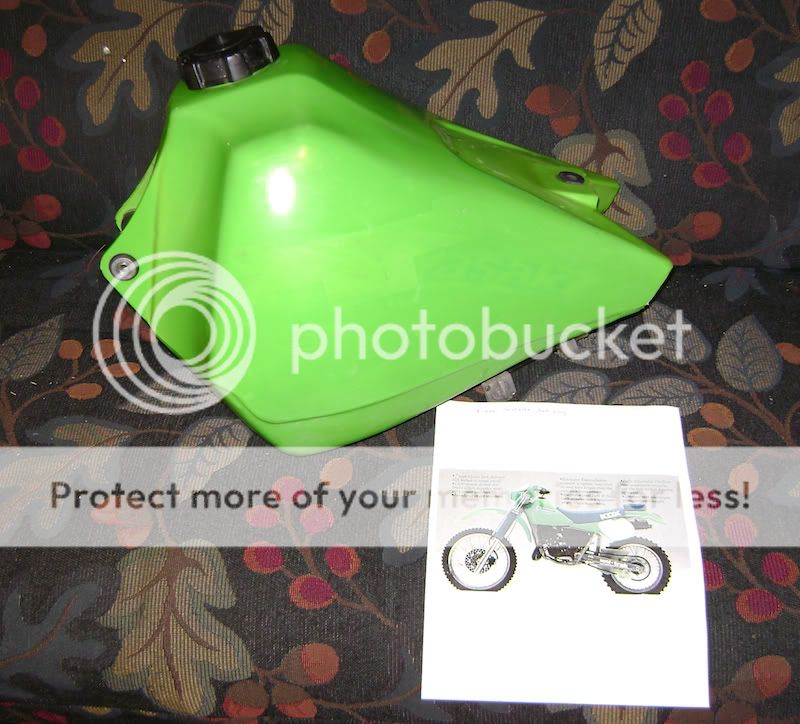
Quite a few hours of sanding the previous owners neglect and bad attempts at repair of the tank got me to this point
But of course once I watched Speed & Sports very good video tutorial for correctly affixing the decal, I was ready to go.
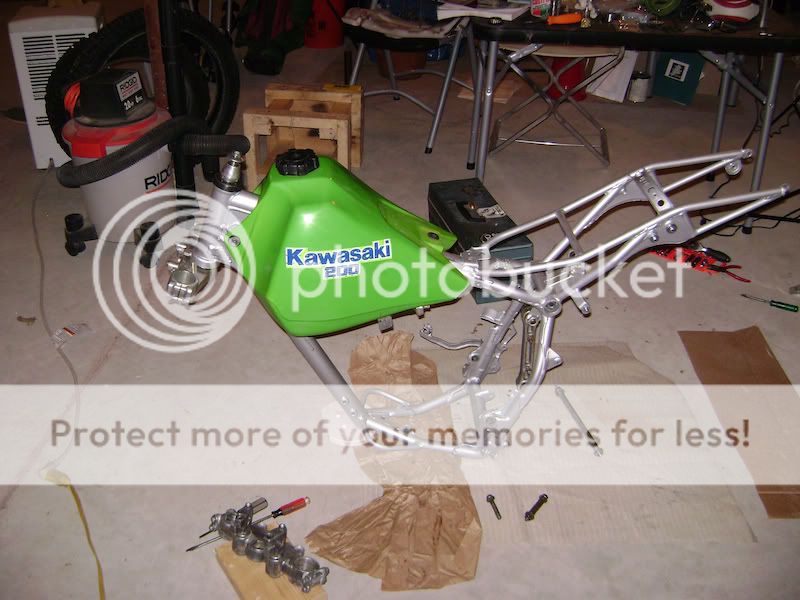
I thought it looked so good I had to sit it on my frame to see how it looked with the paint job. Not too bad at this stage of the game.
Posted: 09:20 pm Oct 15 2011
by JohnPainter
Fletch wrote:Careful on the honing. If that is an electrofusion bore then a scotchbright scrub with wd is all it should need. honing could damage the plating.
lookn good
That's a very good point Fletch, thank you. I had only considered boring over to be a problem since that would remove the electrofusion for certain, but after consulting my clymers and doing some reading around the web I will take your advice. Thank you!
Posted: 07:49 pm Oct 17 2011
by JohnPainter
Well I finally found a swing arm mounted kickstand that didn't cost a hundred bucks, it cost $43 with tax. It's got pretty rugged welds, so I'm hopeful.
Most of my evening has been devoted to getting the new seat cover on, though I've covered seats and reupholsterd some furniture
this was a bit tough since the 1/4 staples were too shallow for the seat base and though it's pretty good quality material from DC Plastic
it was cut a bit tight up on the horn of the seat so its stretched quite a bit, if it was any shorter I would have just sent it back. To get
a sense of the proportions I put the rear fender on with a plastic clamp, looks ok.