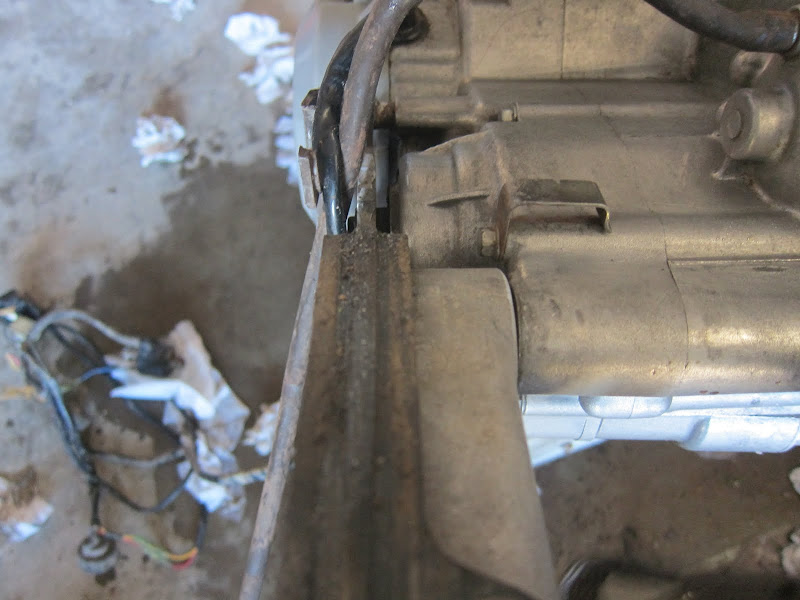
Next step is to trim down the swingarm ~5mm on each side to clear the engine case. I just used a flap disc on my angle grinder.
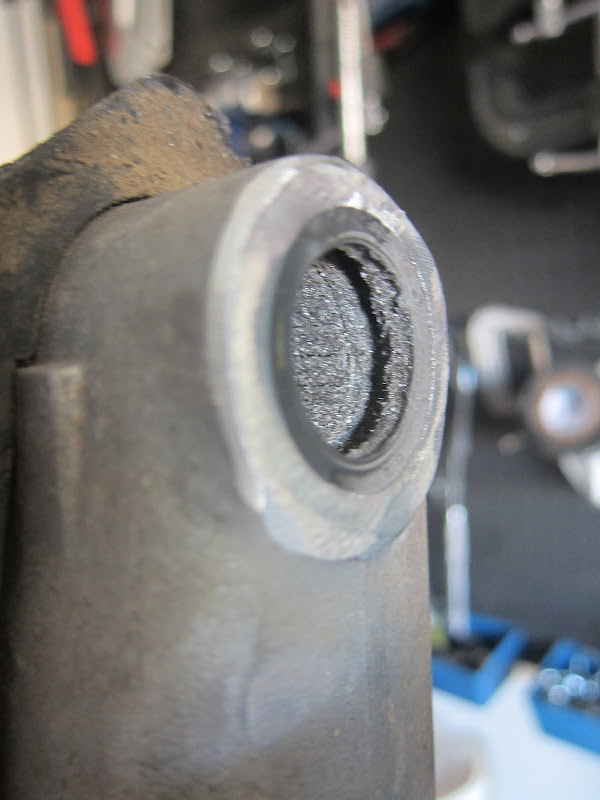
Here you can see that you have a few MM you can take off before reaching the inner swingarm seal.
here it is after sanding. I should have put something in there, now I have a ton of aluminum shavings inside my swingarm needle bearings. I'll have to find a good way to pull that seal out, remove the bearing, and clean it all up.
and the other side:
perfect fit.
and the sprocket is perfectly aligned.
Last edited by sixstringsteve on 01:56 pm Jul 04 2011, edited 1 time in total.
If it's not too much trouble, I'd like to see some pics of where you had to clearance the swingarm to clear the engine. And I'd like to see your front motor mount.
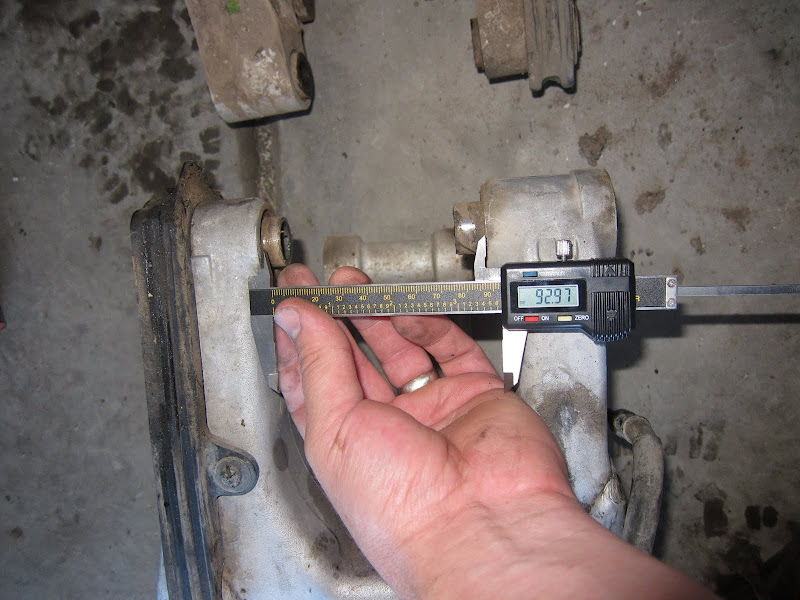
Since I couldn't get a 17mm reamer by today, i borrowed a friend's 43/64ths drill bit today, and it worked out perfectly.
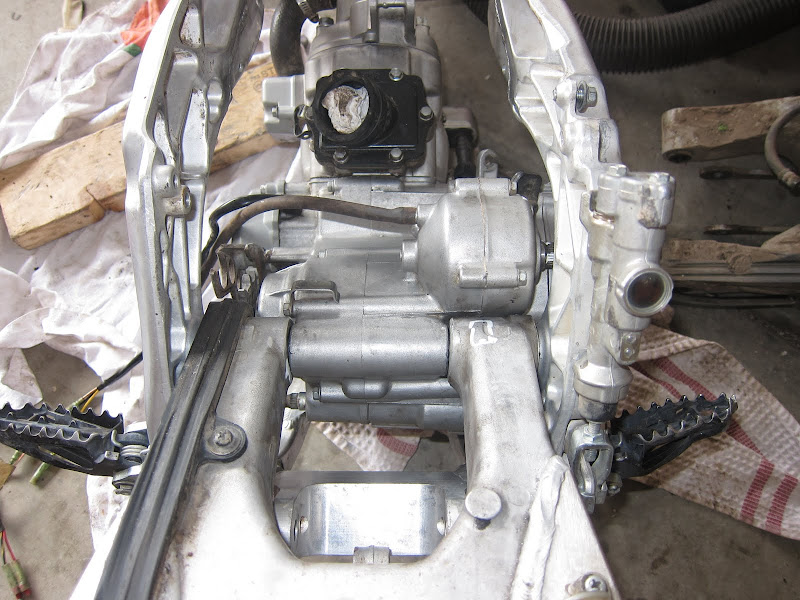
I got the swingarm bolt, swingarm, and rear motor mount installed. That's a milestone. I had to trim the swingarm bushing just a bit more. I'd guess I ended up with 45-46mm for each bushing.
after I installed the swingarm, I took the frame and engine down to Mike, a jeeping buddy for him to weld on some new front motor mounts.
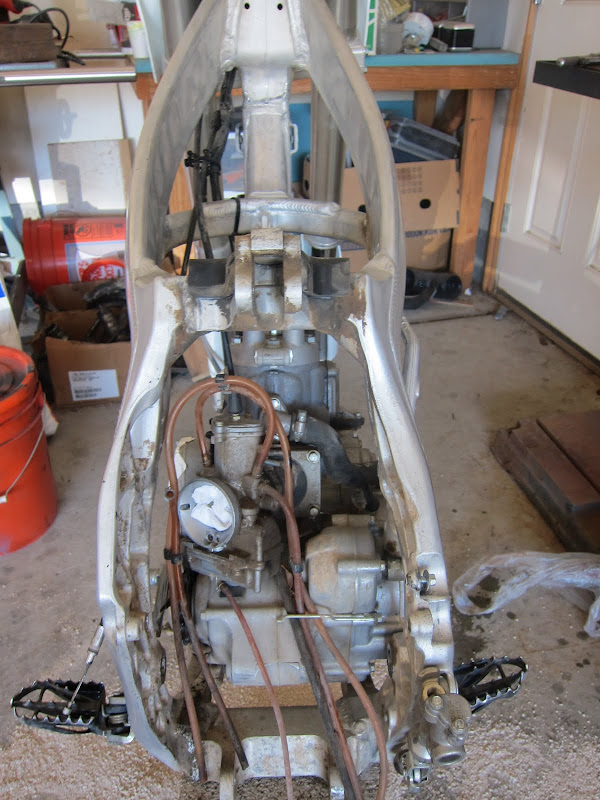
When we got there, we realized the engine wouldn't rotate down enough to clear the exhaust. It was hitting the front motor mounts. Even after we cut the front motor mounts, we realized the head would contact the front of the frame. Since I needed the exhaust to clear, the only option was to notch the frame.
I'm really curious how hybridracing65 did it without notching his frame.
I apolgize for the cell phone pics, I didn't bring my camera with me to Mike's place.
Mike does top-notch work, and he really took his time to make sure everything was right.
As you can see, he does killer work:
Here are the new front motor mounts.
I learned a lot from him today. And now it's nice to know I've got a guy who can weld aluminum for me, and who can help me with any weird exhaust bends/cuts/welds that I may need.
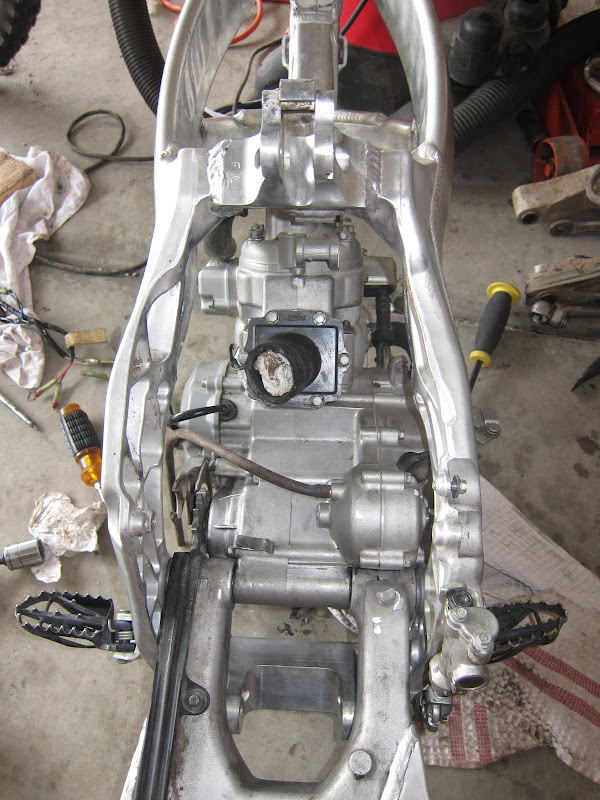
With it all in, I have about 1/4" clearance all around the head.
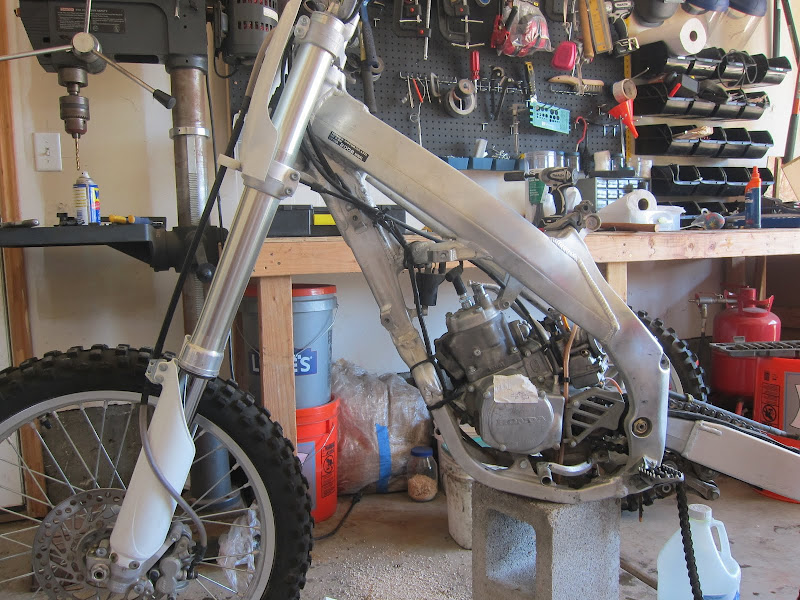
Motor installed. Finally.
Well, I met my goal of having the motor installed by the 4th of july. I realized that two of the nuts holding the head on are stripped. I can't get them off without cutting them. Anyone have any ideas? Do the studs come out, and can I get replacements?
I also lost all the needle bearings out of one of the rear susp linkages, so i need to order a new cage bearing. Then I should slowly start putting it all together.
It is pretty neat how no two hybrids are exactly the same, and yours is really different with notching the frame!
You said you had to notch it to get pipe clearance, what about the positioning of the c/s sprocket to the swingarm pivot bolt? That is the main concern when setting the angle of the engine.
How close is the airbox and everything else lining up/fittting?
Tedh98 wrote:what about the positioning of the c/s sprocket to the swingarm pivot bolt? That is the main concern when setting the angle of the engine.
I don't understand the question. I'm pretty green when it comes to dirt bikes, so excuse my ignorance. Are you talking about if it sits above or below the swingarm bolt?
I haven't checked the airbox, exhaust, tank or anything else yet for fitment. I should get the head studs fixed by tomorrow night. Tonight I'll try to get the radiator plumbing figured out, followed by the carb, airbox, and tank clearance.
I'm not sure how it is on a CR, but if you look at the side of a KX when it is standing straight up (not propped by a kickstand) the c/s sprocket and the swingarm pivot bolt are horizontal to each other.
I think on the other CR hybrids I've seen the headpipe was cut and extended to get clearance. I only brought this up just to confirm the engine was at the proper angle based on the pivot and c/s.
Thanks for clarifying Tedh, that makes a lot more sense to me. I appreciate the comments and suggestions.
I'm no expert at this, so it's very likely that the angle is off. I'll have to throw the shock and wheel on it to get a better idea where it sits.
Here's my limited reasoning:
- The swingarm bolt is fixed. While it's possible to move it, I'm not going to.
- if the swingarm bolt/case hole is fixed, the rest of the motor needs to pivot around it.
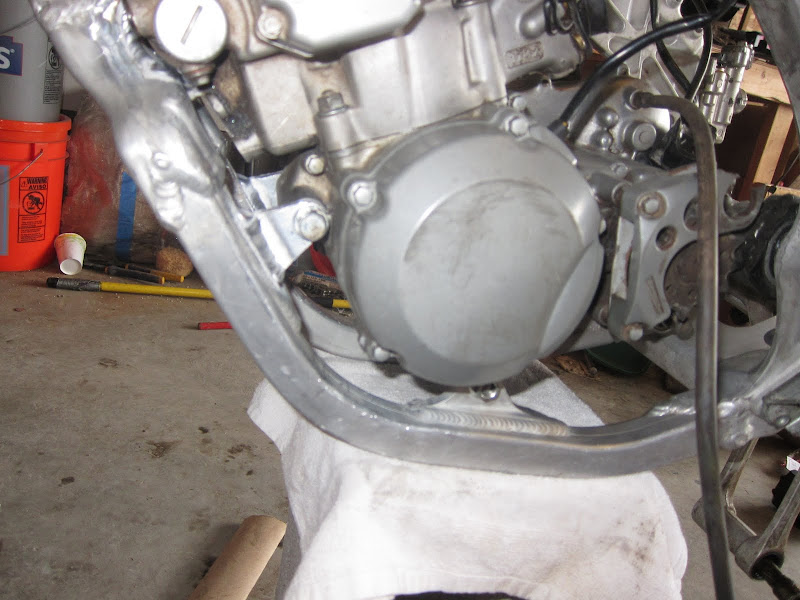
- The CR frame has a straight downtube that turns into a wishbone and forks into two rails at that point. Since the exhaust is centered in the engine, I need the exhaust to exit the head below the wishbone.
- The only way to get the exhaust outlet to clear the wishbone is to notch the frame (at least on my 2002 model).
I hope that makes sense. The lower motor mount hole lined right up, so I decided to keep it as stock, rather than relocate it. It should be just like hybridracing65's build. His seemed to turn out really well, so I'm basically copying his build, but with my own unique solutions to the problems that arise.
If I were to rotate it up any more, the exhaust would be above the wishbone. If I were to rotate it down anymore, I would have had to notch even more of the frame, and re-do the rear lower motor mount. Re-doing the rear motor mount isn't a big deal at all, but since Hybrid used it in the stock location, I figured I'd try that first and see how it does from there.
Thanks to everyone who's trying to help me prevent making a big mistake. I need you guys looking out for stuff I missed. Keep the comments coming. I guess we'll see in a week or two how it does.
On my 07 CR125/KDX hybrid I needed to notch the back side of the downtube also. Strangely, I didn't need to cut the inside of my swingarm, I guess that Honda changed the swingarm sometime between 02 & 07 although they are all considered Gen III.


