Hey, thanks, I think I will.!

Here was the big/scary part of the assembly; lower end -and- transmission..!
This will be a big long post, so if you are in a hurry, don't bother.
I figured it would be good to catch some details here, because I'm a first-timer with these things.
Having a newbie post up -should- in theory be more helpful to other beginners,
Because we assume a lot less than someone who knows, right?
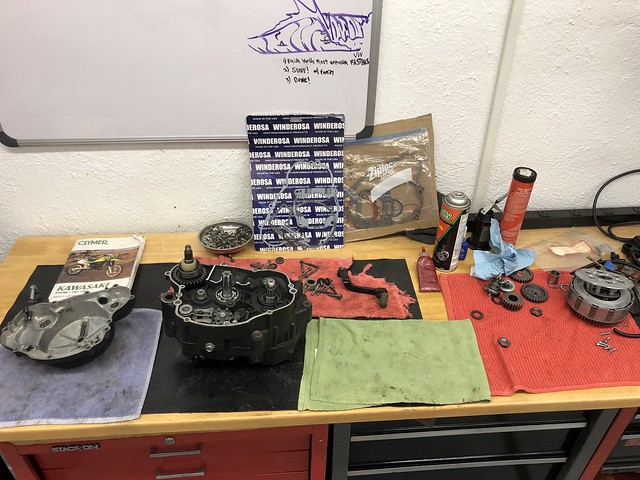
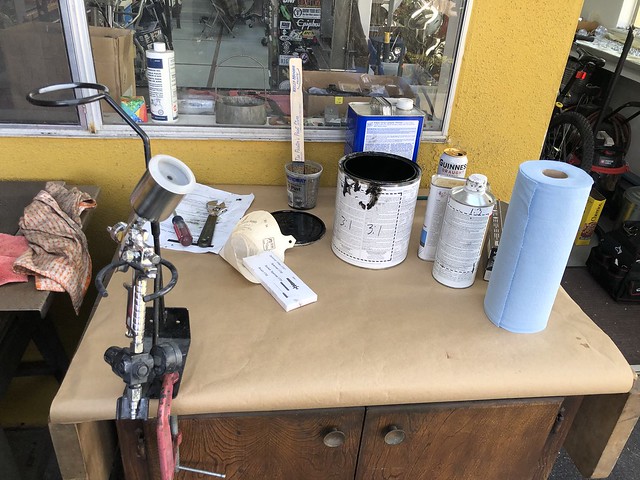
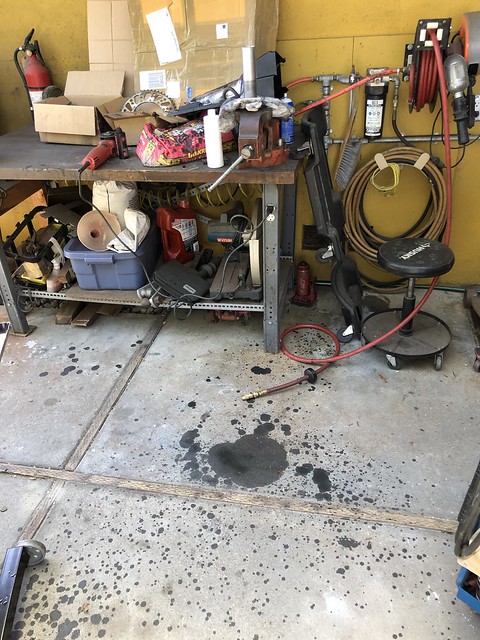
Had to clean up the bench as much as possible..
Don't know why, but having just what's happening in front of me, instead of other stuff, helps.
I just get so distracted.. Must be ADD or OCD or something.
Also drves me nuts when i need to set something down and can't!
Anyways,

The old silver lump on the left, along with the manual, and a clean spot (if possible),
Helps me (try to) stay focused... And figure out how this thing goes together.

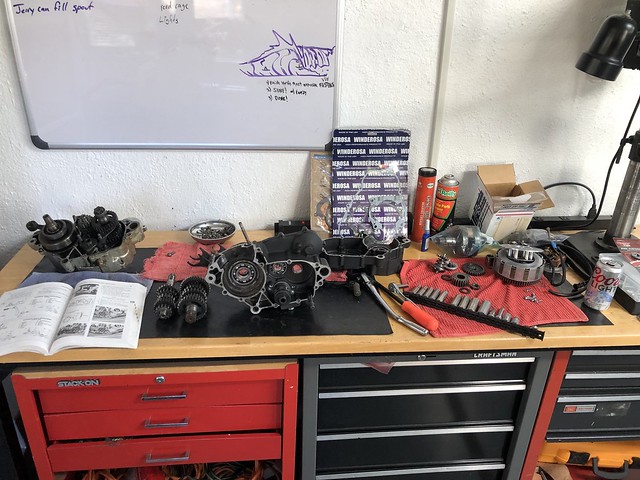
My manual is just a Clymer, that leaves things out a lot of the time.
Luckily there are the factory parts diagrams online,
Where i could be confident that the shift drum and linkage were together correctly.

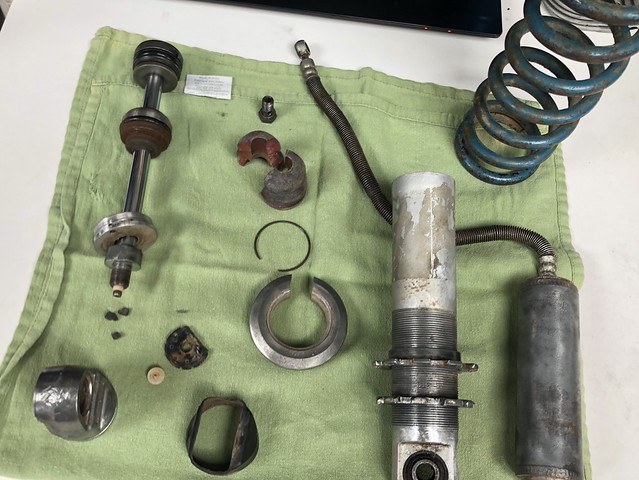
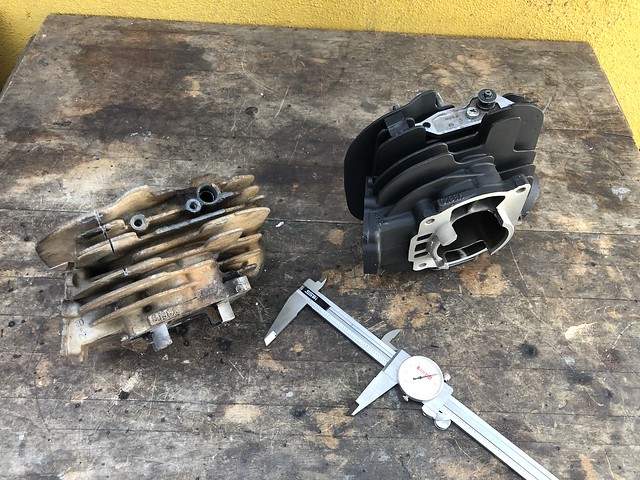
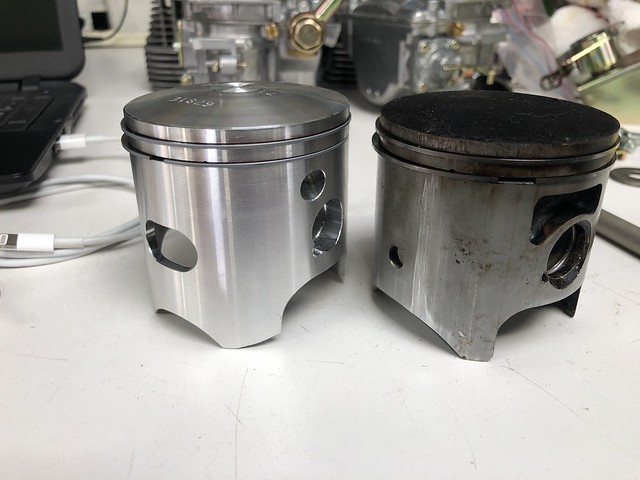
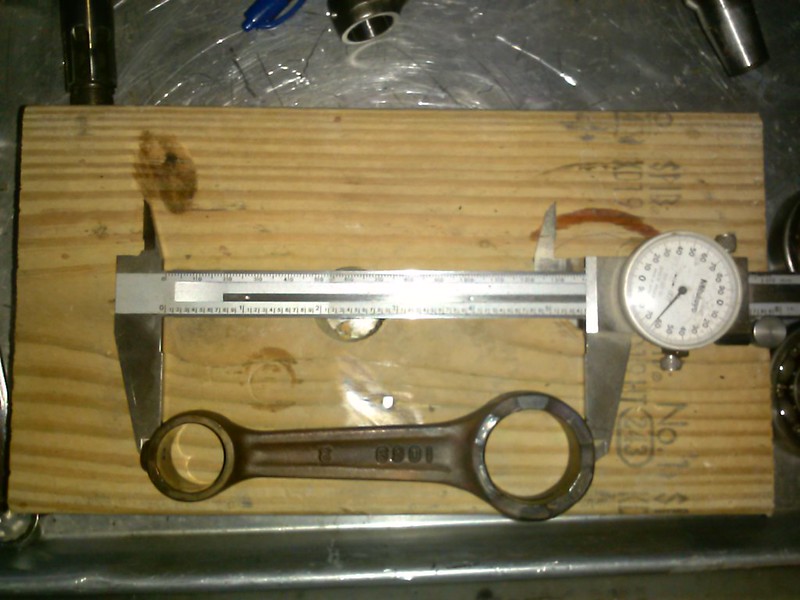
Having both the old lump trans and the 'newer' one from e-bay side-by-side, to:
1. Make sure they are both together the same (in case something was assembled wrong).
2. Find the best parts from the two.
Turns out the e-bay trans had all of the tidiest dog teeth, and least scoring or heat scuffs.
They both measured out about the same, at least in the places where you can get measurements,
Like the fork slider ares and the shift drum slots..
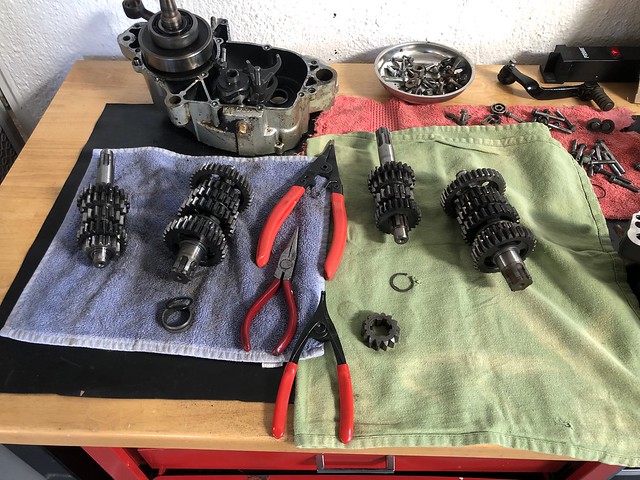
A trans-only mock-up was helpful in determining that i at least had the thing together correctly.
Seems a bit clumsy shifting, but it's not spinning and vibrating like it will be in use.
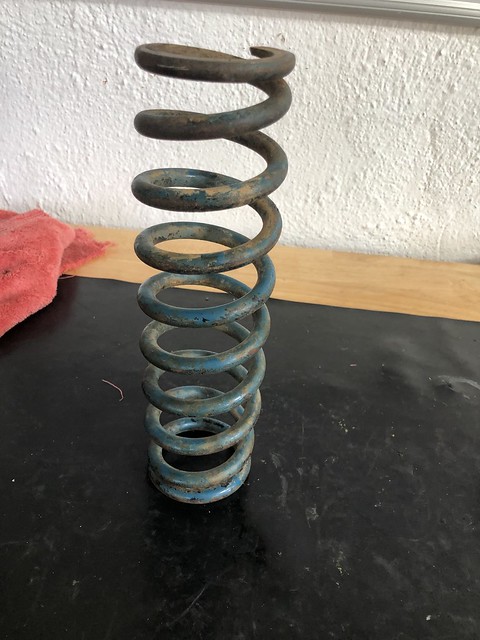
And that dang little spring on the linkage likes to pop off just looking at it!

Having the trans all sussed out gave me renewed confidence.
The crank went into Mom's freezer next to a big bag of blueberries..
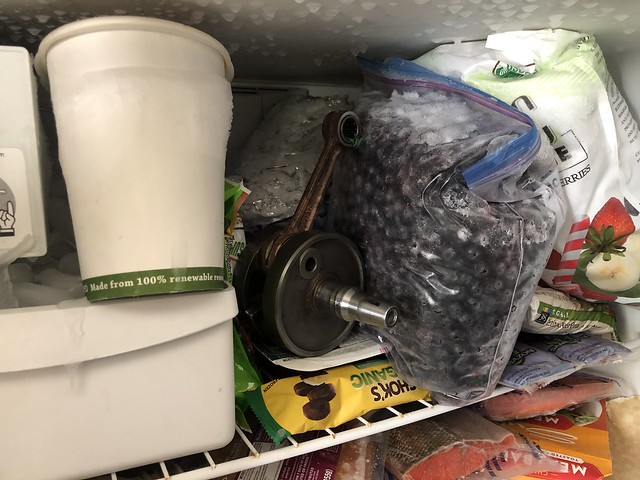
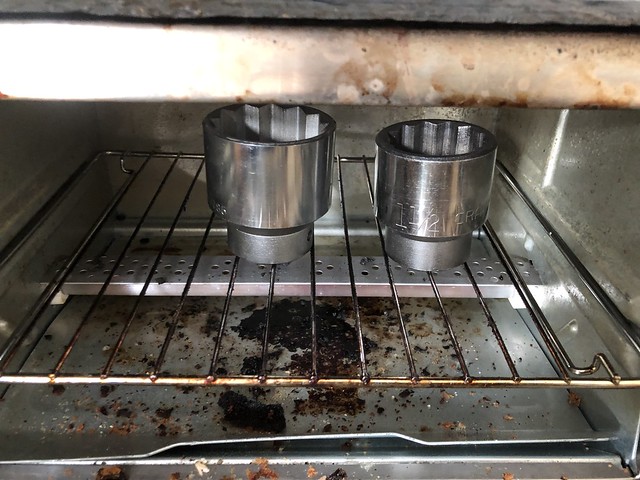
A couple of big 'murrican car-type sockets went into the toaster oven.
I had always read about Yamabond or Hondabond or one of those,
Then which number and all that stuff started getting confusing.
So i used the old Flange Sealant.
When i build other motors, this is calling the big guns out.
So there you go. 518, Baby..
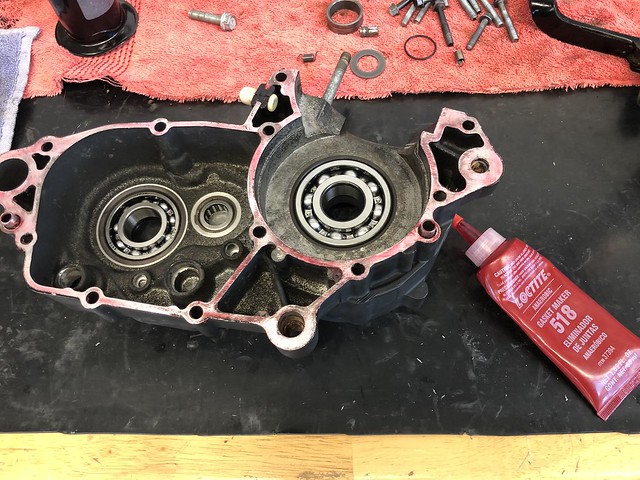
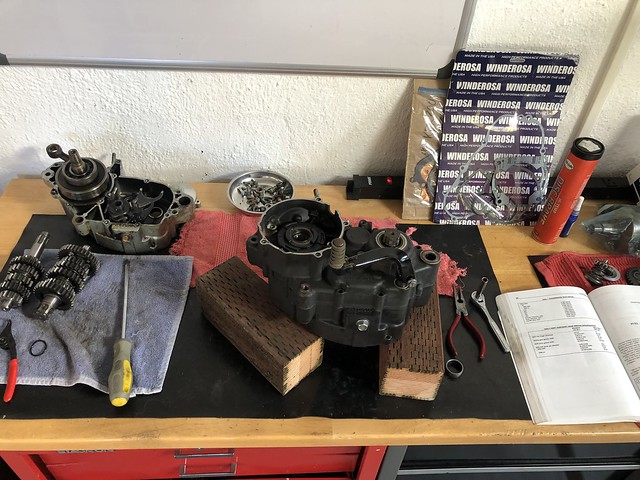
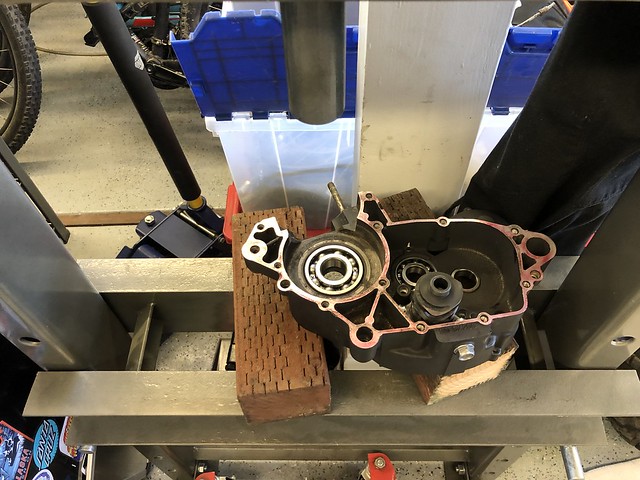
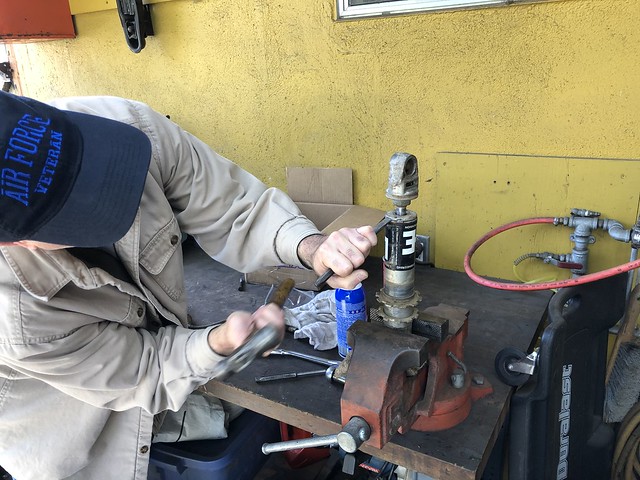
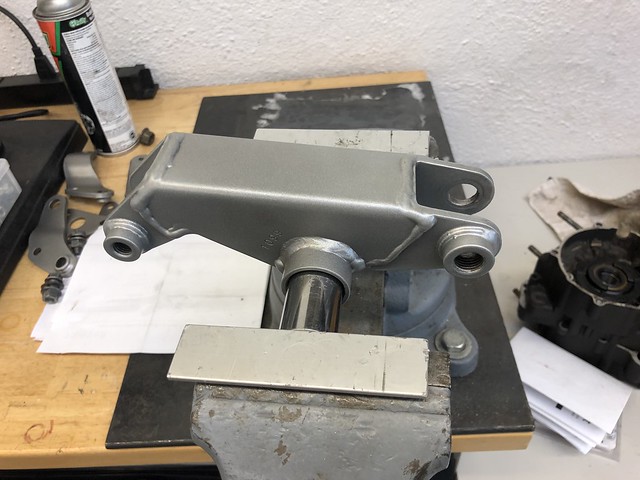
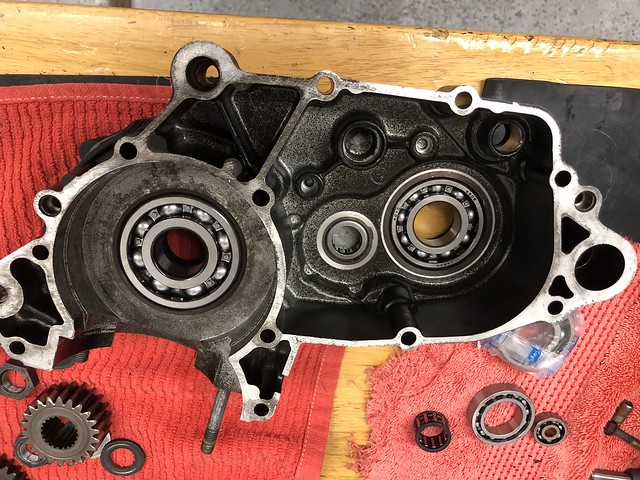
Here's the right case half in the press.
A couple chunks of 4x4 are key.
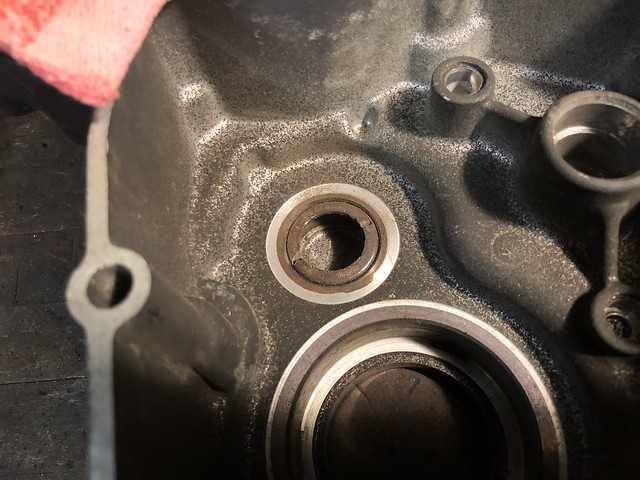
What i didn't catch was setting a glowing-hot socket on the inner race of that main crank bearing.
(was busy with both hands for a while there).
When i set the frozen crank into the heated bearing, it just fell in.
NO press needed!

The left case half had the other hot socket on it's inner race,
And i stabbed the trans gears in the right half real quick.
Might have been better to have them already in during crank press in hindsight..
It took a bit of pressing to the the left case to get it on.
The crank had likely warmed up a bit, but no big deal, went right together with a push.
Again, wish i woulda gotten a pic of the press operation.
I used a big deep-well socket, that cleared the crank shaft, to push the left case on.
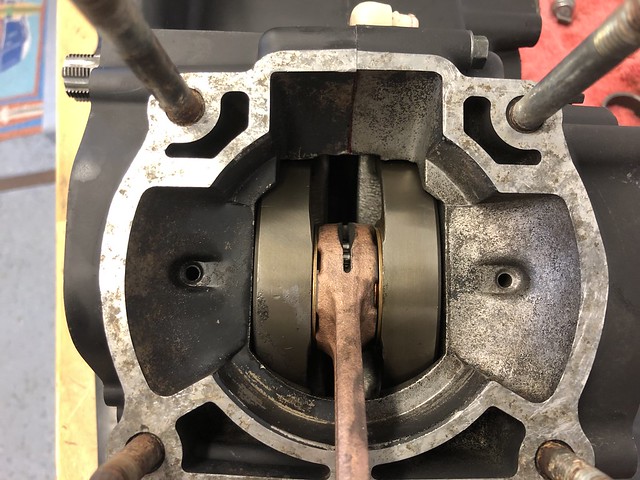
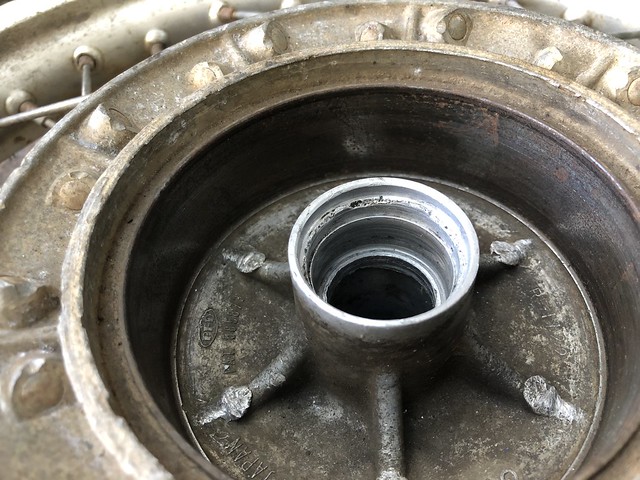
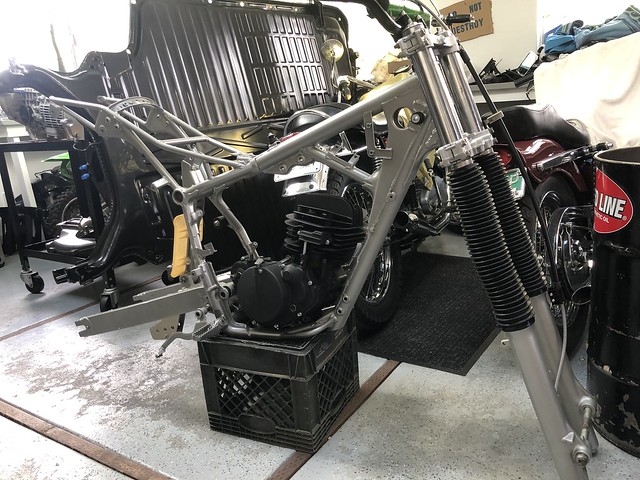
-One issue-
After i bolted the halves together, the crank was over to one side,
And didn't seem to spin very freely. Look closely at the above pic.
Hit it a few time with the rubber hammer, and it didn't help.
Panicked and called Jim, the master/guru,
And he told me to go ahead and give it some.
So i got out the BFH, and put the nut on to protect the shaft,
And gave it a good wack with the mini-sledge.
BAM! Perfect! Centered, and turns free as a butterfly...


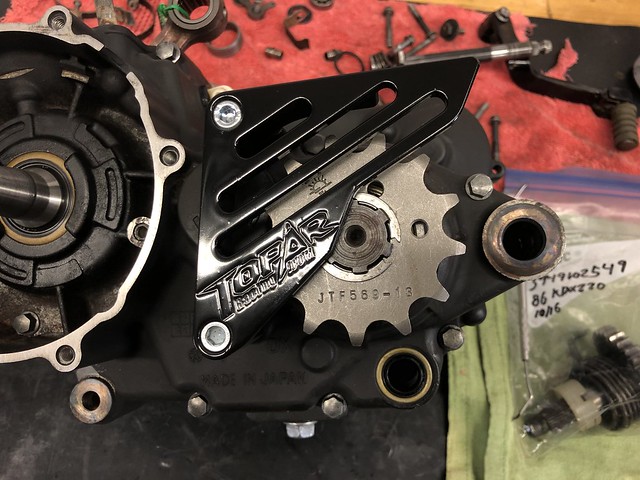
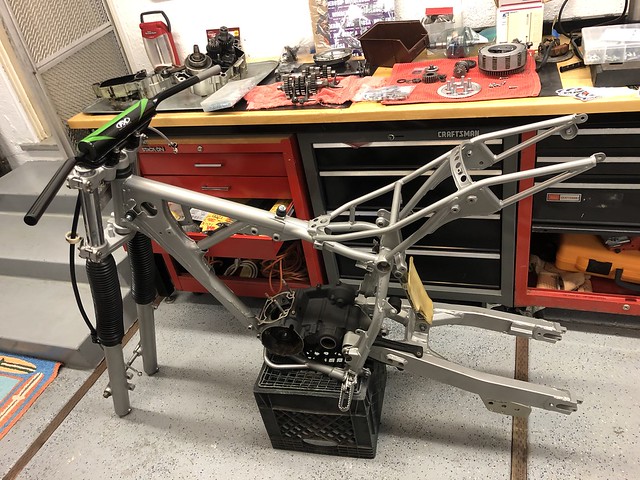
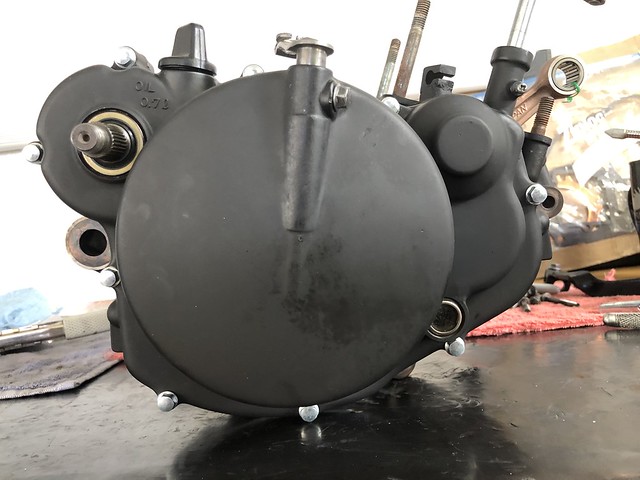
Coming off that success, i had to go and put a few more things together.
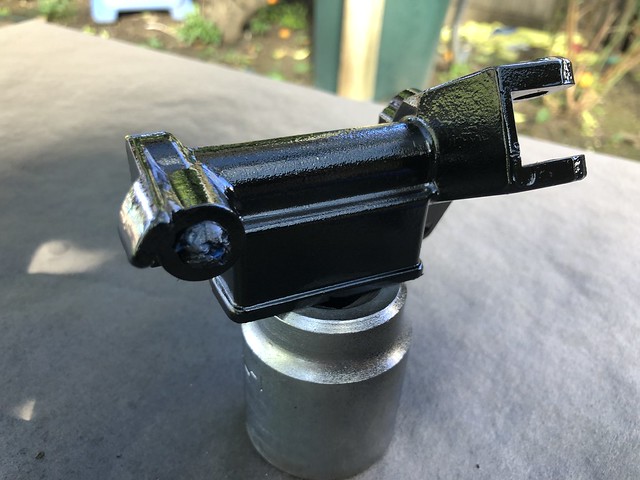
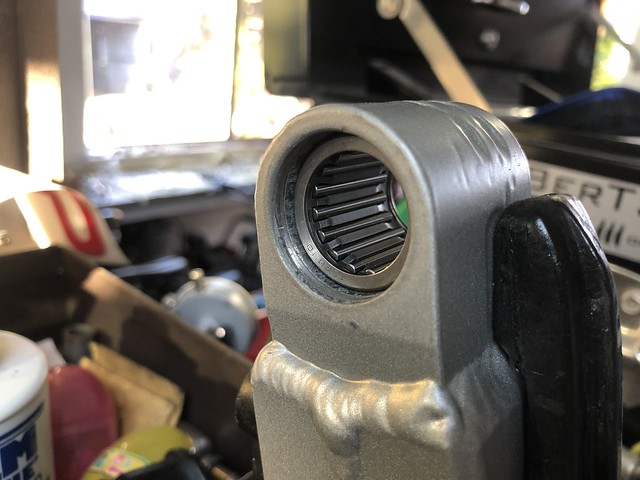
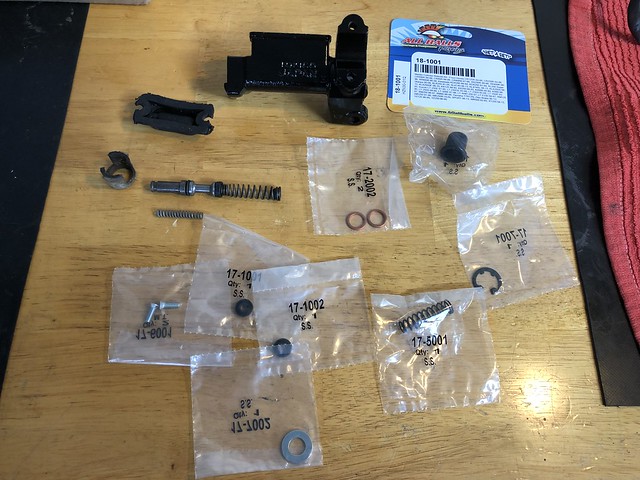
OOoo, pretty.. A new JT sprocket, and a billet guard to cover it!

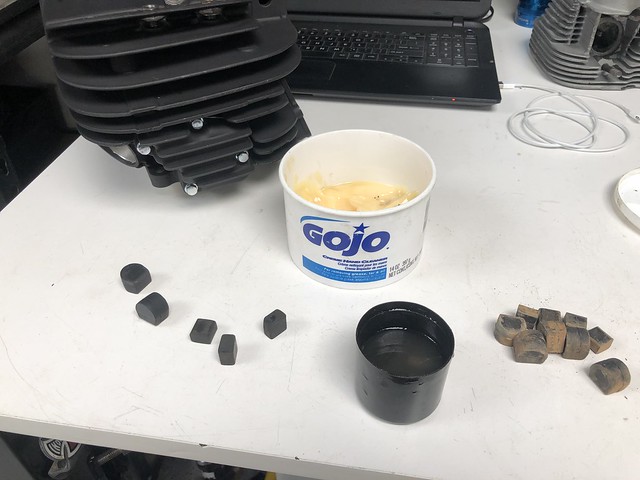
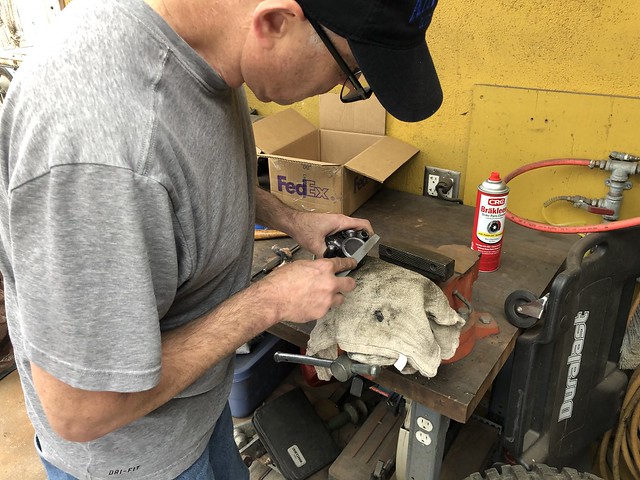
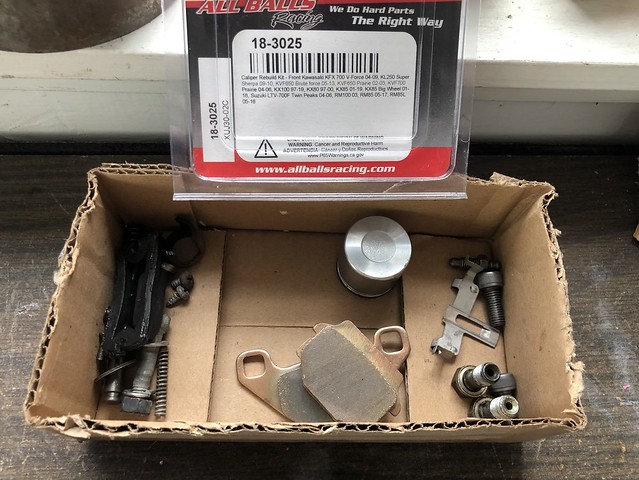
Back when we got this bike, it had so many problems,
One of which was the kicker ratchet.
Feeling so ashamed for getting the POS, i dove blindly into buying NOS parts and kicker assemblies.
Got the kicker assembly replaced, but also bought more and a bunch of NOS parts.
Was convinced that the kicker ratchet must be a weak link or something..
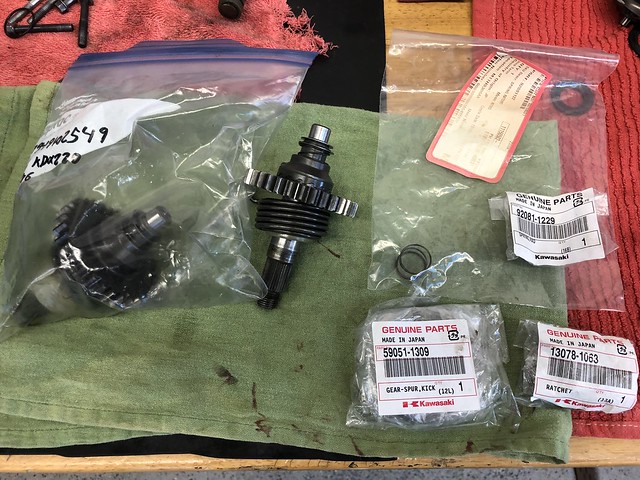
Spent a good amount of time adding the new pieces to the best of the used.
Making sure that everything is 100%..

Bench is getting cleaner!
Next couple of assembly sessions should make for a good time.


